
8 Small Crafts You Can Finish Before the Weekend Is Over

On this page14 sections
- How to plan a two-day craft weekend
- Air-dry clay trinket dishes
- A painted wooden bead garland
- A small macrame plant hanger
- Refinished thrift-store frames
- A simple embroidered hoop
- A rope-wrapped storage basket
- Hand-poured candles in found containers
- Pressed-leaf coasters
- A sample weekend schedule
- Supplies worth keeping on hand
- Common mistakes that slow beginners down
- Quick answers
- More DIY ideas
Most craft projects do not fail because they are hard. They fail because they stall. A half-painted frame sits on the dining table for three weeks, a ball of cord gets pushed into a drawer, and the glue gun ends up living on the counter. The fix is to pick projects that fit the time you actually have, and to plan around the one thing that most often stretches a project past the weekend: drying time.
Every craft below is small enough to finish between Saturday morning and Sunday evening. Each one lists what you need, how long the hands-on part takes, and where the waiting happens, so you can start the slow steps first and fill the gaps with the quick ones. None of them needs a dedicated craft room or expensive tools. A kitchen table, a drop cloth, and a free afternoon are enough.
As an Amazon Associate I earn from qualifying purchases.
How to plan a two-day craft weekend
Think of a craft weekend the way a cook thinks of a big dinner. Anything that needs to dry, cure, or set overnight goes first on Saturday. Anything that is all hands-on work, like knotting or stitching, fills the waiting time. Final assembly and touch-ups go on Sunday afternoon.
A few habits make this work:
- Read the label for cure times, not just dry times. Paint can feel dry in an hour and still dent or stick for a day. Air-dry clay can need 24 to 72 hours depending on thickness.
- Set up once. Cover the table, lay out every tool, and leave it all in place until Sunday night. Packing up and setting out again is where most weekend projects die.
- Make two. The first piece teaches you the steps; the second one is the one you keep in the living room. Materials for a second piece are usually cheap.
- Stop at a clean step. If you run out of time, stop after a coat dries, not in the middle of gluing.
With that plan, eight crafts follow, roughly ordered from the ones with the longest waits to the ones you can finish in an hour.
1. Air-dry clay trinket dishes
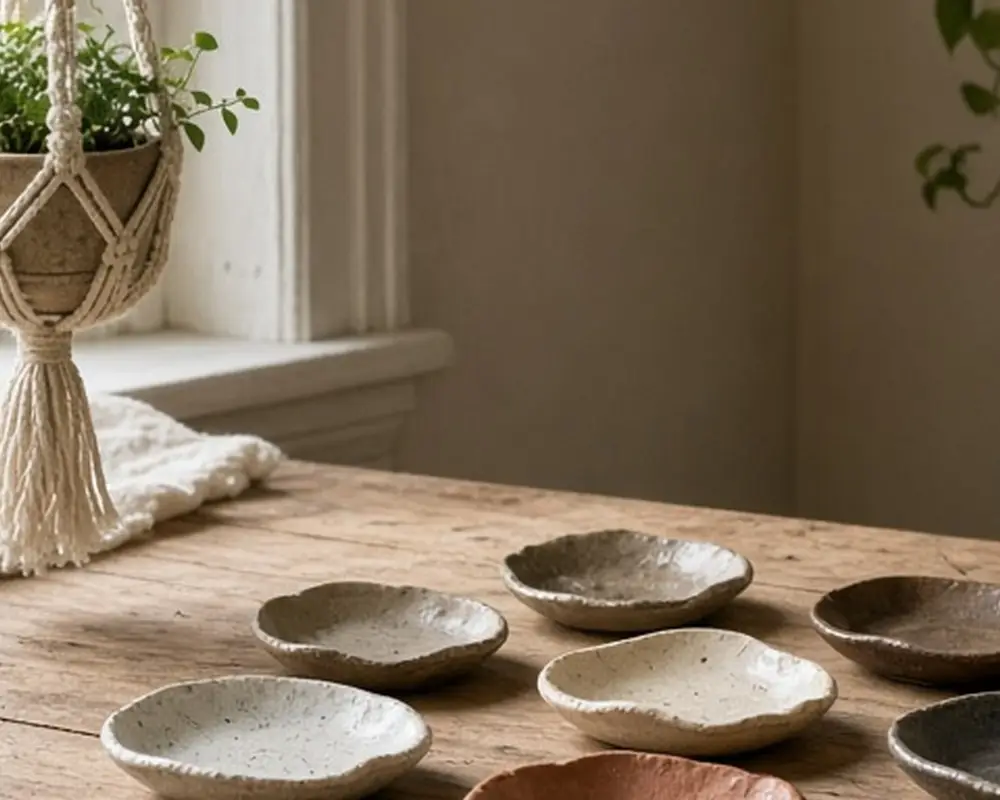
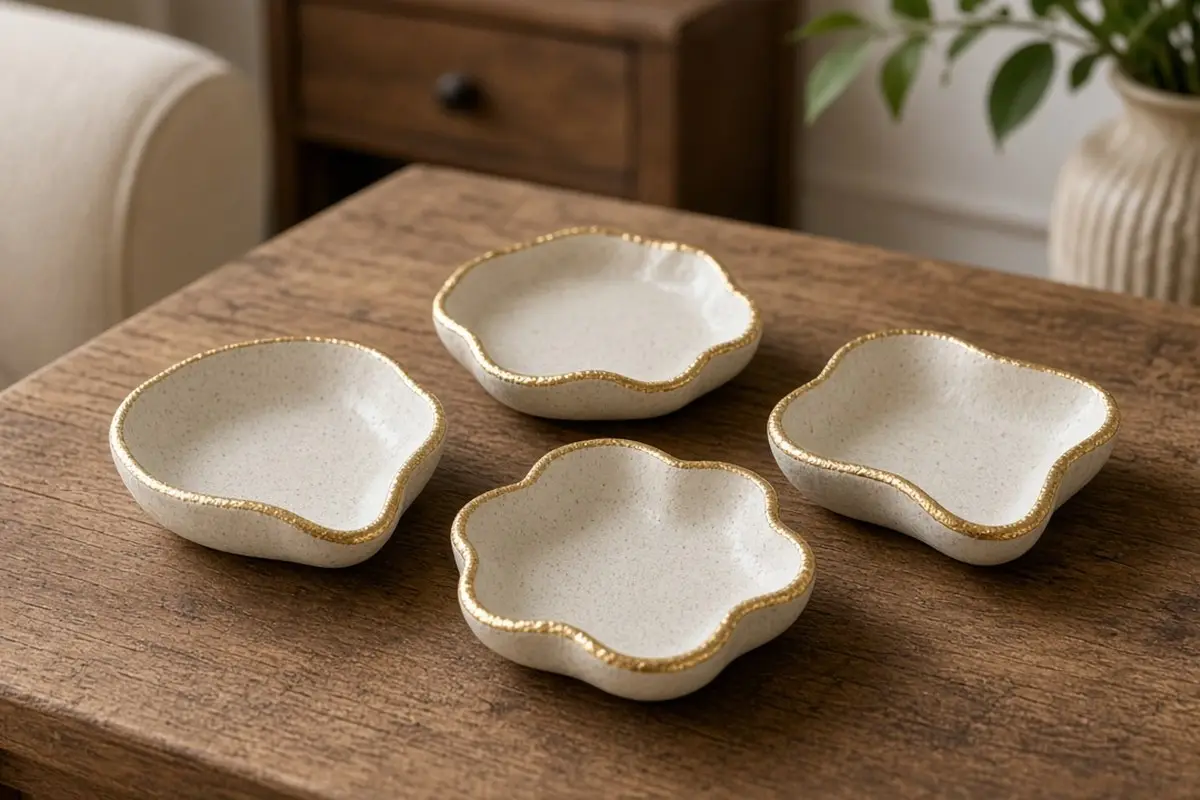
Small clay dishes for rings, keys, or paper clips are the best first project for a craft weekend because the slow part happens while you sleep. Roll a ball of air-dry clay to about a quarter inch thick between two paint stirrers so the thickness stays even. Cut a circle around a small bowl or jar lid, then press the circle into a shallow bowl lined with plastic wrap so it dries with a gentle curve.
Hands-on time is about 30 minutes for four dishes. Drying takes at least 24 hours, so make them first thing Saturday. On Sunday, sand the rough edges with fine sandpaper, paint them with acrylic craft paint, and finish with two thin coats of water-based sealer. A gold paint pen around the rim makes a plain dish look finished.
Keep in mind that air-dry clay is not waterproof, even when sealed. Use these dishes for dry things only, not soap or plants.
Get the look
2. A painted wooden bead garland
A bead garland looks good draped over a stack of books, wrapped around a lamp base, or hung from a shelf corner. Buy unfinished wooden beads in two or three sizes and decide on a simple pattern before you start, such as one large bead followed by three small ones.
Painting is the slow step. Thread the beads onto bamboo skewers, paint them, and stand the skewers in a jar or a block of foam so the beads dry without touching anything. Two thin coats look better than one heavy coat that drips. Leave a few beads unpainted for contrast, or dip only half of each bead for a two-tone look.
Once the beads are dry, string them on jute twine or cotton cord and tie a small tassel at each end. Stringing takes about 20 minutes, which makes it a good Sunday morning task while the clay dishes finish curing.
3. A small macrame plant hanger
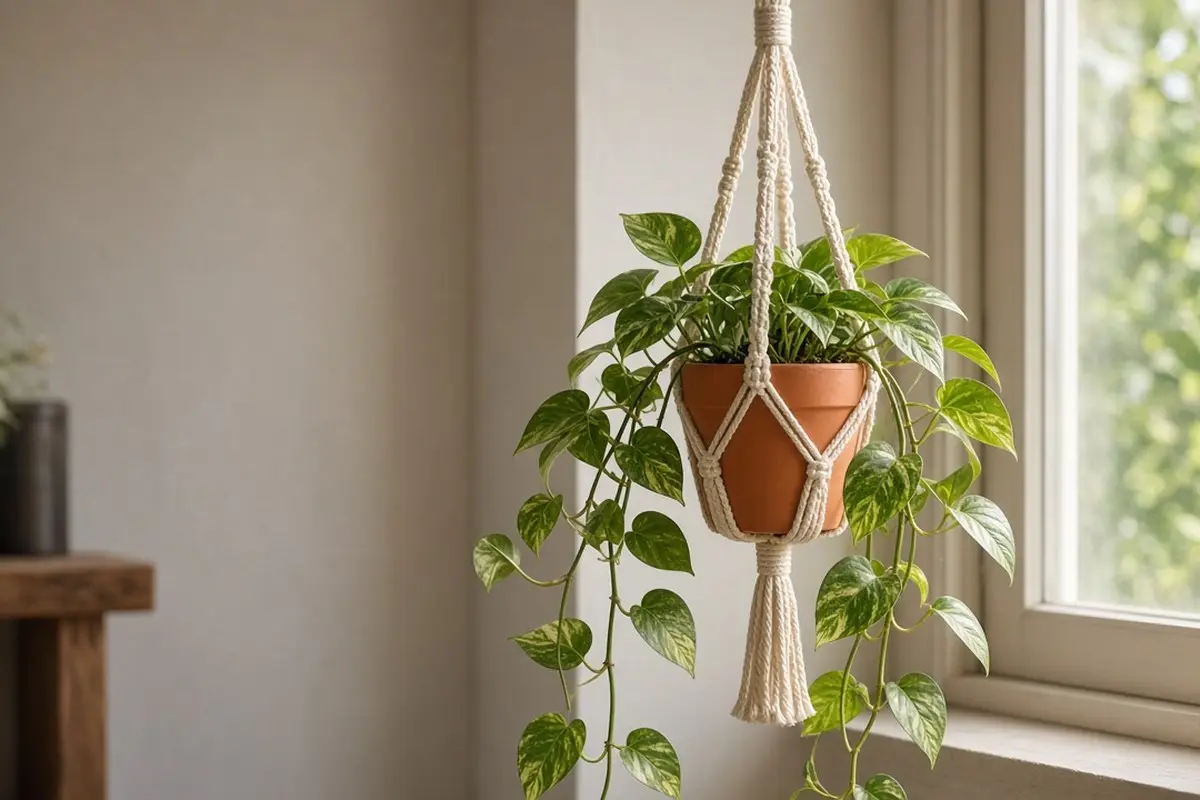
Macrame looks complicated in photos, but a basic plant hanger uses only two knots: the square knot and the gathering knot. A small hanger for a four-inch pot needs about 40 feet of 4 mm cotton cord and a wooden ring.
Cut eight lengths of cord, fold them through the ring, and secure them with a gathering knot near the top. Split the cords into four groups and tie a few square knots in each group. Drop down a few inches, then join neighboring groups with another round of square knots to form the basket that holds the pot. Finish with a gathering knot at the bottom and trim the tails into a neat fringe.
Hands-on time is about two hours the first time and under an hour once you know the knots. There is no drying, which makes macrame ideal for the evenings while paint and clay are setting. Hang it where you can reach the pot easily for watering, as covered in plants you can water without a ladder.
Get the look
4. Refinished thrift-store frames
A stack of mismatched thrift-store frames can become a matching set in a weekend. Pick frames with interesting profiles and ignore their color, since that part is easy to change. Remove the glass and backing, wipe the frames with a degreaser, and scuff them lightly with fine sandpaper so paint can grip.
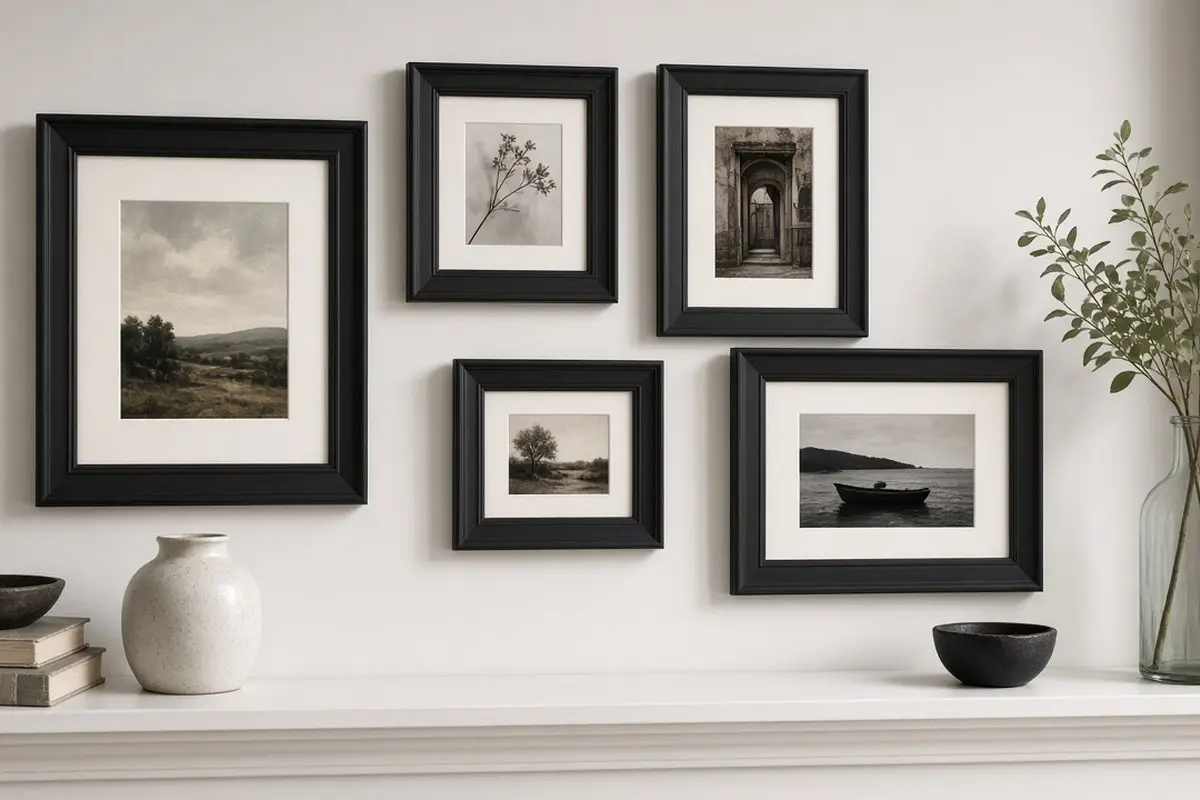
Prime them with a spray primer on Saturday, then paint them on Saturday afternoon. Spray paint gives the smoothest finish on carved frames, but a small brush works on flat ones. Paint all of them the same color, such as soft black or warm white, and the mix of shapes looks deliberate rather than random.
On Sunday, clean the glass, add new mats if the old ones are yellowed, and fill the frames with your own photos, pressed leaves, or pages from an old book. Arrange the set on a shelf or a wall. If you hang them on the wall, the hallway wall ideas guide covers spacing and height.
Get the look
5. A simple embroidered hoop
A small embroidery hoop with a single motif, such as a sprig of leaves, a house number, or a family initial, is easy to finish in two evenings. You need a six-inch wooden hoop, a piece of linen or cotton fabric, embroidery floss in two or three colors, and an embroidery needle.
Draw the design lightly on the fabric with a water-soluble pen. Three stitches cover most beginner designs: the backstitch for lines, the satin stitch for filled shapes, and the French knot for dots. Work in short sessions, since tired hands make uneven stitches.
When the stitching is done, rinse out the pen marks, let the fabric dry, then trim it to about an inch beyond the hoop and gather the edge on the back with a running stitch. Hang several hoops in a cluster for a soft wall feature in a bedroom or guest room.
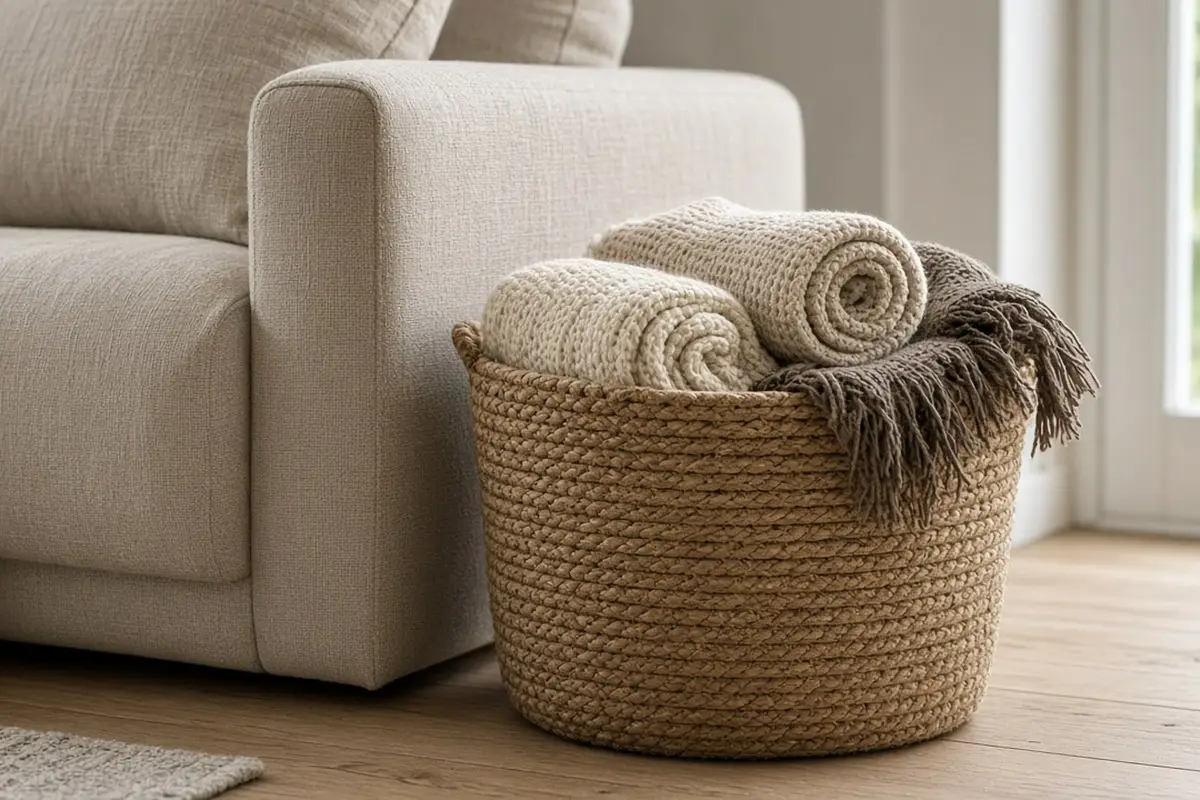
6. A rope-wrapped storage basket
A plain plastic or wire basket becomes a warm, natural-looking catchall when wrapped in rope or jute. Start at the bottom edge with a dab of hot glue, then wrap the rope tightly around the basket, adding a line of glue every few inches. Press each row down against the one below so no gaps show.
A medium basket takes about an hour and a half and roughly 50 feet of rope. Finish the top edge by tucking the end inside and gluing it flat. Add two loops of rope as handles if you like. Wear a finger protector or use a low-temperature glue gun, since jute does not protect your fingers from the glue.
These baskets are useful in an entry for gloves and hats, beside a sofa for throws, or in a bathroom for rolled towels. For more on where catchall storage works in an entry, see the entryway drop zone guide.
Get the look
7. Hand-poured candles in found containers
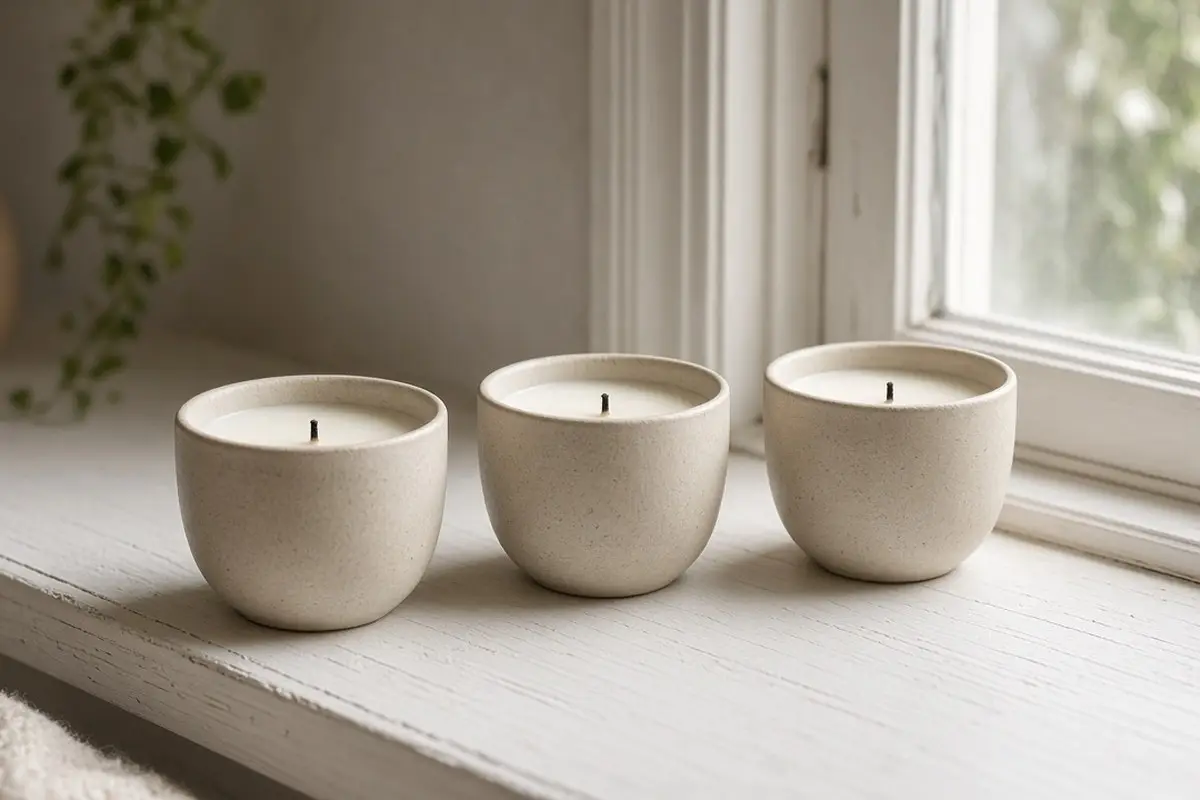
Candle-making sounds involved, but a simple soy wax candle takes about 30 minutes of active work and a few hours to set. Use containers you already own and like: small ceramic cups, short glass jars, or vintage tins. Make sure each one is heat-safe and has no cracks.
Melt soy wax flakes in a double boiler, or in a pouring pitcher set in a pot of simmering water. Fix the wick to the bottom of the container with a wick sticker, and hold it upright with a clothespin or a wick bar. Pour the wax slowly, let it set at room temperature for several hours, and trim the wick to a quarter inch before the first burn.
Scented oils are optional. If you add them, use oils made for candles and follow the maker’s recommended amount, since too much oil can stop the candle from burning cleanly. Never leave a burning candle unattended, and keep the first burns long enough for the wax to melt across the whole top, which prevents tunneling.
Get the look
8. Pressed-leaf coasters
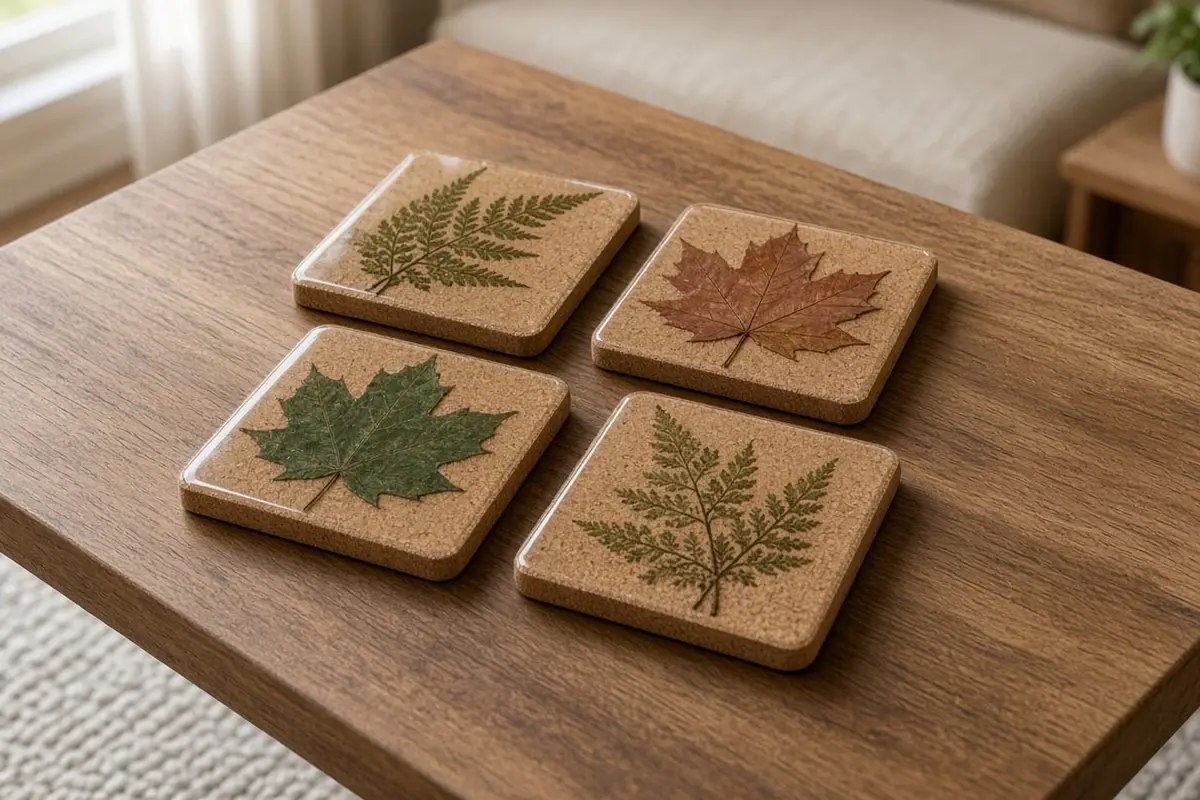
This is the quickest craft on the list and a good finishing project for Sunday afternoon. Buy plain cork or ceramic tile coasters, then glue a pressed leaf or flower to each one with a decoupage medium. Brush another layer of medium over the leaf to seal it, smoothing out any bubbles with a soft brush.
If you do not have pressed leaves, press fresh ones on Saturday morning between sheets of paper inside a heavy book. Thin leaves like ferns flatten in a day; thicker ones take longer. Let the finished coasters dry overnight before use, and add felt dots on the bottom so they do not scratch the table.
Get the look
A sample weekend schedule
Here is one way to finish four of these crafts in a single weekend without rushing:
- Saturday 9 a.m.: Shape the clay dishes and set them to dry. Press leaves in a book.
- Saturday 10 a.m.: Clean, sand, and prime the thrift frames.
- Saturday noon: Paint the wooden beads and stand them up to dry.
- Saturday afternoon: Paint the frames, then tie the macrame hanger while everything dries.
- Sunday morning: String the bead garland, assemble the frames.
- Sunday afternoon: Paint and seal the clay dishes, make the leaf coasters, and clean up.
The trick is that you are never waiting with nothing to do. Every drying step is covered by a hands-on step.
Supplies worth keeping on hand
If small crafts become a regular weekend habit, a small kit saves trips to the store and lets you start the moment you feel like it:
- A low-temperature glue gun and glue sticks
- Fine sandpaper (220 grit) and a sanding sponge
- A set of small synthetic brushes and a foam brush
- Water-based sealer in a matte finish
- A cutting mat, a craft knife, and sharp scissors
- A drop cloth or an old shower curtain to protect the table
Store everything in one clear bin with a lid. When the bin is ready, starting a project feels easy, and an easy start is what keeps a weekend project from turning into a month-long one.
Common mistakes that slow beginners down
Most stalled crafts share a few problems, and they are all easy to avoid.
Starting too big. A full-size wall hanging is a great goal, but a small first version teaches you the knots without the frustration. Size up once you know the steps.
Skipping surface prep. Paint peels off glossy frames that were not sanded, and glue fails on dusty surfaces. Five minutes of cleaning saves a redo.
Thick coats. Thick paint and thick sealer take far longer to dry and often crack or stay tacky. Thin coats dry fast and look smoother.
Working in poor light. Stitching, painting details, and knotting are much easier near a window or under a bright task lamp. Good light also helps you spot drips before they dry.
No place to dry. Plan a safe spot for drying pieces before you start, away from pets, kids, and dust. A spare shelf or the top of a dresser works well.
Quick answers
Which craft is easiest for a complete beginner? The pressed-leaf coasters and the rope-wrapped basket. Both need very little skill and give a finished result in an afternoon.
Can I do these with kids? Yes, with a few changes. Kids can shape clay, paint beads, and press leaves. Keep the hot glue and the hot wax for adults.
How do I keep crafts from cluttering the house? Make things you will use, like dishes, baskets, and coasters, rather than purely decorative pieces. Give extras away as small gifts.
More DIY ideas
Small crafts pair well with other short projects. For another single-afternoon job, try the door upgrades you can finish in an afternoon. Once the pieces are finished, give each one a real job in the house so it gets used rather than stored.