
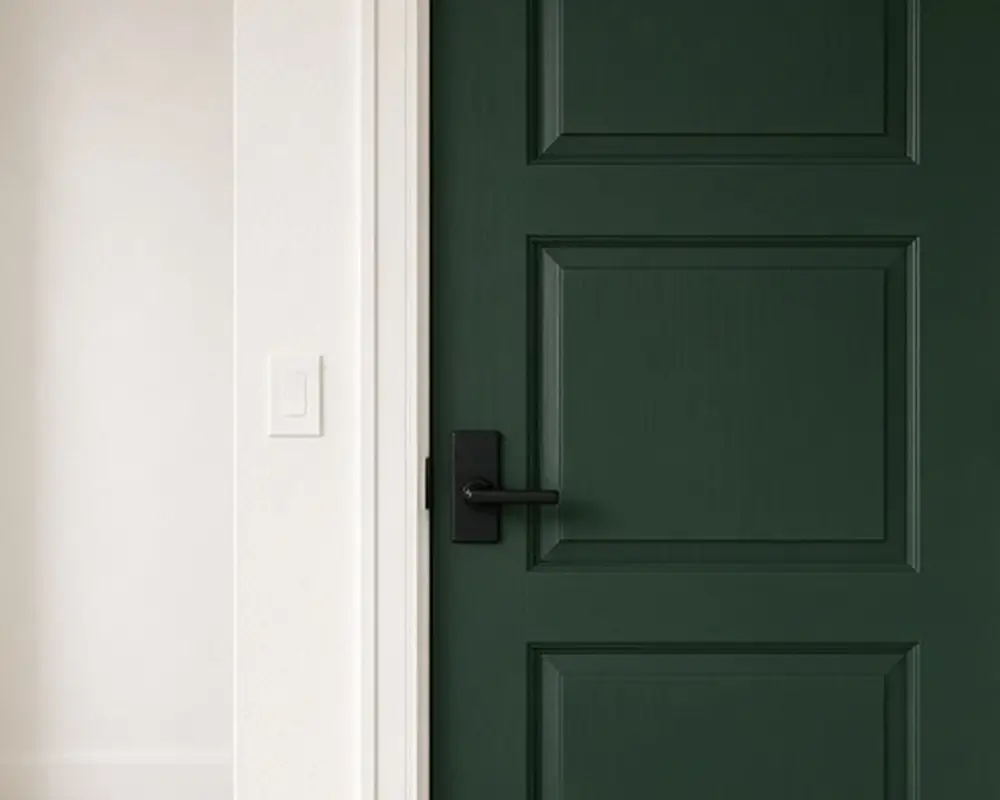
8 Door Upgrades You Can Finish in an Afternoon

On this page13 sections
- Before you start: measure the door
- Swap knobs for levers
- Match the hinges
- Paint the door a color
- Add simple molding to a flat door
- Stop the slam
- Replace the door stop
- Add a small hook or a full-length mirror
- Refresh the trim
- Matching finishes across the house
- Tools for an afternoon of door work
- More DIY ideas
- Quick answers
Interior doors are some of the hardest-working pieces in a house and some of the most ignored. They get opened dozens of times a day, slammed, kicked closed with a full laundry basket, and grabbed with sticky hands. Most of them still wear the same builder-grade knobs and flat white paint they came with.
The good news is that doors are small projects. Each of the eight upgrades below fits into a single afternoon, needs ordinary tools, and makes a noticeable change. Do one door to start, see how you like it, and then work through the rest of the house one weekend at a time.
Start with the door you see most. In many homes that is the one at the end of a hallway, the door into the main bathroom, or the pantry door in the kitchen. A single upgraded door in a prominent spot shows you quickly whether you like a finish or a color, before you commit to buying hardware for every door in the house.
As an Amazon Associate I earn from qualifying purchases.
Before you start: measure the door
Three measurements cover almost every door project:
- Backset: the distance from the edge of the door to the center of the knob hole. It is usually 2-3/8 or 2-3/4 inches. New handles must match.
- Door thickness: most interior doors are 1-3/8 inches thick. Most hardware fits this, but check.
- Hinge size and corner shape: measure the hinge height and note whether the corners are square or rounded. Residential hinges are usually 3.5 inches with a 5/8-inch or 1/4-inch radius corner.
Write these down before you shop and you will avoid a second trip.
Also check which way each door swings. Some lever handles are handed, meaning they are made to point one way, and need to be ordered or set up for a left- or right-hand door. Most modern levers are reversible, but it is worth confirming on the box before you open it.
1. Swap knobs for levers
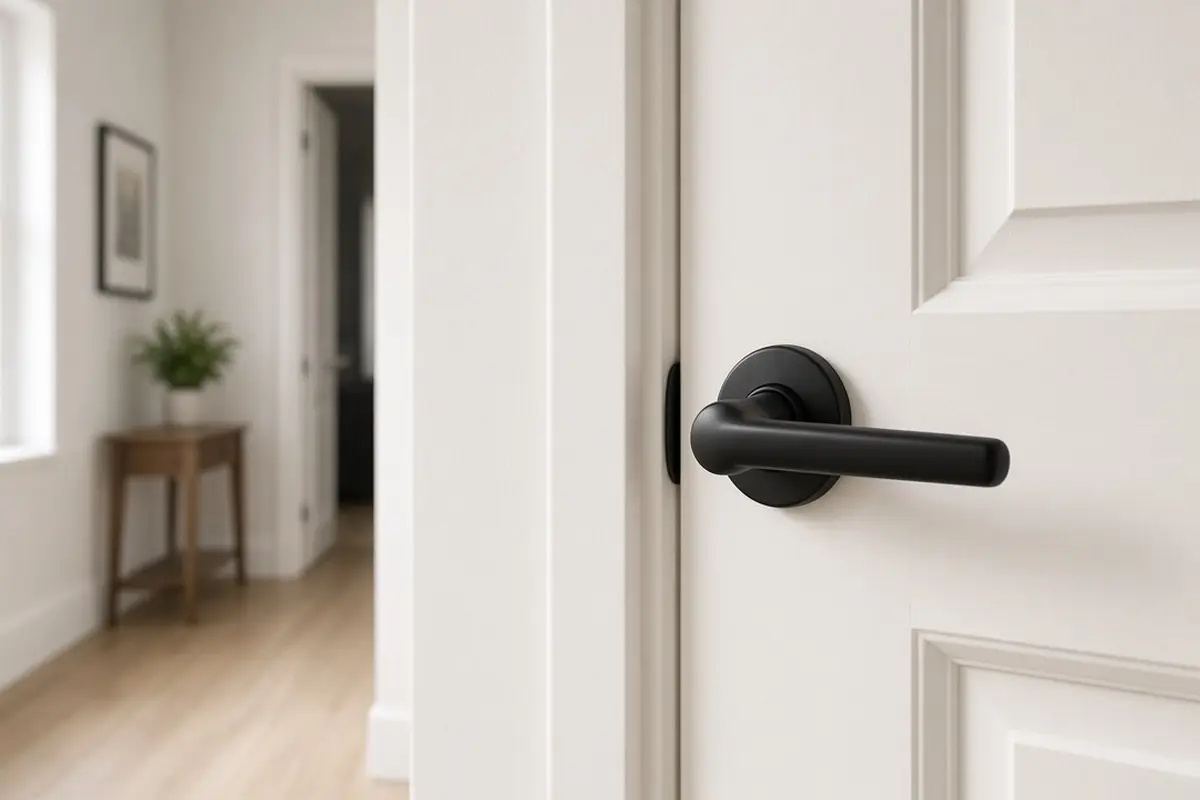
Replacing a round knob with a lever is the fastest door upgrade there is, usually about 15 minutes per door with only a screwdriver. Levers are easier to open with full hands or an elbow, and easier for children and older adults to use. Take the old knob apart before the new one goes in: two screws on the inside rose usually release the whole set, and the latch comes out with two more screws on the door edge. Keep the old latch if the new one does not fit the existing hole, and check that the new latch faces the right direction, with its angled side toward the frame.
Choose the function you need: passage (no lock) for hallways and closets, privacy (a push-button or turn lock) for bathrooms and bedrooms, and dummy (fixed, no latch) for pantry or closet doors that are held closed by a catch.
Get the look
2. Match the hinges
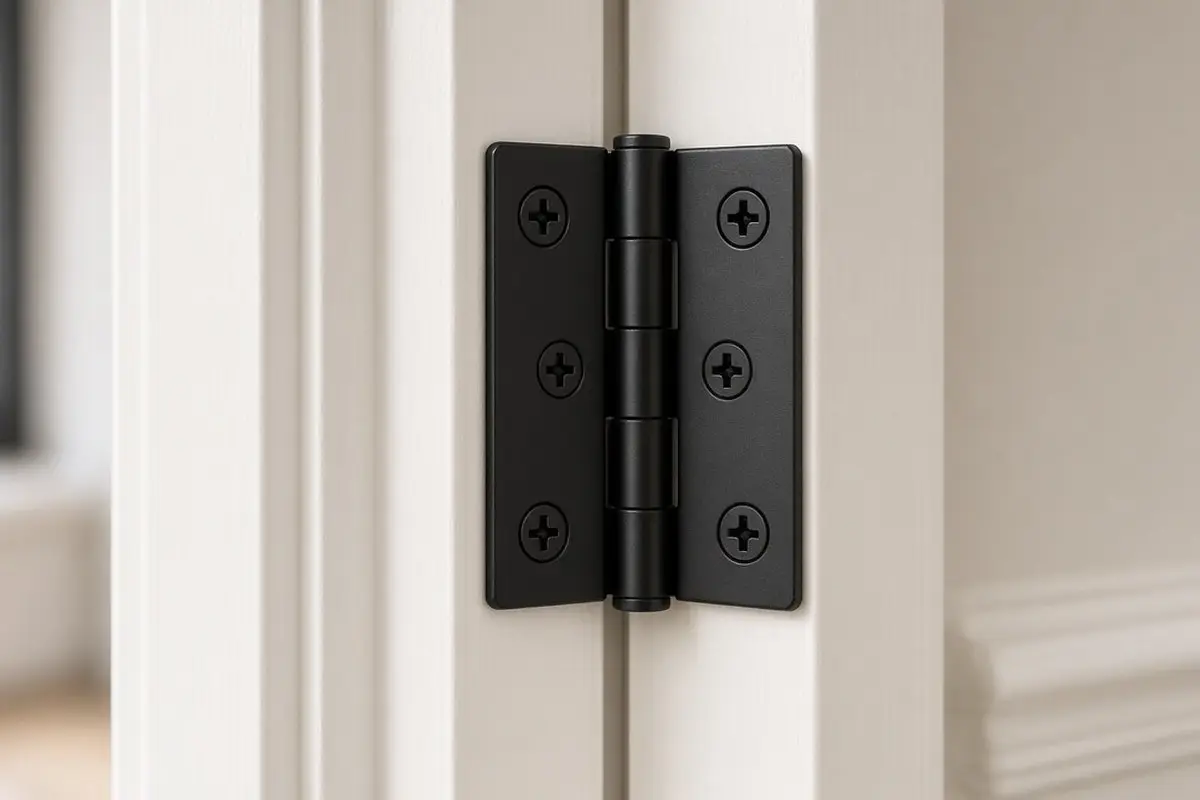
New handles next to old brass hinges can look unfinished. Replacing hinges takes about 20 minutes per door. Swap them one at a time with the door still hanging: remove one hinge, put the new one in using the same holes, then move to the next. The door never has to come off. Start with the middle hinge, if there is one, since the top and bottom hinges hold the door steady while you work. Tighten every screw by hand at the end to avoid stripping.
If a screw spins without tightening, the hole is stripped. Pack it with wooden toothpicks dipped in wood glue, snap them off flush, and drive the screw back in.
Get the look
3. Paint the door a color
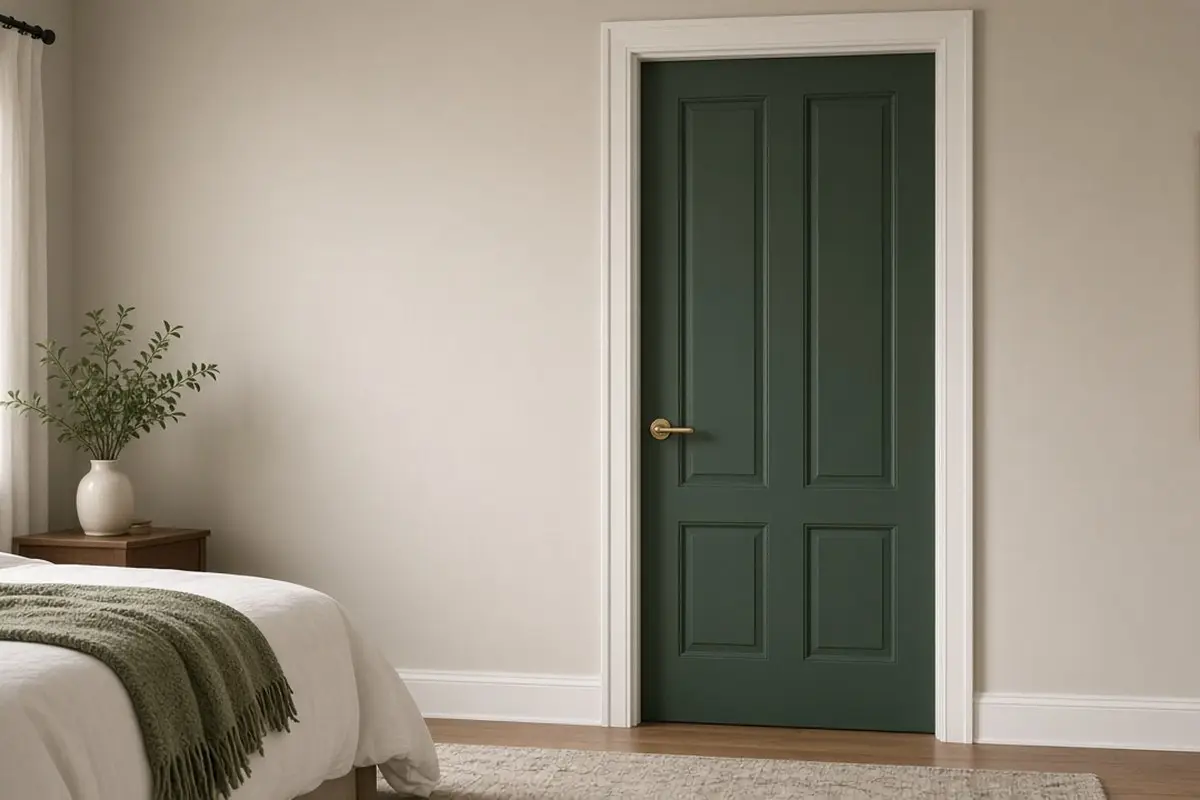
A painted door adds color to a room without a single new piece of furniture. Deep green, navy, charcoal, and warm black all work well on interior doors, especially when the trim stays white. Test a large paint sample on a piece of poster board taped to the door and look at it in morning and evening light.
To paint in an afternoon, leave the door hanging. Remove the handle, cover the hinges with painter’s tape, and lightly sand the surface with fine sandpaper. Paint the panels first, then the rails (horizontal pieces), then the stiles (vertical pieces), following the wood grain direction. A satin or semi-gloss finish holds up to hands better than flat paint. Two thin coats look far better than one thick one. Let the first coat dry fully, give it a very light sanding, wipe off the dust, and roll on the second coat for a smooth finish with no drips along the panel edges.
Paint both sides the same color, or paint only the side facing the room you want to change. If you paint only one side, paint the hinge edge in the color of the room the door opens into, which is the convention painters use and looks tidy from both rooms.
Get the look
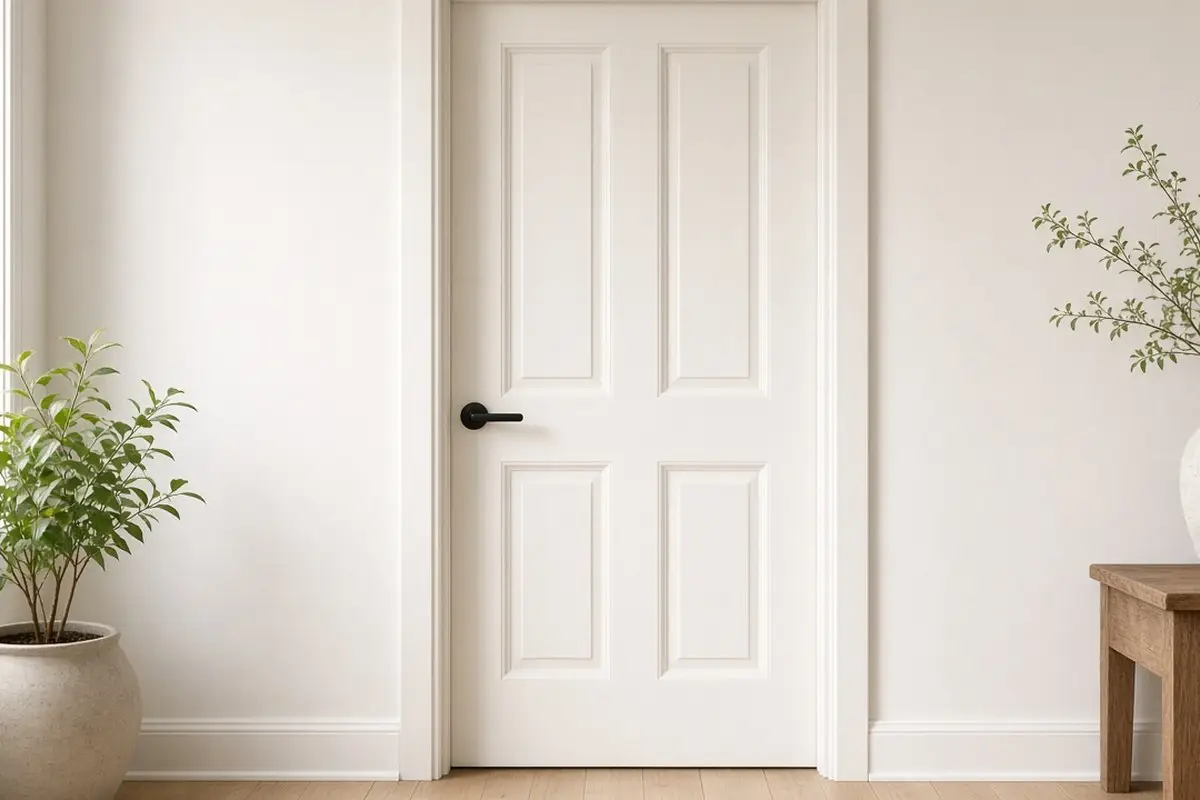
4. Add simple molding to a flat door
Flat slab doors can be dressed up with thin wood molding glued and nailed onto the face to create panels. Two or three rectangles look like a classic paneled door once they are painted.
Measure and cut the molding with a miter box, glue it on with construction adhesive, and secure it with a few small brad nails. Fill the nail holes and corners with caulk, then paint the whole door. Plan the layout on paper first: equal margins of about 4 inches from the edges look classic, with a larger panel on top and a smaller one at the bottom.
Get the look
5. Stop the slam
Doors that slam can be fixed in minutes. Small adhesive felt or rubber bumpers on the door stop or the frame soften the impact. Place two or three along the stop molding on the latch side, where the door meets the frame first, and the door will close with a soft thud instead of a crack that wakes everyone up. For a door that swings shut on its own, a hinge-pin door stop or a slight hinge adjustment can help.
For a door that will not stay closed, the strike plate is usually out of line. Loosen it and move it slightly, or file the opening wider. A little graphite powder in the latch and a few drops of light oil on each hinge pin often stop squeaks and sticky latching in the same visit.
6. Replace the door stop
The spring door stops screwed into baseboards often get kicked, bent, or lost. A hinge-pin stop, which clips onto the hinge, or a low floor stop in a matching finish looks cleaner and is harder to break. Before removing the old stop, check what the door handle hits when it swings fully open. If a handle would dent the wall, a stop is essential, and a round wall bumper behind the handle is an easy backup.
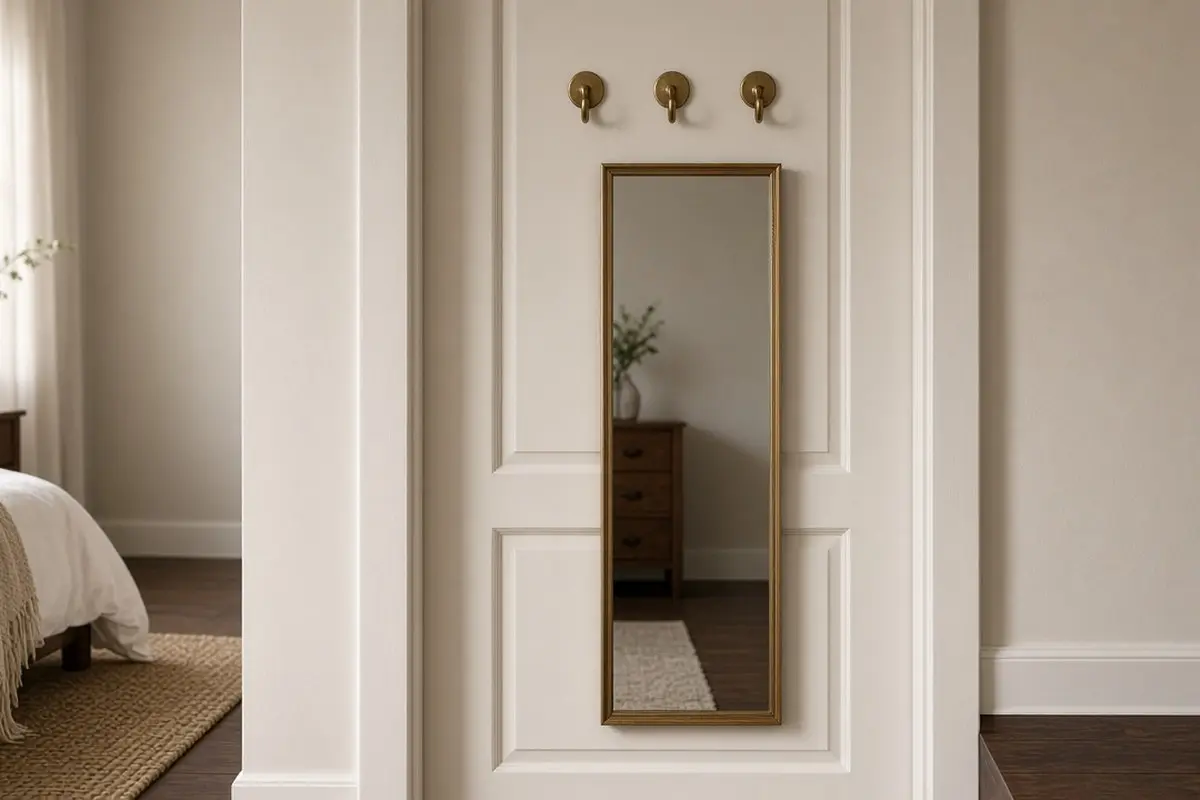
7. Add a small hook or a full-length mirror
The back of a bedroom or bathroom door is unused space. It is also out of sight when the door is open, which makes it a good spot for useful things that do not need to be on display. A row of three hooks for robes and bags, or a slim full-length mirror, adds function in less than an hour. Use screws, not adhesive, for anything that will carry weight. Hollow-core doors need short screws, since longer ones can poke through the other side. Check the length against the door thickness before driving them.
Get the look
8. Refresh the trim
Scuffed, yellowed casing around the door makes even a newly painted door look tired. Oil-based trim paint from decades ago yellows over time, especially in rooms with little sun, and new white paint next to it makes the difference obvious. Clean the trim with a degreaser, caulk any gaps where it meets the wall, and paint it in semi-gloss white.
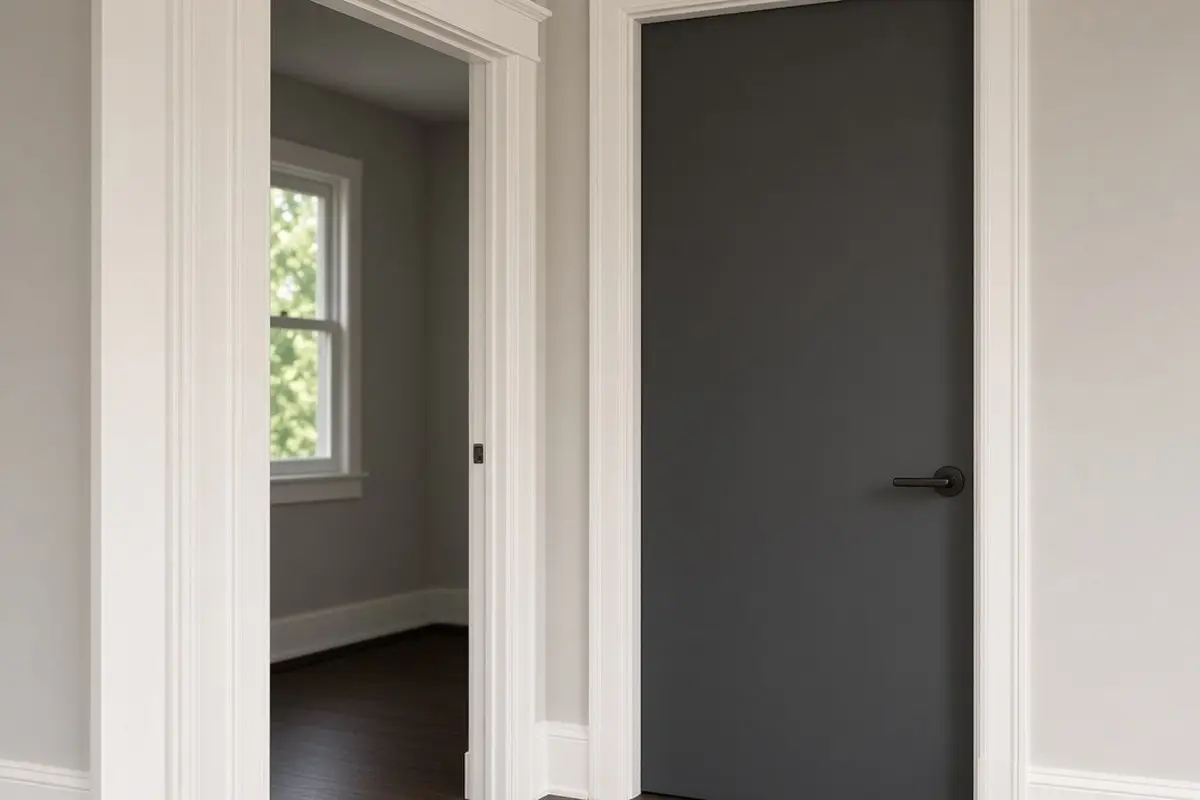
If the trim has years of old paint layers, lightly sand the glossy surface first so the new paint grips. A shellac-based primer is the safest choice if you are not sure whether the old paint is oil or latex.
Matching finishes across the house
Once you upgrade one door, the others start to look out of place. Choose a single finish, such as matte black, satin brass, or brushed nickel, and use it on every door on a floor. Consistent hardware is one of those details buyers and guests notice without knowing why.
You do not need to finish the whole house at once. Buy hardware for one floor at a time, starting with the doors that guests see, and keep a few spare pieces in the same finish for repairs. Manufacturers change their lines, and a matching lever can be hard to find a few years later.
Tools for an afternoon of door work
- Screwdriver set, both Phillips and flat
- Painter’s tape and fine sandpaper
- A small angled brush and a foam roller
- Wood glue, toothpicks, and caulk
- A tape measure
- A drop cloth and a few rags for spills
- A small level, for checking new trim and hooks
More DIY ideas
Quick answers
Do I need to take the door off to paint it? No. Leaving it hung is faster. Prop it open and paint carefully around the hinges.
How long until a painted door can be closed? Wait at least a few hours before closing it, and a day or more before latching hard. Latex paint can stick to the frame if it is closed too soon.
Can I mix metal finishes? Inside one room, keep door hardware in one finish. Different rooms can use different finishes if each room is consistent.
For a room-wide refresh, see wall updates without furniture. If a bedroom door is the problem, bedroom door curtain ideas offers a softer option. And for another hardware swap, see Shaker kitchen hardware update.