
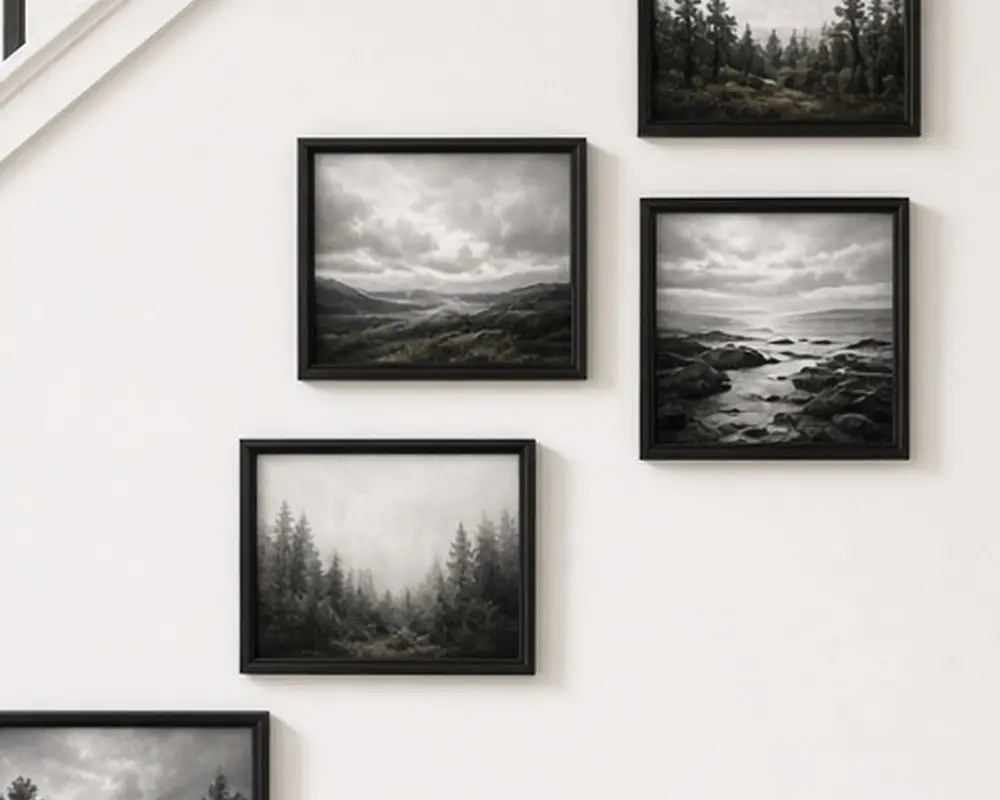
10 Stair Walls With Art You Can See From the Bottom Step

On this page13 sections
- Start with the sight line
- One oversized piece at the anchor point
- A stepped row that follows the rake
- A grid tilted to the stair angle
- Fewer, bigger frames
- Family photos printed in one tone
- Picture ledges stepped up the wall
- A mirror at the landing turn
- A textile or rug as wall art
- Painted stripe or wainscot under the art
- Lighting the run
- Hanging safely on a stair wall
- Common questions
Most stair walls get decorated from the landing or from halfway up, with someone balancing on a step and a hammer. The trouble is that nobody looks at the wall from there. You see it from the bottom step, as you turn the corner from the hall, and from the top as you come down in the morning. Art that looks right from the middle of the run often reads as a jumble from the foot of the stairs, with frames too small to make out and a line that wanders.
This guide works the other way. Every idea starts with the view from the bottom step, then checks the view coming down. The result is a stair wall that reads as one clear picture from where you actually stand.
As an Amazon Associate I earn from qualifying purchases.
Start with the sight line
Stand on the floor at the foot of the stairs and look up the wall. Notice where your eye lands first. On most straight staircases, it lands about a third of the way up the run, slightly above head height for someone standing on that step. That spot is your anchor. Put your strongest piece there, not at the top where it is mostly seen from behind.
Then mark the rake. Run a strip of painter’s tape parallel to the stair nosings, about 57 to 60 inches above them, measured straight up from the front edge of each tread. That tape line is the center line for your art. It keeps every frame at eye level for someone standing on the step below it, and it gives the whole arrangement the same slope as the stairs, which is what makes it look planned.
If your staircase turns, treat each straight run as its own wall with its own tape line. Do not try to carry one arrangement around a corner; the angles change and the line breaks. Instead, give each run a related arrangement, such as the same frames in the same color, and let the landing wall act as a pause between them.
Before committing, take a phone photo from the bottom step with the tape in place. Photos flatten the view in a useful way, and a line that wanders or a gap that is too big shows up instantly on a small screen.
1. One oversized piece at the anchor point
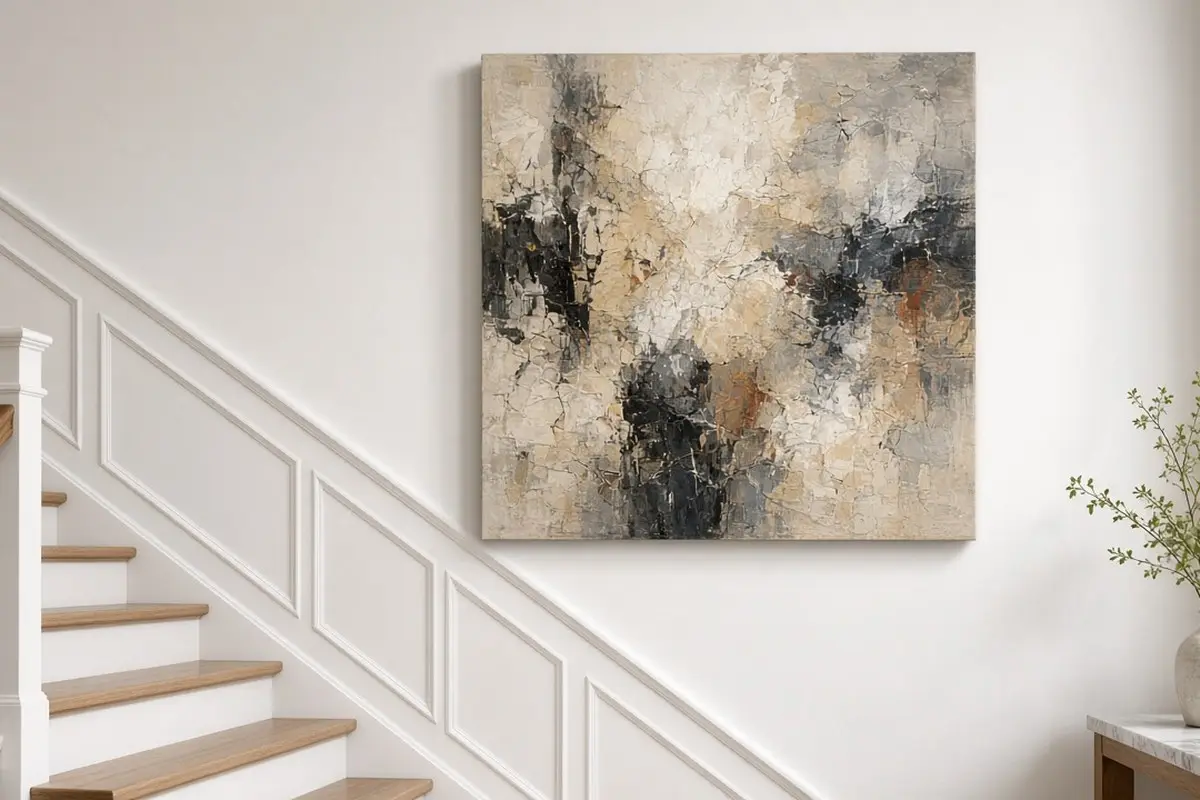
The simplest stair wall is one big piece hung where the eye lands from the bottom step. A large canvas or a framed print at least 30 inches wide reads clearly across the length of a staircase, where a dozen small frames turn to noise. It also needs only one set of hooks, which matters on a wall you have to reach from a step.
Choose something with strong shapes or high contrast, since fine detail disappears at a distance. A bold abstract, a large botanical, or a simple landscape with a clear horizon all read well. If the piece is heavy, use two hooks spaced apart so it stays level, and locate at least one stud. On plaster walls, drill slowly with a masonry bit and use anchors rated well above the weight of the frame.
Get the look
2. A stepped row that follows the rake
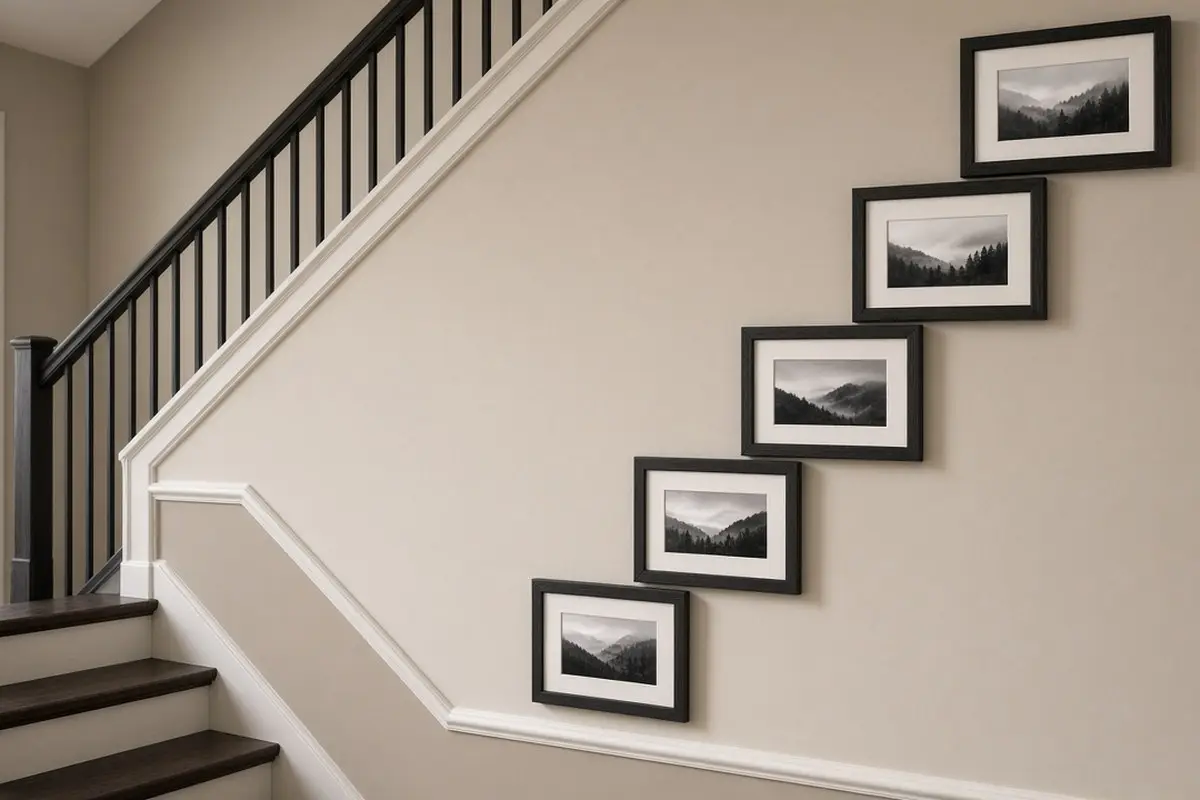
For a run of matching frames, hang them in a single row that climbs with the stairs. Center each frame on the tape line and keep the gaps between frames identical, usually 4 to 6 inches. From the bottom step, the row reads as a single diagonal band, which carries the eye up the stairs instead of stopping it.
Use frames of one size and color for this. Mixed frames in a stepped row look like an accident; matched frames look like architecture.
The row also works on a narrow stair where people brush past the wall, because the frames sit in a single line rather than projecting at different depths. Thin profile frames, about an inch deep, stay out of the way. If you have a handrail on the art side, keep the bottom edge of the frames at least 10 inches above the rail so hands do not hit glass.
3. A grid tilted to the stair angle
A grid of two or three rows can work on a tall stair wall if you shift each column up by the rise of the stairs. Think of it as a parallelogram rather than a rectangle. Lay the frames out on the floor first, then trace them onto kraft paper and tape the paper templates to the wall so you can judge the shape from the bottom step before you drill.
A grid suits a modern house with clean white walls and a simple stair, where its order matches the architecture. Keep spacing tight, two to three inches, so it reads as one block from a distance. Wider gaps make a grid fall apart into separate pieces on a wall this large. The same paper templates help with nail placement: mark the hanger position on each template, drive the nail through the paper, then tear the paper away.
4. Fewer, bigger frames
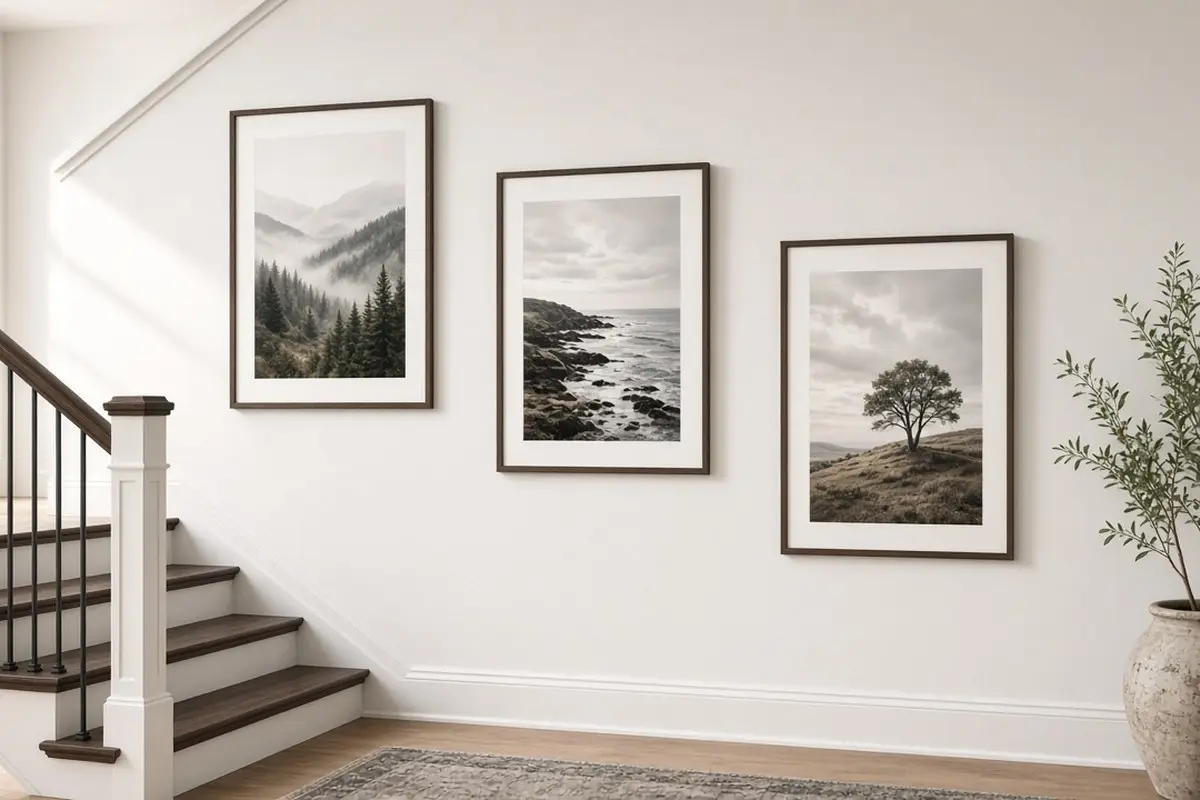
When in doubt, go up a size. A stair wall is often 15 to 20 feet long and two stories tall, and art that looks generous in a bedroom shrinks to postage stamps here. Three large frames, each 24 by 36 inches or so, will read from the foot of the stairs where nine 8 by 10s will not. Big mats help too; they add size without needing a bigger image.
Get the look
5. Family photos printed in one tone
A family photo wall on the stairs is a classic, but color snapshots of different ages fight each other. Print them all in black and white, or all in warm sepia, and frame them alike. From the bottom step, the wall reads as one calm surface, and the faces come into focus as you climb.
Limit the number to what you can keep current. A stair wall with photos from twenty years ago and none from the last five feels like a time capsule. Plan the frames so a few can be swapped each year, perhaps the ones nearest the bottom where everyone sees them first. Mats in white or off-white keep different photos looking related, even when the people and settings vary widely.
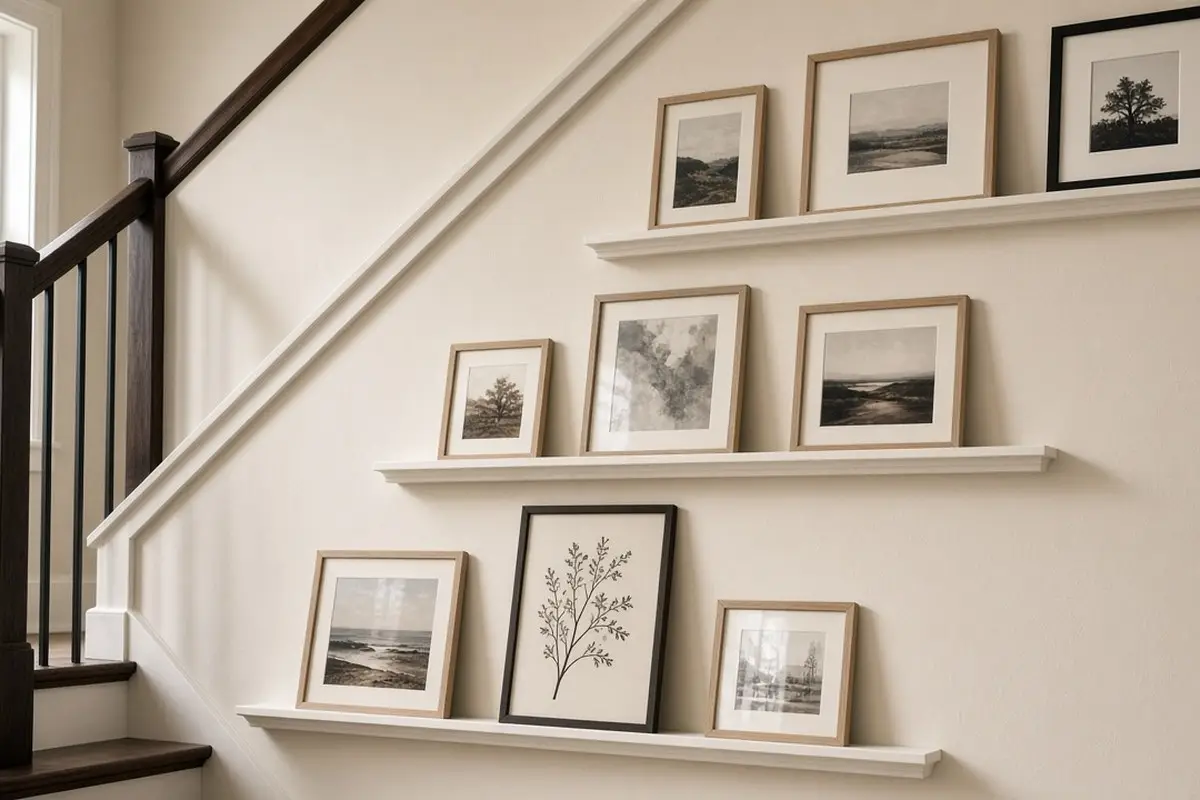
6. Picture ledges stepped up the wall
If you change your art often, mount two or three picture ledges along the rake, each one stepped up from the last. Lean frames on them and swap them without new holes. Ledges also suit renters, since a few screws are easier to patch than a whole gallery.
Keep ledges above shoulder height on the stairs so a passing elbow does not knock a frame down.
Get the look
7. A mirror at the landing turn
On a staircase with a landing, the wall you face as you climb is the wall seen from the bottom step. A mirror there bounces light down into the stairwell and makes a dark stair feel larger. Pair it with art on the climbing walls rather than another mirror, so it remains the focal point.
Size the mirror to the landing wall, leaving at least a foot of plain wall on each side, and hang it so its center sits around eye level for someone standing on the landing. A round or arched mirror softens the strong diagonals of the stairs. Check what it reflects from the bottom step; you want it to catch a window or a light, not the laundry basket on the top stair.
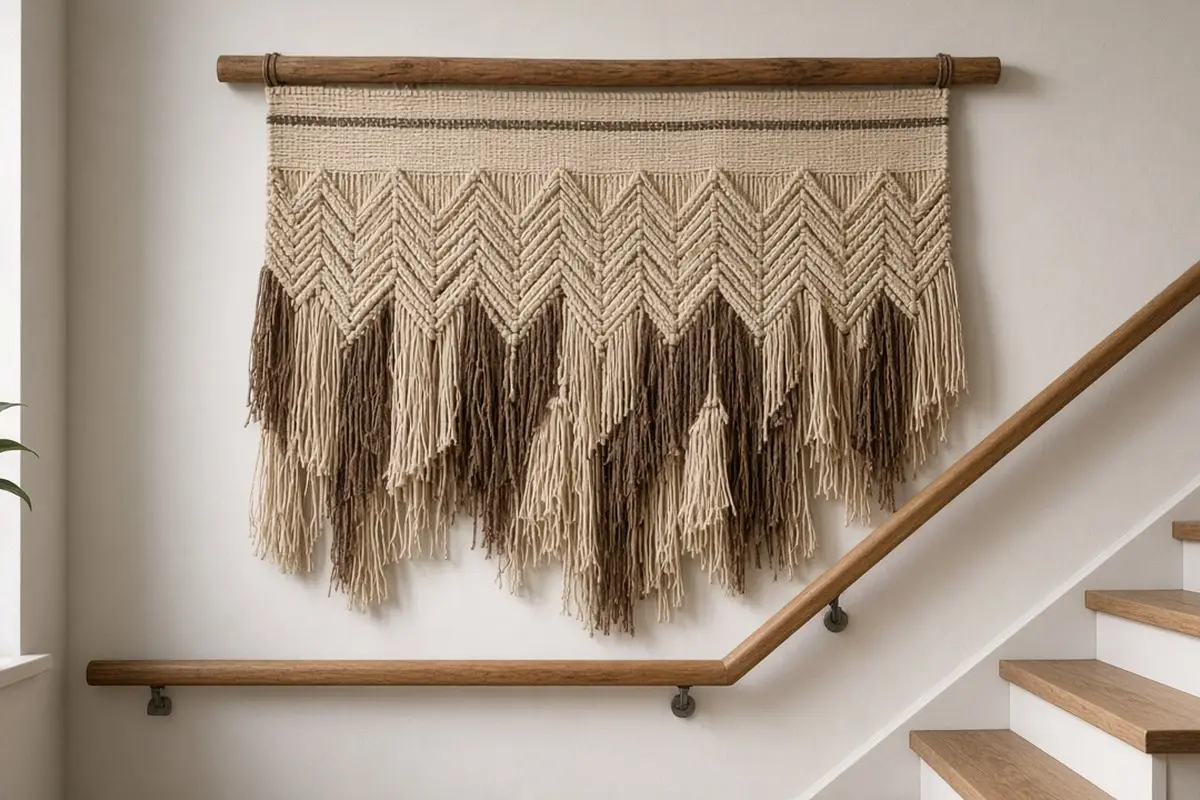
8. A textile or rug as wall art
A hanging rug, a quilt, or a woven textile softens a stairwell’s echo and fills a big wall with one simple gesture. Hang it from a wooden batten or a rod on brackets at the anchor point. Fabric is also forgiving if you misjudge the height by an inch.
Get the look
9. Painted stripe or wainscot under the art
Sometimes the art needs a frame of its own. A painted band below the rake line, or a run of wainscoting that follows the stairs, gives the art a base and makes even a few small frames look intentional. It also hides the scuffs every stair wall collects at hip height.
Use a scrubbable finish, such as satin or semi-gloss, for the lower band, and keep the upper wall in a matte or eggshell finish that does not glare under a pendant light. A darker lower band in a deep green, navy, or warm gray grounds the stairs and makes the art above look lighter. Tape the angled line carefully; a wobble here is more noticeable than any frame that hangs slightly out of place.
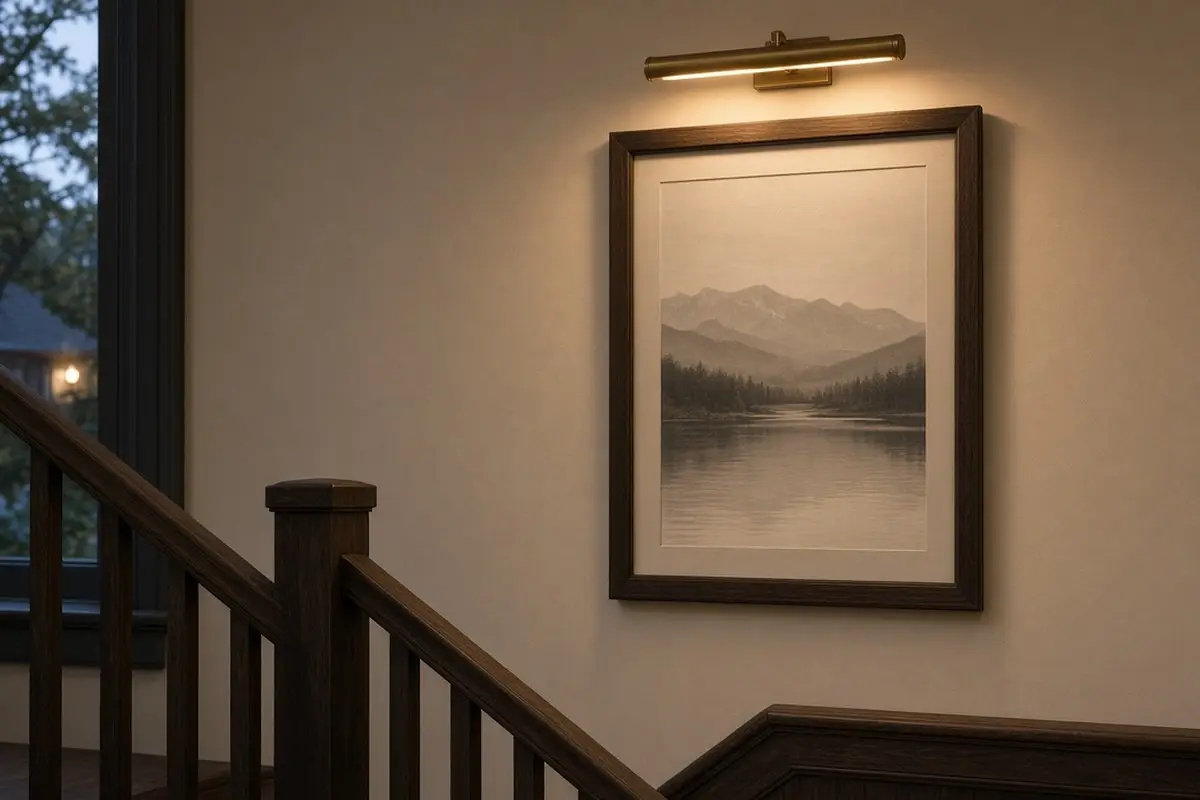
10. Lighting the run
A stair wall seen from below is often in shadow, because the only light is a pendant at the top. Add plug-in or battery picture lights over key pieces, or a few step lights at the bottom of the wall. Even a small light on the anchor piece makes the whole wall readable from the hall.
Keep the color warm, around 2700K, so the art does not take on a blue cast at night. Battery lights with a remote or timer are ideal on a stair wall, where running new wiring means opening plaster. If you can add a switched circuit, a row of low step lights does double duty as a safety light and a gentle wash across the bottom of the art.
Get the look
Hanging safely on a stair wall
Work from a stable platform. A step ladder with one leg shorter than the other, or a ladder leveler accessory, is far safer than balancing on a tread. Find the studs where you can, use picture hooks rated for the weight, and add small bumpers to the bottom corners so frames stay straight when the house shakes on a busy morning.
Common questions
How high should art hang on a stair wall? Center it about 57 to 60 inches above the stair nosings, measured straight up, so it follows the rake.
Should stair art be big or small? Big. Stair walls are long and tall, and art has to read from the bottom step.
Can you mix frames on a stair wall? Yes, but keep one color or finish so the arrangement reads as one piece from below.
What art works best on stairs? Pieces with strong shapes and contrast, in frames large enough to read from the bottom step.
How do you plan a stair gallery wall? Mark the rake with tape, cut paper templates, and check the view from the bottom step before drilling.
For more, see hallway wall ideas, long hallway ideas, and entry mirror height.