
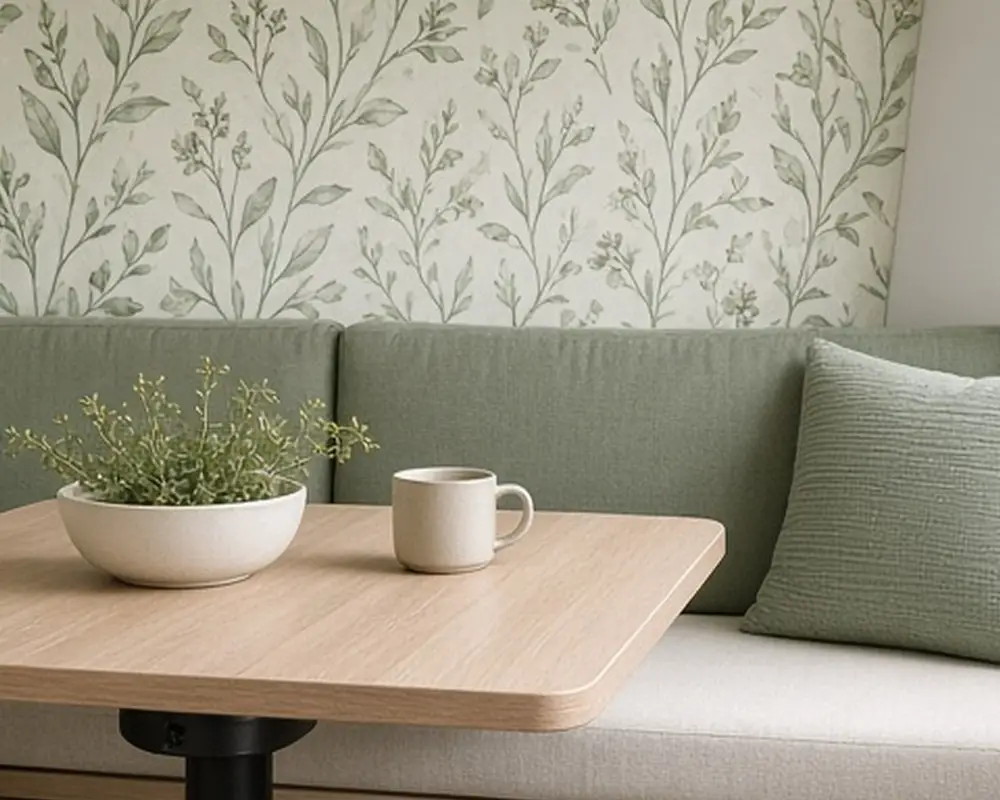
9 Wallpapers for an RV That You Can Take Back Off

On this page13 sections
- Before you buy: test the wall
- Peel-and-stick grasscloth look on the main wall
- A small-scale floral in the bedroom
- A vertical stripe to make a low ceiling feel taller
- Wallpaper on the slide-out only
- A washable paper behind the kitchen
- A dark color in a small bathroom
- Cabinet doors instead of walls
- A mural on the entry wall
- A paper on a removable panel
- How to hang it so it stays
- How to take it off later
- Common questions
Most RV walls start out the same way: a thin vinyl skin printed with a faint beige pattern, stapled or glued over a lightweight panel, broken up by a few strips of plastic trim. It is practical, but it rarely feels like home. Wallpaper is one of the quickest ways to change that, and the removable kind means you can undo it when you sell the rig, change your mind, or simply want a new look for next season.
Wallpaper in a camper is not quite the same job as wallpaper in a house, though. The walls flex as the rig moves down the road. Temperatures swing from a freezing storage lot to a hot campground in July. Humidity builds up from cooking and showers in a very small volume of air. And the surface underneath is usually vinyl, which some adhesives grip too tightly and others barely grip at all.
These nine ideas focus on papers and approaches that hold up to that life and still come off cleanly.
As an Amazon Associate I earn from qualifying purchases.
Before you buy: test the wall
The single most useful thing you can do is a patch test. Cut a small square from a sample, stick it to a hidden spot such as the inside of a cabinet door or the wall behind the sofa cushion, and leave it for two weeks, ideally including a drive and a hot day. Then peel it slowly. You are checking two things: that it stayed put, and that it came off without lifting the factory vinyl or leaving a sticky film.
Wash the walls first with warm water and a little dish soap, then wipe with plain water and let them dry fully. Many RV walls carry a residue from manufacturing or years of cooking, and adhesive will not bond well to it. Remove switch plates, outlet covers, and any trim strips you can unscrew easily, so the paper can tuck behind them instead of butting up against them.
It also helps to know what is behind each wall. Exterior walls in a camper can run cold in winter and collect condensation along the bottom edge, which loosens adhesive over time. Interior partition walls are steadier. If you are unsure which paper will last, start with an interior wall and see how it behaves through a season before covering the outside walls.
1. Peel-and-stick grasscloth look on the main wall
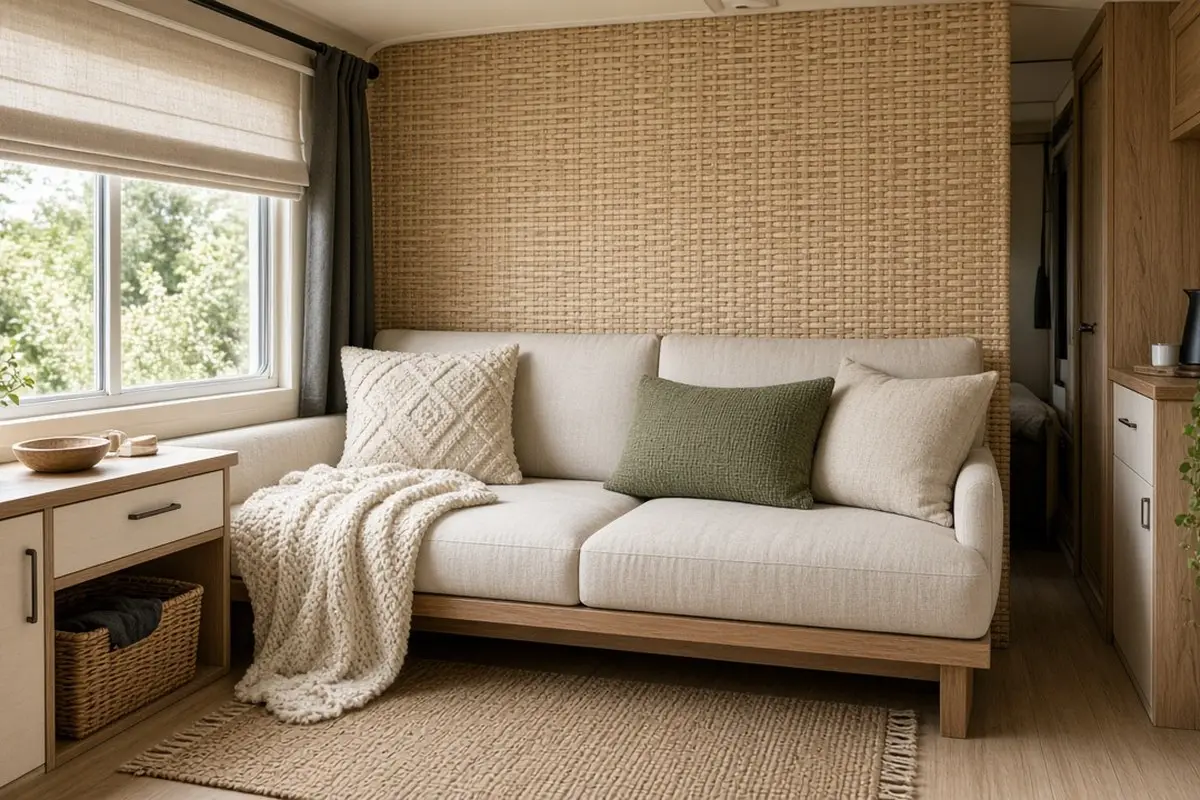
Real grasscloth is too fragile for a camper and too hard to remove, but printed and embossed peel-and-stick versions give the same soft, woven texture. Use it on the longest uninterrupted wall in the living area, usually behind the sofa or the dinette. The texture hides the slight waviness that RV panels tend to have, which a flat, shiny paper would show.
Grasscloth-look papers come in naturals like oat, flax, and soft gray, and those quiet colors suit the warm wood and beige upholstery that many campers ship with. If your rig already has a strong upholstery pattern, a plain woven texture keeps the wall from competing with it.
2. A small-scale floral in the bedroom
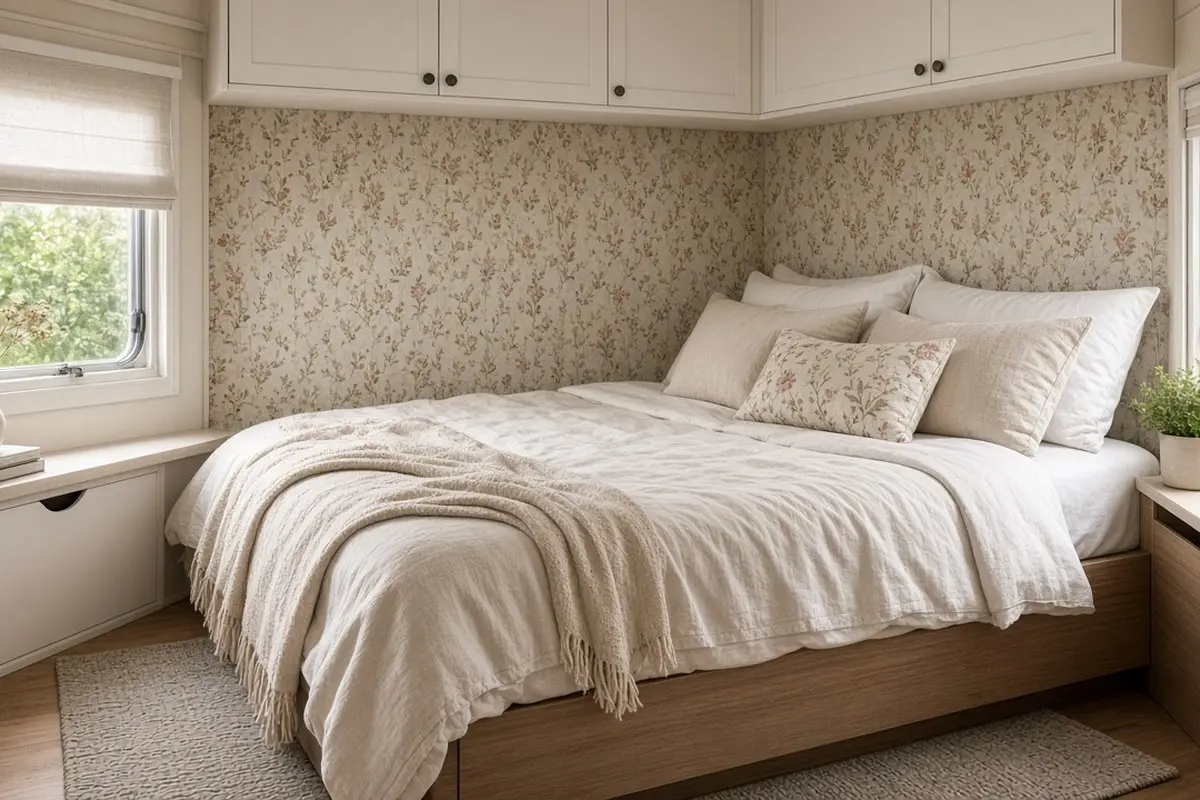
RV bedrooms are usually a bed surrounded by cabinets on three sides, so there is very little wall to cover. That makes it a good place to try a pattern you might find too much elsewhere. A small, tight floral in muted colors reads as texture from across the room and feels cozy up close. Keep the scale small; a large repeat gets chopped up by overhead cabinets and looks accidental.
The wall behind the headboard is usually the only spot that needs paper at all. Because the area is small, you can afford a slightly better paper here, and you will see it every night and every morning.
3. A vertical stripe to make a low ceiling feel taller
Many campers have ceilings under seven feet. A narrow vertical stripe draws the eye up and makes the room feel a little taller. Choose a subtle stripe, such as cream and a soft gray-green, rather than a high-contrast one. Strong stripes can make the wall look like it is leaning when the rig is not quite level, which happens more often than anyone likes.
Stripes are also forgiving to hang, because the lines make it obvious when a strip is drifting. Check plumb every two or three strips rather than relying on the edge of the last one.
4. Wallpaper on the slide-out only
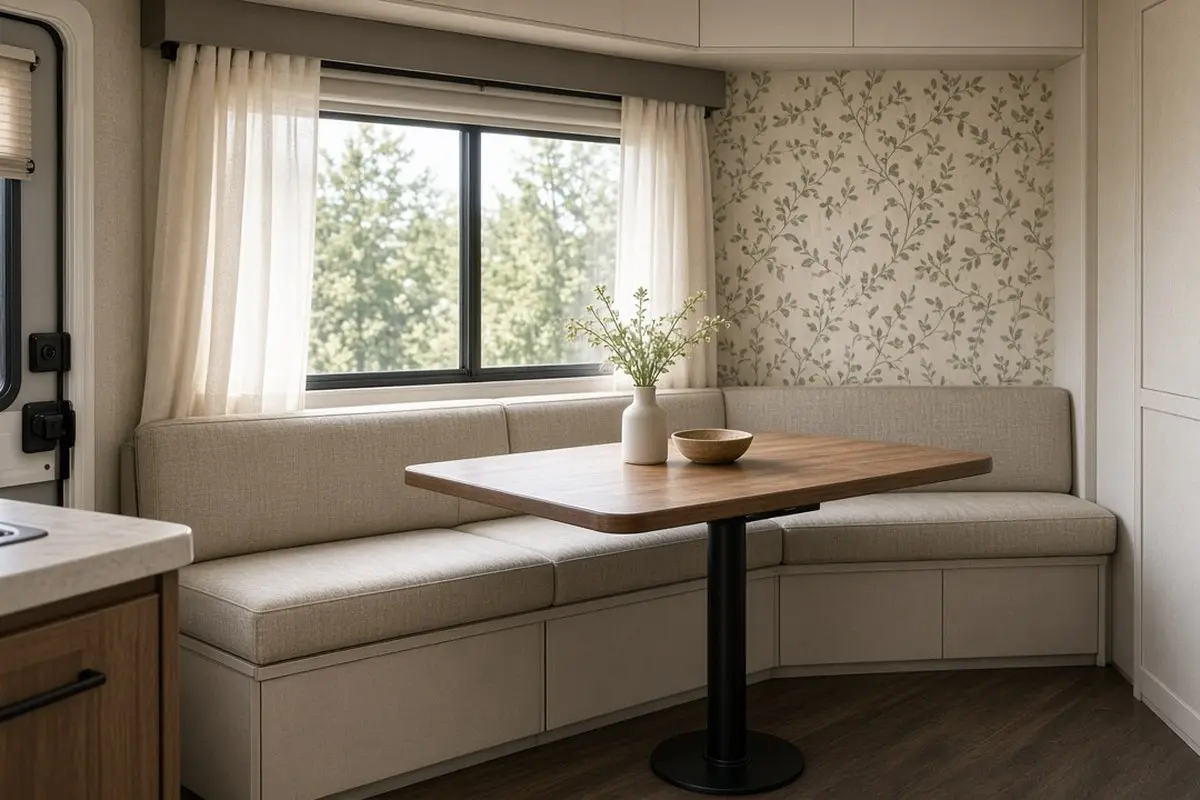
If you do not want to commit to the whole rig, paper just the back wall of the slide-out. It frames the sofa or dinette, creates a focal point, and uses only a roll or two. Slide-out walls do move in and out, so pay attention to the edges. Stop the paper a quarter inch short of the seals and the trim so nothing catches when the slide retracts.
Get the look
5. A washable paper behind the kitchen
The wall behind the galley takes splashes and steam. Look for a vinyl-coated peel-and-stick paper labeled washable or scrubbable, and avoid paper-backed products here. A subtle tile print can stand in for a backsplash, though a real peel-and-stick tile is sturdier right behind the stove. If you are rethinking the whole galley, our guide to camper kitchen prep space covers the counter side of the problem.
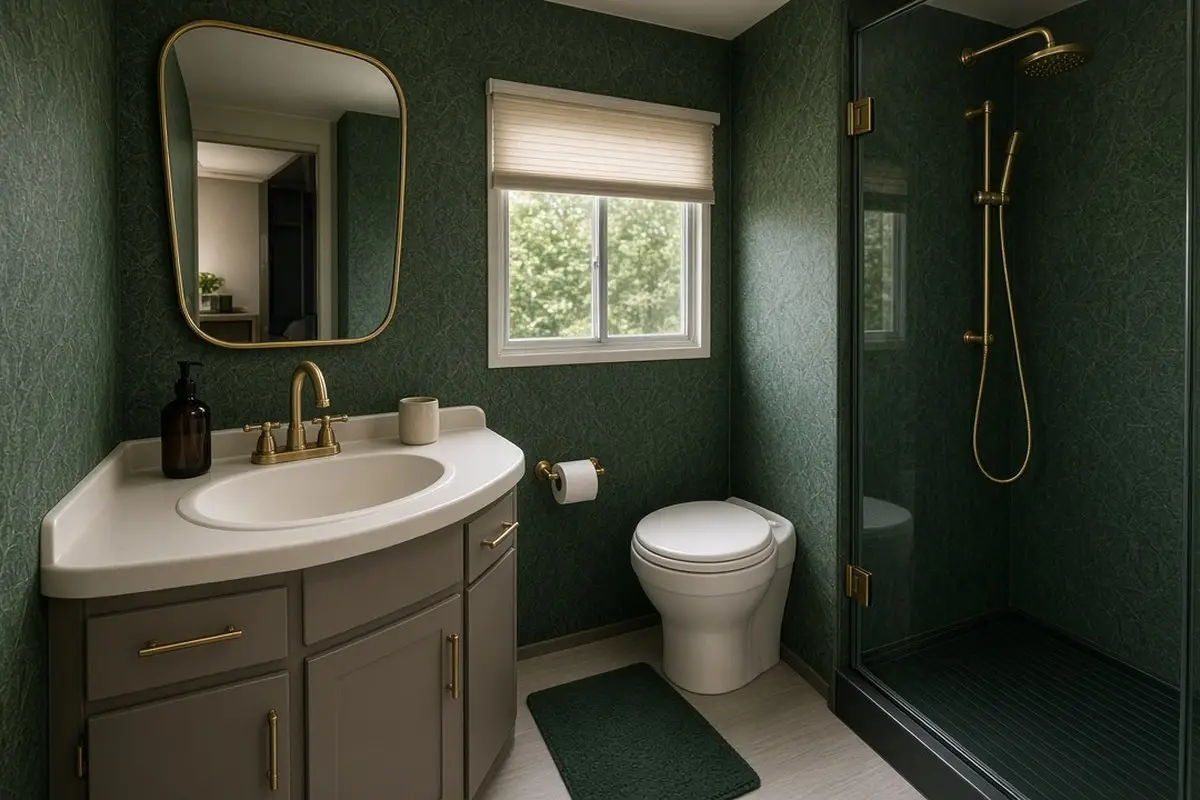
6. A dark color in a small bathroom
RV bathrooms are tiny, which means they need very little paper and can take a bold color. A deep green, navy, or charcoal paper makes the space feel deliberate rather than cramped. Choose a moisture-resistant vinyl and run the exhaust fan during every shower. Keep paper away from the inside of the shower surround itself; that area needs a waterproof surface, not wallpaper.
A dark paper also pairs well with simple brass or black fixtures, so a new faucet, mirror, or towel hook can finish the look without any plumbing work beyond a basic swap. Keep accessories minimal; the paper is doing the decorating.
7. Cabinet doors instead of walls
Overhead cabinets take up much of the visible surface in a camper. Covering the flat fronts of cabinet doors with a removable paper changes the room almost as much as doing the walls, with less cutting around windows. Remove the doors, lay them flat, apply the paper, and trim with a sharp blade. Add new pulls, and the cabinets look intentional instead of builder-grade.
Before you start, label each door with painter’s tape on the inside so it goes back in the same spot, and keep the hinges and screws in a bag for each one. Paper that wraps slightly around the edge of a door lasts longer than paper trimmed flush, because the edge is where hands and bumps wear it first.
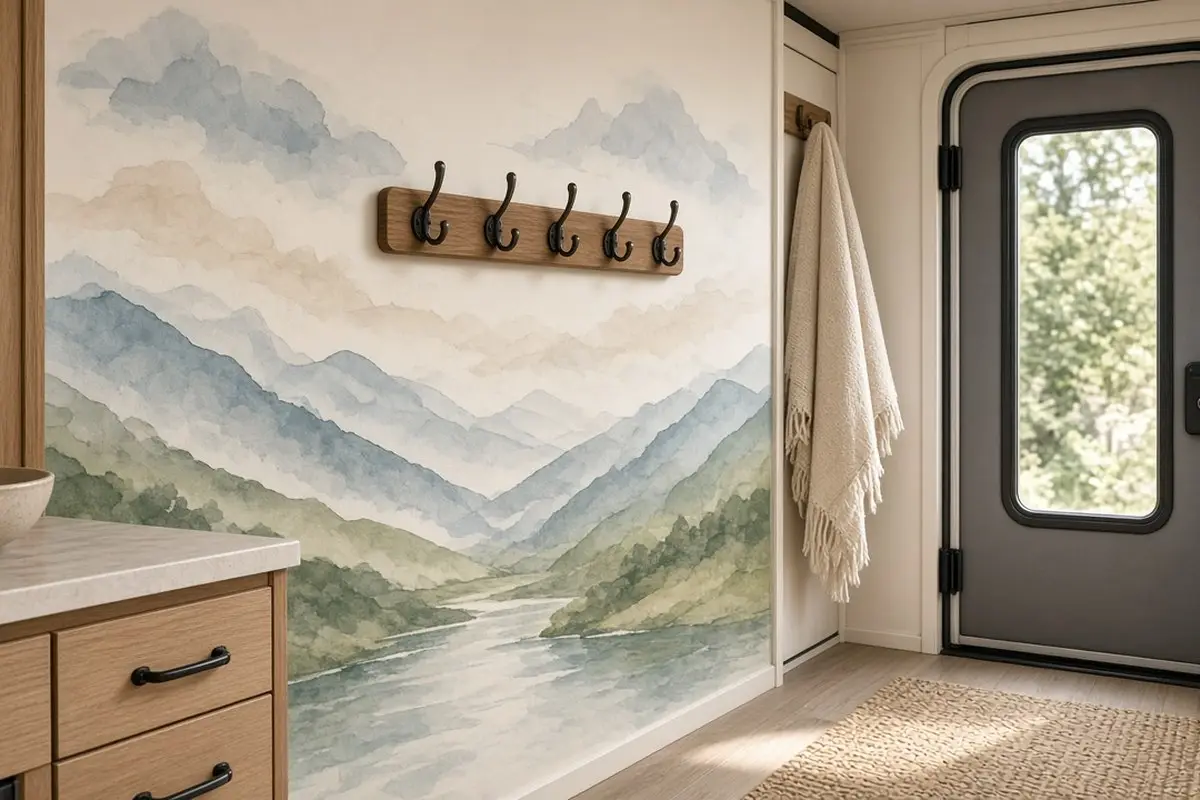
8. A mural on the entry wall
The short wall you see as you step inside is a natural spot for a scenic mural: a soft mountain range, a forest in mist, a watercolor coastline. It sets the tone for the whole rig. Murals come in panels that you line up edge to edge, so measure carefully and start in the center of the wall so any trimming happens evenly at both edges.
A mural works best with a little breathing room. Keep coat hooks and key racks to one side so the scene reads as a picture rather than a backdrop for clutter.
Get the look
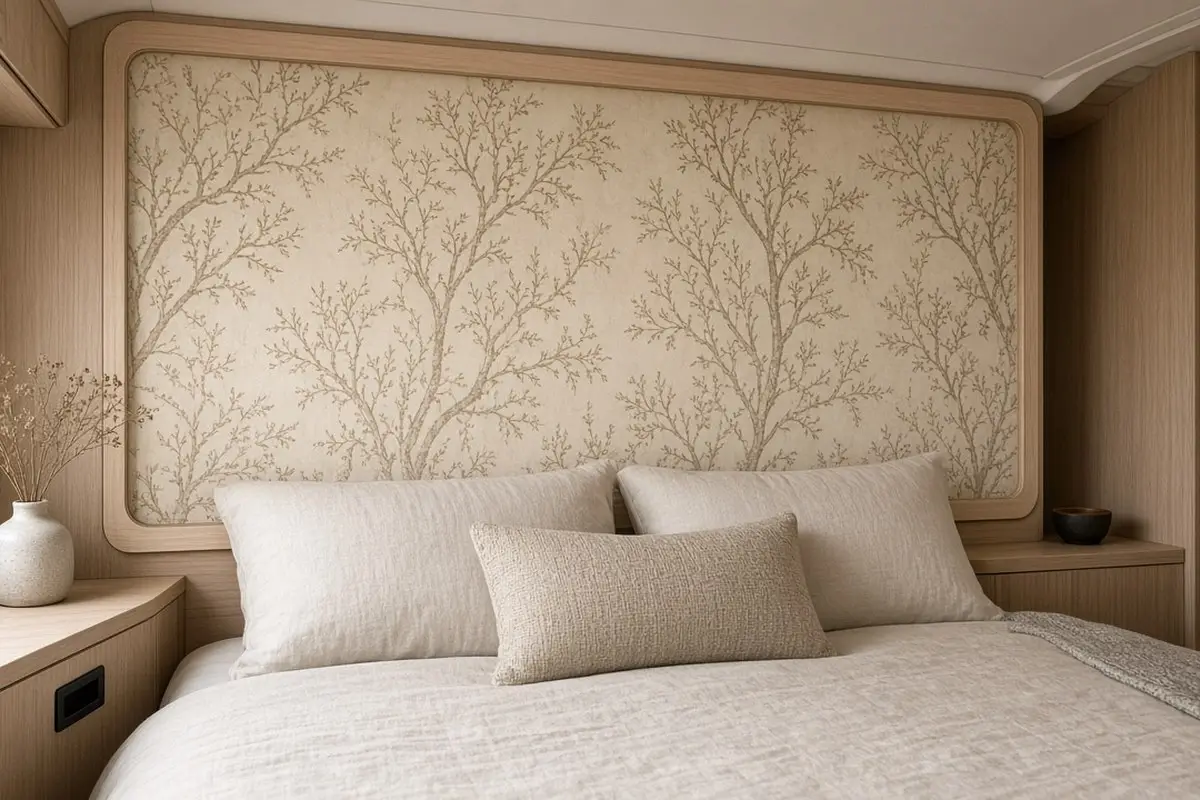
9. A paper on a removable panel
The most reversible option is not to put paper on the RV wall at all. Cut a thin sheet of lauan plywood or foam board to size, wallpaper it at the picnic table, and mount it with removable strips or a couple of small screws into existing holes. When you are done, the panel comes off in one piece and the original wall is untouched. This works well behind the bed or as a headboard wall.
The panel approach also suits full-time travelers who move between climates often, because a panel that starts to lift can be pulled down, re-stuck at the table, and put back in an evening.
Get the look
How to hang it so it stays
Work in a mild temperature, roughly sixty to eighty degrees, and let the rolls sit inside the rig for a day so they acclimate. Start with a plumb line drawn in pencil rather than trusting a cabinet edge; RV cabinets are rarely square. Peel off only a foot of backing at a time and smooth from the center outward with a plastic smoother.
Overlap seams by a hair or butt them tightly, depending on the product instructions. On vinyl walls, a small seam roller helps adhesive bond along the edges, which is where peeling usually begins. Wrap the paper a half inch around outside corners rather than ending right on the corner, where it will lift.
How to take it off later
Peel slowly at a low angle, pulling the paper back over itself rather than straight out from the wall. If it resists, warm it with a hair dryer on a low setting for a few seconds to soften the adhesive. Any residue usually lifts with warm soapy water; avoid harsh solvents, which can damage the printed vinyl beneath.
Common questions
Does peel-and-stick wallpaper work on RV walls? Usually, yes, on clean, smooth vinyl walls. Always patch test first, because some vinyl finishes are slick enough that adhesive struggles and others bond almost permanently.
Will wallpaper survive temperature changes in storage? Good vinyl peel-and-stick papers handle normal swings well. Extreme heat can soften adhesive, so a cover or shade in summer storage helps.
What about textured RV walls? Lightly textured walls can still take paper, but a textured paper hides the bumps better than a smooth one.
How many rolls does an RV need? Far fewer than you expect. Measure each wall section separately, subtract windows and cabinets, and add about fifteen percent for trimming and pattern matching.
For more ideas on making a small footprint feel like home, see our studio apartment layout guide and these low furniture apartment habits.