
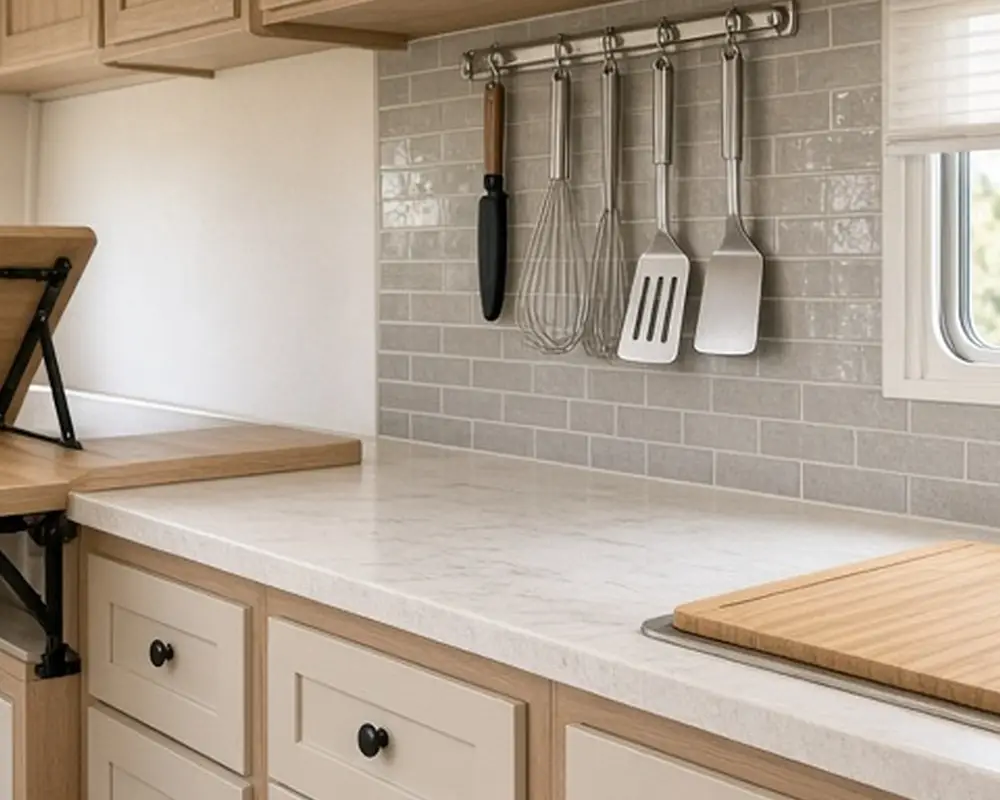
8 Camper Kitchens With a Real Place to Chop

On this page10 sections
Camper kitchens have all the problems of a studio kitchenette, plus a few of their own. The counter is usually tiny, often just the lid of a sink and a two-burner stove. Everything has to stay put when the trailer is moving down a bumpy road. Weight matters, because every pound affects towing and fuel. Water, food, and propane add up quickly, so the kitchen fittings themselves should be as light as possible. And the space is often oddly shaped, curved, or interrupted by a wheel well.
Yet many people cook real meals on the road, and they need somewhere to chop. Eating out every night is expensive, and cooking is part of the pleasure of camping, whether it is breakfast before a hike or dinner after a long drive. A camper kitchen remodel does not have to mean new cabinets. Often a few smart additions, like a flip-up counter, sink and stove covers, and better wall storage, turn an unusable galley into a workable kitchen. The eight ideas below focus on prep space first, with storage that holds firm while moving. For similar tricks in a fixed home, the studio kitchenette ideas post covers apartment kitchens.
As an Amazon Associate I earn from qualifying purchases.
Three rules for camper kitchens
Lightweight. Every addition adds weight. A heavy stone board or a solid oak shelf might add 20 pounds, which matters more than you think once water tanks and supplies are full. Choose bamboo, thin plywood, aluminum, and silicone over solid hardwood, stone, or cast iron where you can. Check your trailer’s carrying capacity before adding heavy items.
Secured. Anything that can slide, fall, or swing will do so on the road. Before every trip, walk through the kitchen and check that each door, drawer, and loose item is fastened. Use latches, bungee cords, non-slip liners, tension rods, and magnets to hold things in place.
Multi-use. Space is too scarce for single-purpose tools. A cutting board that covers the sink, a pot that also serves, a table that also preps.
Before buying anything, measure every surface and opening in the kitchen and write the numbers on a single page. Camper spaces are full of odd angles, and a few inches can decide whether an idea works. Keep the page in the glove box for shopping trips.
1. A flip-up counter extension
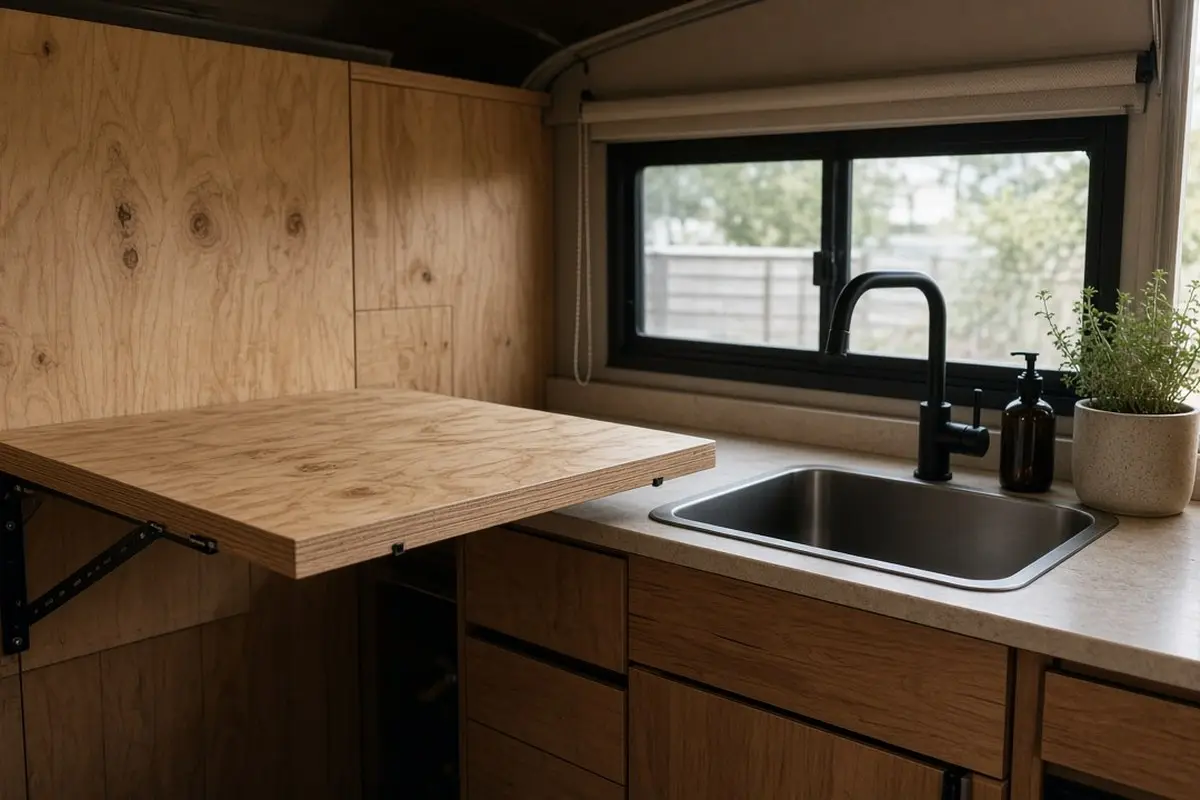
The most effective prep upgrade in many campers is a hinged counter extension. It folds down flat against the cabinet when not in use and flips up to add a foot or more of work surface beside the sink or stove. Folding shelf brackets lock it level.
Mount it at the end of the existing counter, where it will not block a door or walkway when raised. A sheet of lightweight plywood with a laminate or sealed finish is light and durable.
Make sure it locks firmly in both positions, so it does not drop when you lean on it or swing when you drive.
If there is no wall space at the end of the counter, consider a pull-out board instead. A thin board on drawer slides, mounted just under the counter, slides out to give extra prep space and disappears when closed. It is a common feature in boats and tiny homes and works well in campers with a few inches of space below the counter top.
Another option is a hinged lid over a storage area, such as a bench or a trash bin, that becomes a counter when closed. Look for any flat surface near the kitchen that could do double duty.
Get the look
2. Sink and stove covers
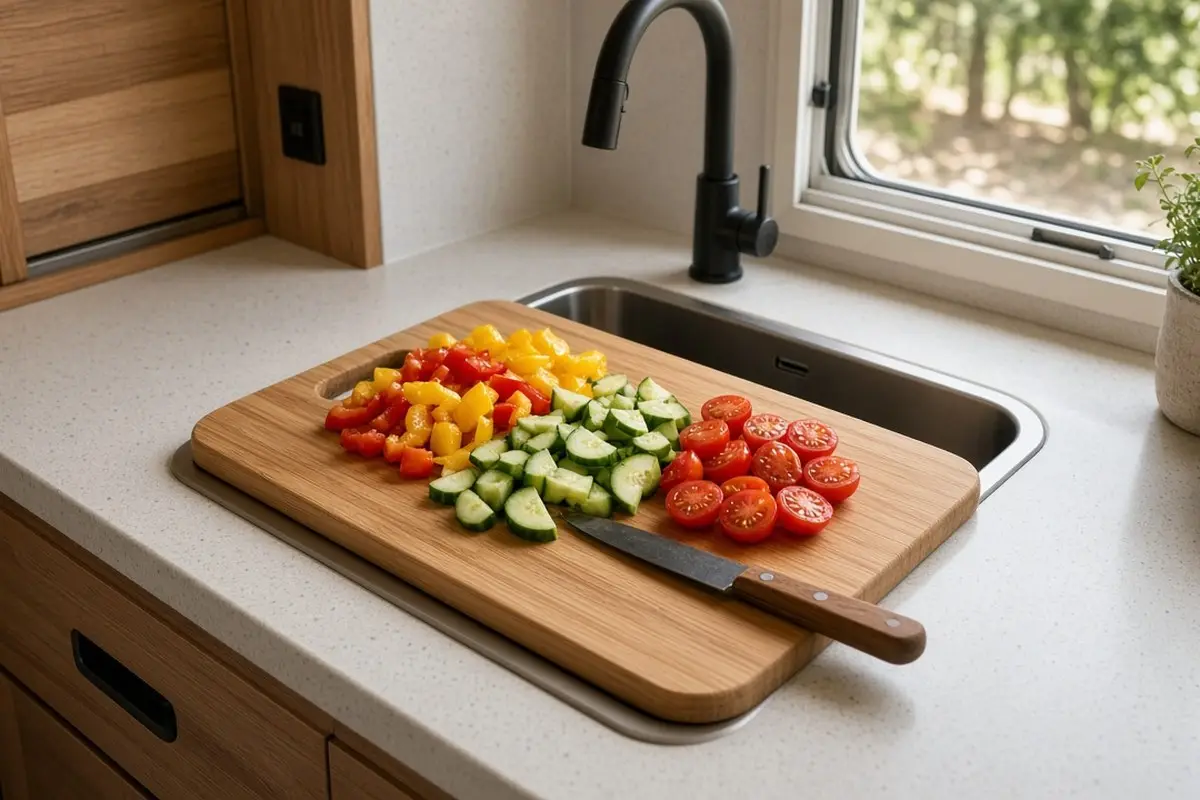
Many campers come with glass covers over the stove and sink. Replace or supplement them with fitted wooden or bamboo covers that double as cutting boards. With both covered, the whole galley becomes one continuous prep surface.
Measure the sink and stove openings carefully, since camper sinks and stoves come in non-standard sizes. Custom-cut boards from a sheet of bamboo or hard maple fit best. Add small rubber feet or a lip underneath so the cover sits snugly and does not slide while you chop. Oil wooden covers regularly to keep them from drying out in changing climates.
Use the stove cover only when the stove is off and cool. Check that the cover does not block the stove’s gas valve or vents, and never store anything on top of the stove while traveling. Store the covers flat in a slot beside the fridge or behind the seat when cooking.
Get the look
3. A fold-down wall table
A small fold-down table on a wall near the kitchen gives prep space and doubles as a dining or work table.
Many campers already have a dinette near the kitchen, which can serve as a large prep space when cooking. If your layout has an empty wall instead, a fold-down table mounted at counter height is the more useful option for chopping. A removable leg that clips into a floor socket adds stability for heavier work.
Latch the table firmly in its folded position before driving. A table that swings open on a bend can damage the wall or anything nearby.
Get the look
4. Magnetic and rail storage
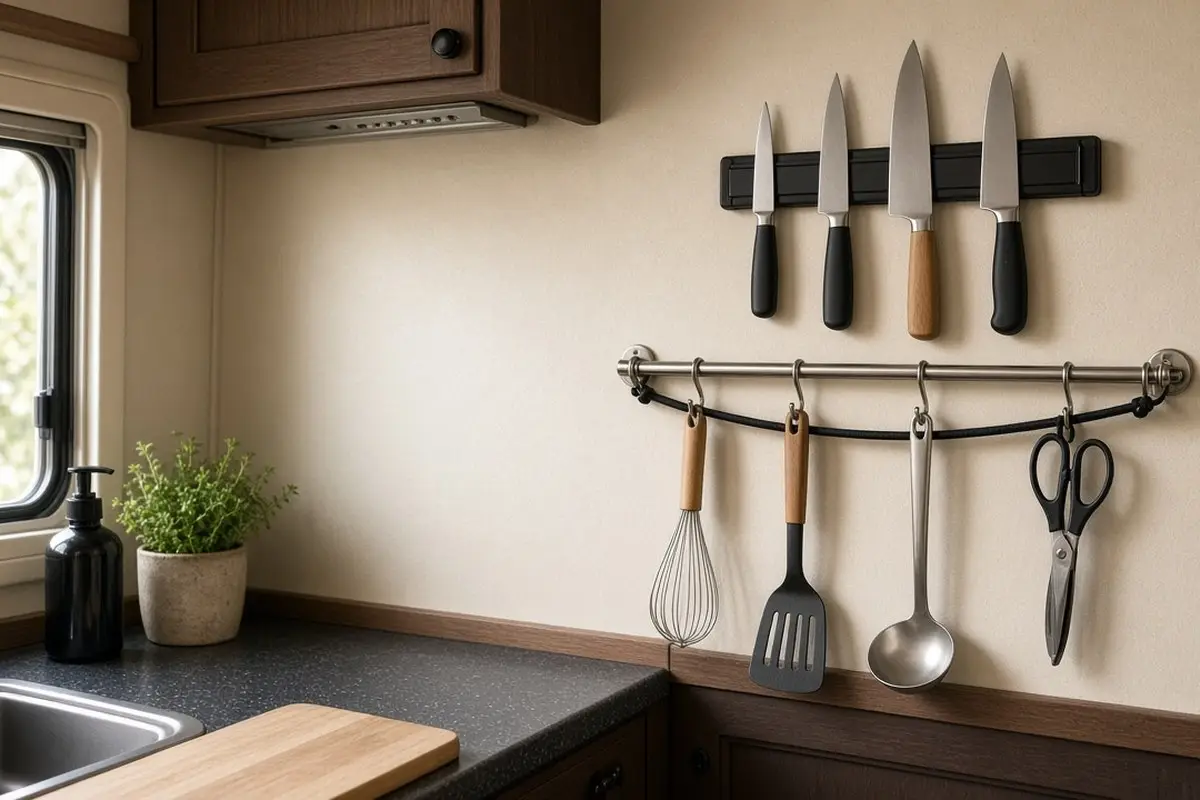
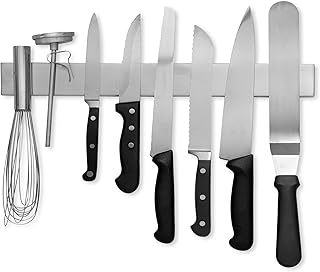
A magnetic strip holds knives and metal tools securely, even on rough roads. Choose a strong one rated for heavy knives. Test it on a bumpy road. A rail with hooks holds utensils, and a bungee or bar across the front stops them swinging.
Magnets are a camper’s best friend. Magnetic spice tins stick to the side of the range hood or a metal panel. Magnetic hooks hold towels and oven mitts. Even a small metal sheet mounted on the wall gives you a place to stick tins, clips, and tools that would otherwise slide around a drawer.
Test everything on a short drive before a long trip. Anything that rattles or falls needs another fix.
Get the look
5. Collapsible cookware
Collapsible bowls, colanders, and measuring cups fold flat and free cabinet space. Silicone versions are light, unbreakable, and easy to clean with little water.
Nesting cookware, where pots fit inside each other with removable handles, saves even more. A single set can replace a whole cupboard of pans. Choose lightweight aluminum or stainless with a nonstick coating, and keep a small cast iron pan only if you really use it, since it is heavy.
Plates and cups in enamel, bamboo, or melamine are light and do not break on the road.
Get the look
6. Secure the cabinets
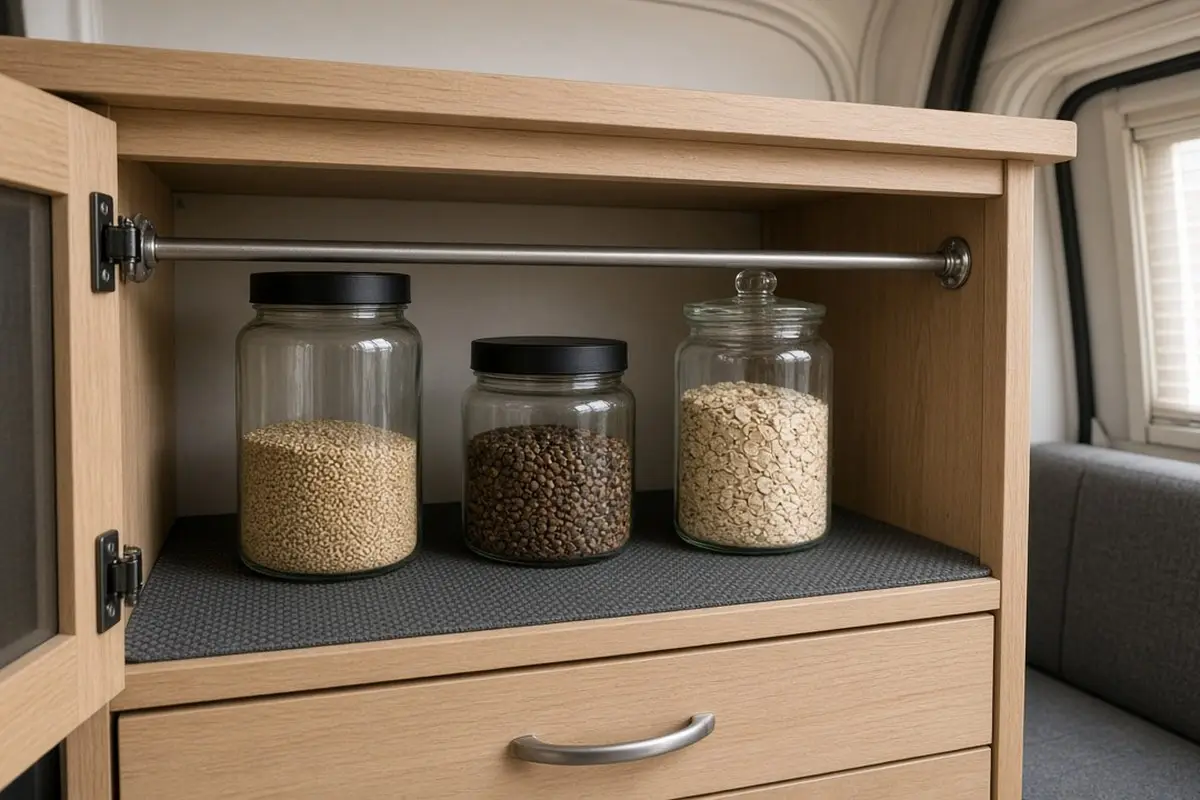
Tension bars, non-slip liners, and cabinet latches keep things in place.
Line every shelf with non-slip liner; it costs little and stops most sliding. Spring-loaded tension bars across the fridge shelves keep jars upright. Upgraded cabinet latches, such as push-button or positive locking latches, stop doors flying open on rough roads. Store heavy items low and toward the center of the trailer to help balance.
Get the look
7. An outdoor prep table
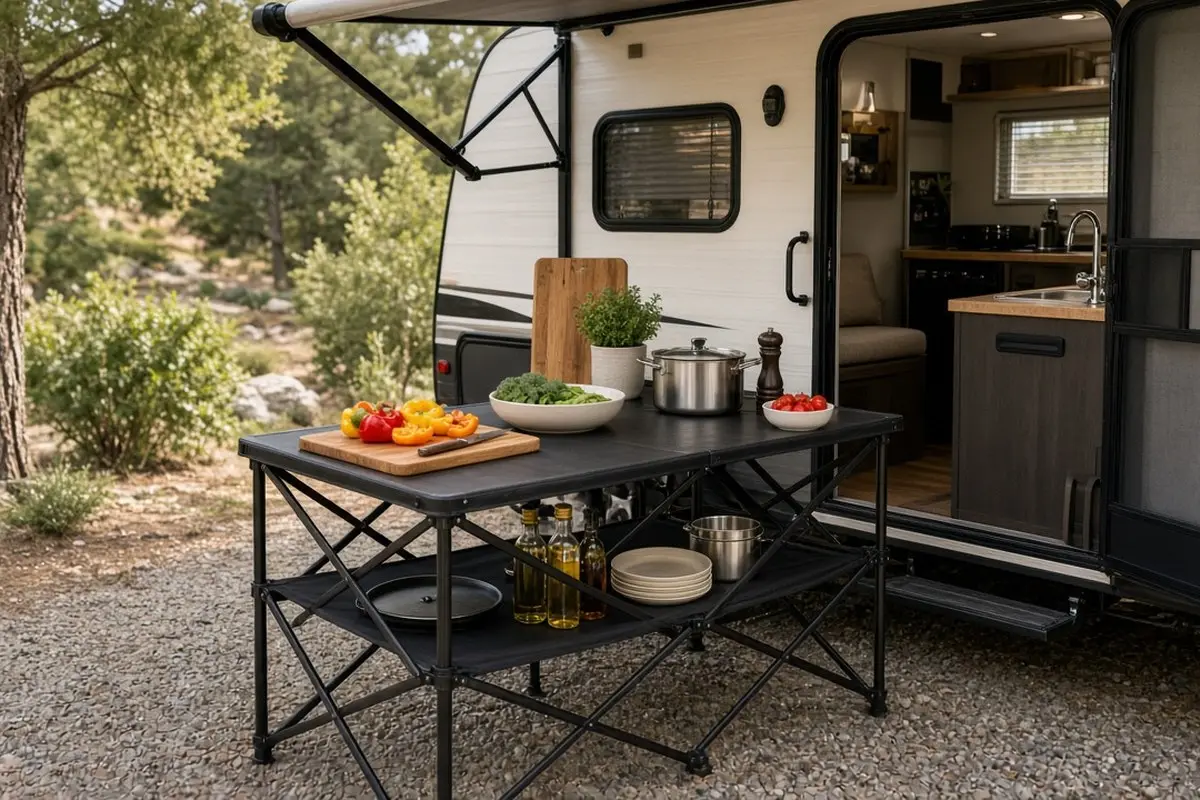
When parked, a folding outdoor table doubles your prep space.
Many campers cook outside on fine days, which keeps heat and smells out of the trailer. It also turns cooking into part of the trip, with a view instead of a wall, and frees the indoor galley for washing up and storage. A folding camp kitchen table with a shelf, side wings, and a hanging rail creates a full outdoor workstation. Some trailers have an exterior pass-through or outdoor kitchen; a folding table beside it extends the counter further.
Keep a small tub for washing up outside, and bring everything back in before dark or rain.
Get the look
8. Light the counter
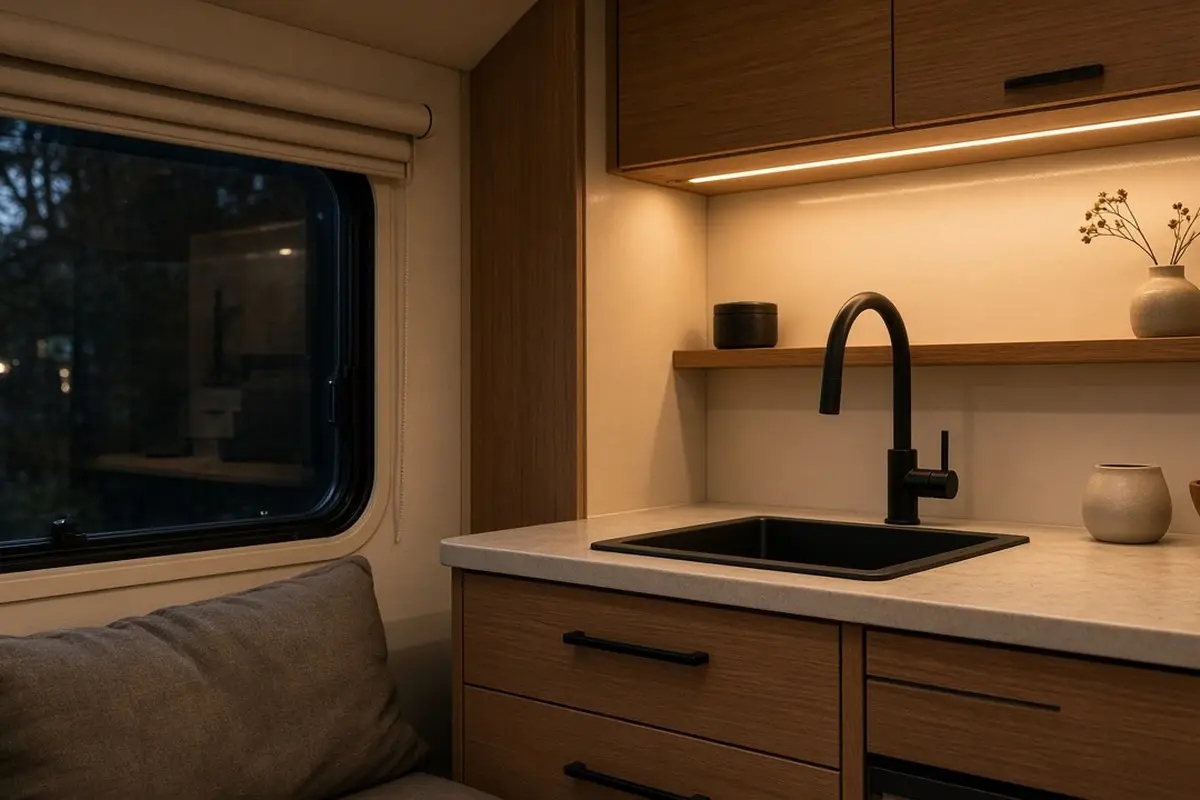
Rechargeable or 12V lights under cabinets make evening cooking safer.
Camper kitchens often rely on one dim ceiling light. Adding task light under the cabinets, powered by the trailer’s 12V system or rechargeable batteries, makes chopping much safer. LED strips draw very little power, which matters when you are off the grid. Warm white light makes evenings feel cozy. A dimmer or two brightness settings help.
Get the look
FAQ
How do I add counter space in a camper?
A flip-up extension, sink and stove covers, or a fold-down table.
How do I keep things from moving in an RV kitchen?
Use latches, tension bars, non-slip liners, and magnets.
What is the best cookware for a small camper kitchen?
Nesting and collapsible pieces. The mini kitchen ideas post covers compact appliances.
Can I remodel a camper kitchen myself?
Many prep and storage upgrades are simple DIY projects. Leave gas, water, and electrical changes to a qualified RV technician, and keep weight limits in mind.
How do I keep food from spoiling in a small camper fridge?
Pack it cold, keep the door closed, and leave space for air to move. Use fridge bars to keep things from shifting, and pre-chop ingredients at home so they take less room. The small kitchen organization post covers efficient storage that works in a camper too.
What is the most useful camper kitchen upgrade?
For most people, a flip-up counter extension or a fitted sink cover. Both add real prep space for little cost and weight.
Can I use a cutting board on the camper table?
Yes. Put a non-slip mat under it, and the dinette or fold-down table becomes a comfortable seated prep spot for longer jobs.
A camper kitchen can have a real place to chop. Add light, secure prep surfaces, and cook well on the road.