
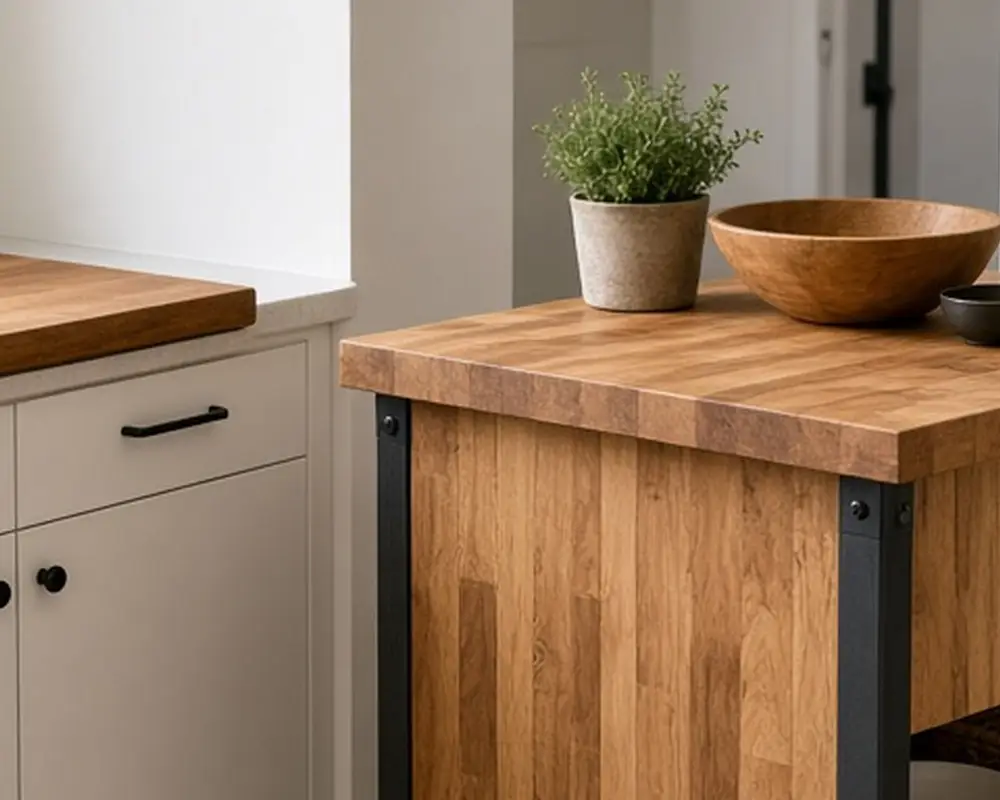
10 Studio Kitchenettes With a Real Place to Prep

On this page12 sections
The typical studio kitchenette has everything except the one thing you need to cook: counter space. There is a sink, a two- or four-burner stove, a small fridge, and perhaps 18 inches of counter squeezed between them. That narrow strip fills instantly with a kettle, a dish rack, and a bottle of oil, leaving nowhere to chop an onion.
If you rent, you cannot add cabinets or extend the counter. You also probably cannot replace the stove or move the sink. That is fine. Most of the fixes below need no tools and no landlord’s permission, and you can create prep space in other ways: over the sink, over the stove, on a cart, on the wall, and at the table. The ten ideas below are all about one goal, finding a real place to prep in a tiny kitchen. For the bigger picture of planning a small kitchen from scratch, the mini kitchen ideas post covers layouts and appliances; here we focus on working with the kitchenette you already have.
As an Amazon Associate I earn from qualifying purchases.
Start by clearing the counter
The first source of prep space is the counter you have. In most studio kitchenettes, it is covered with things that could live elsewhere. Take everything off and put back only what you use every single day. Everything else goes on the wall, in a cabinet, or under the sink.
The usual culprits are the dish rack, the kettle, the knife block, the toaster, and bottles of oil and soap. Each has a better home, as the ideas below show. Even freeing 12 inches of counter makes a noticeable difference.
It helps to think about prep as a sequence. You take food from the fridge, wash it at the sink, chop it, and carry it to the stove. In a tiny kitchen, each step needs a surface, even a temporary one. Plan where each happens before you start cooking, and you will spend less time shuffling things around.
1. An over-the-sink cutting board
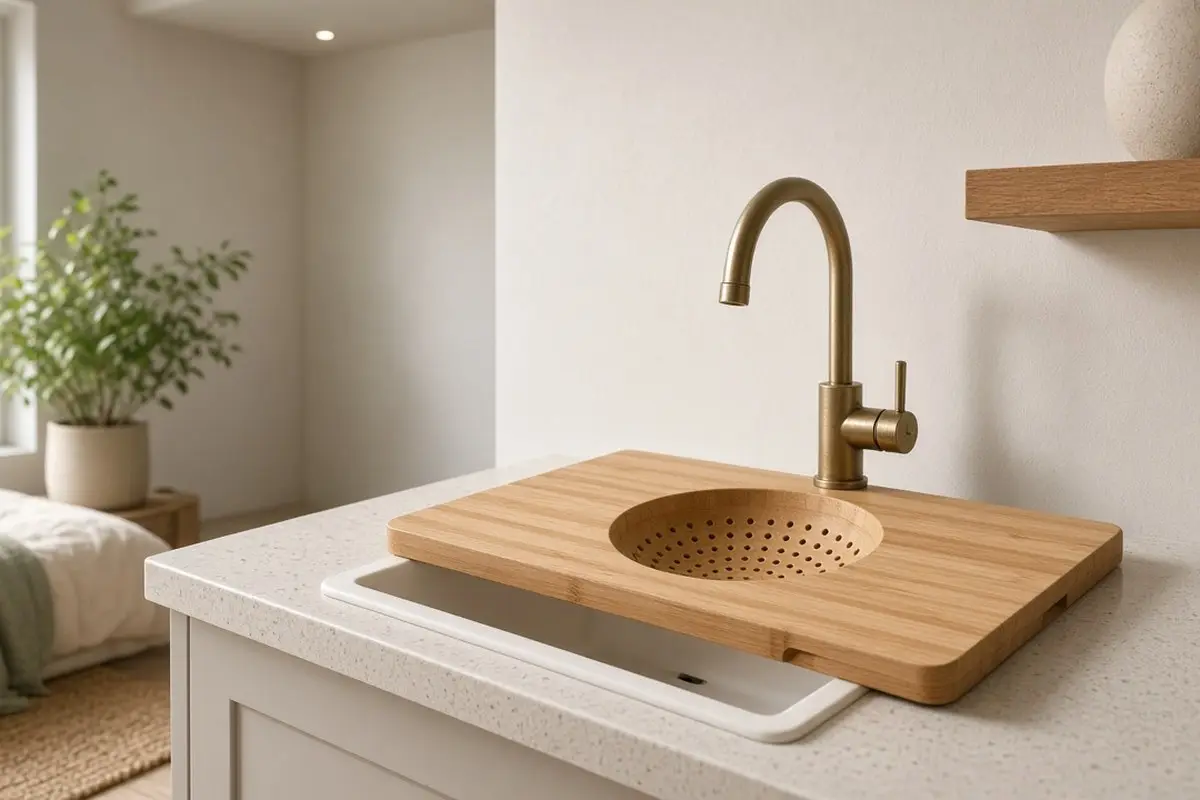
An over-the-sink cutting board spans the sink and turns it into prep space. Many models have a built-in colander, so you can rinse vegetables and chop them in the same spot, with scraps falling straight into the sink.
Measure the sink width from rim to rim and choose a board that rests securely on both sides. Some are expandable to fit different sinks. A board with a non-slip edge is safer for heavy chopping.
When you need the sink, lift the board and stand it against the backsplash. A board made of bamboo or a dense hardwood is light enough to lift easily and resists water well.
Get the look
2. A stove cover board
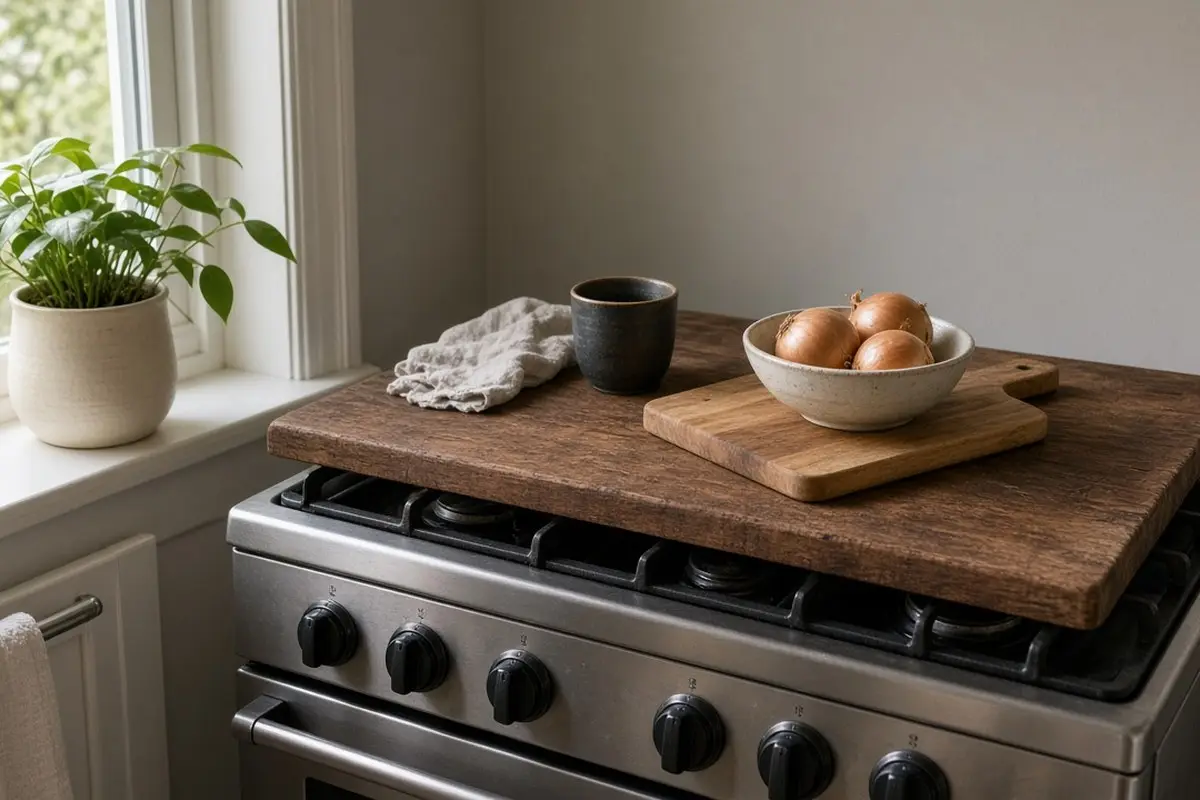
When you are not cooking, a stove top cover turns the burners into counter space. Wooden noodle boards or heat-resistant covers sit over the burners and give you a full extra prep surface, often the largest flat area in a kitchenette.
Only use a cover on a cool stove. Gas grates can be removed first so the board sits flat and stable on the stove top. Remove it before turning on any burner, and never use it on an induction or electric hob that is still warm. Store it upright beside the fridge when not in use.
Get the look
3. A rolling kitchen cart
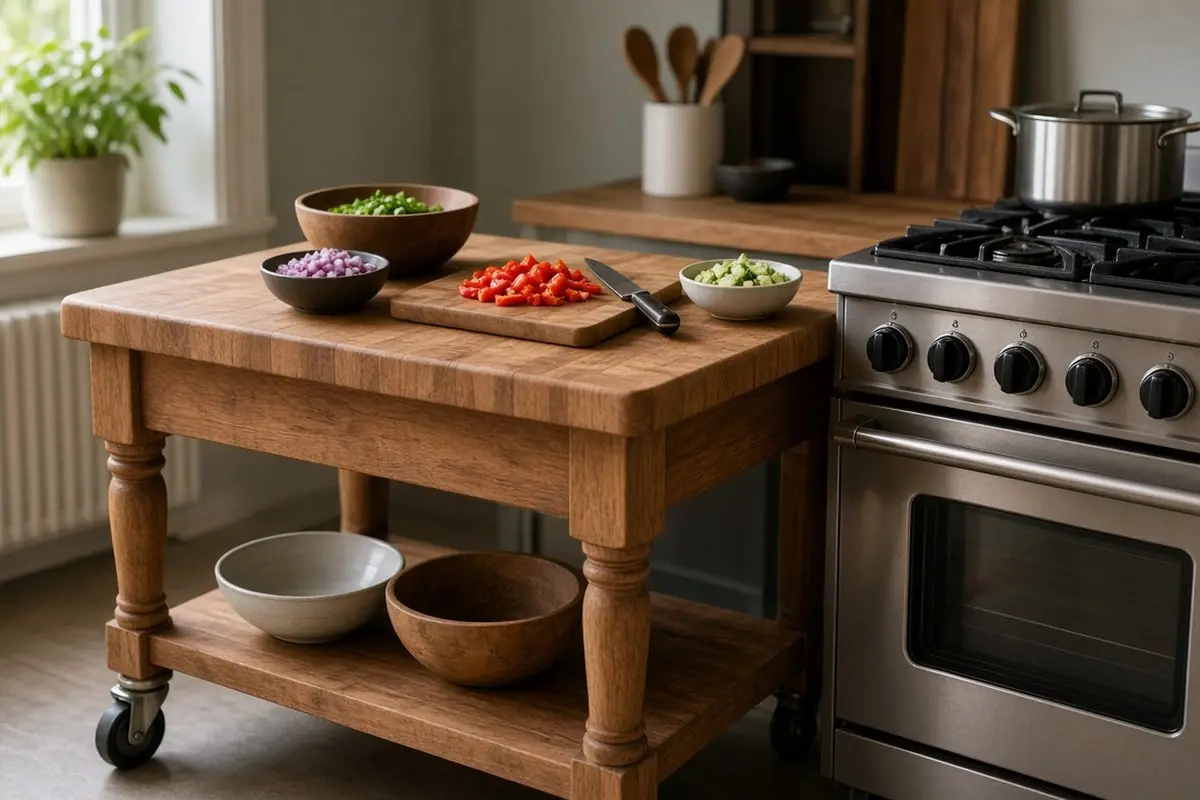
A rolling cart with a butcher block top is the most flexible prep space in a studio. Pull it alongside the stove when cooking, push it against the wall when you are done. The shelves below hold pots, a fruit basket, or small appliances.
Choose one with locking wheels and a top at counter height, usually around 36 inches. Even a narrow cart, 15 to 20 inches wide, adds meaningful prep space.
In a studio, the cart can do several jobs during the day. It can be a prep surface at dinner, a bar cart when friends come over, and a side table near the sofa. Keep the top clear between uses, and store everyday items like oils and spices on the lower shelves so the top is always ready for chopping.
Get the look


4. A wall-mounted folding table
A fold-down table mounted on the wall near the kitchenette gives a prep surface that disappears when closed. Choose a sturdy one with locking brackets.
Mount it into wall studs or with heavy-duty anchors rated well above the weight you plan to use. Chopping puts force on the surface, so it must not wobble. Height matters too: a fold-down prep table should sit at counter height, around 36 inches, not dining height, around 30 inches, or you will hunch over it.
When folded, it becomes a slim shelf or disappears flat against the wall, which keeps the studio feeling open.
Get the look
5. Get the dish rack off the counter
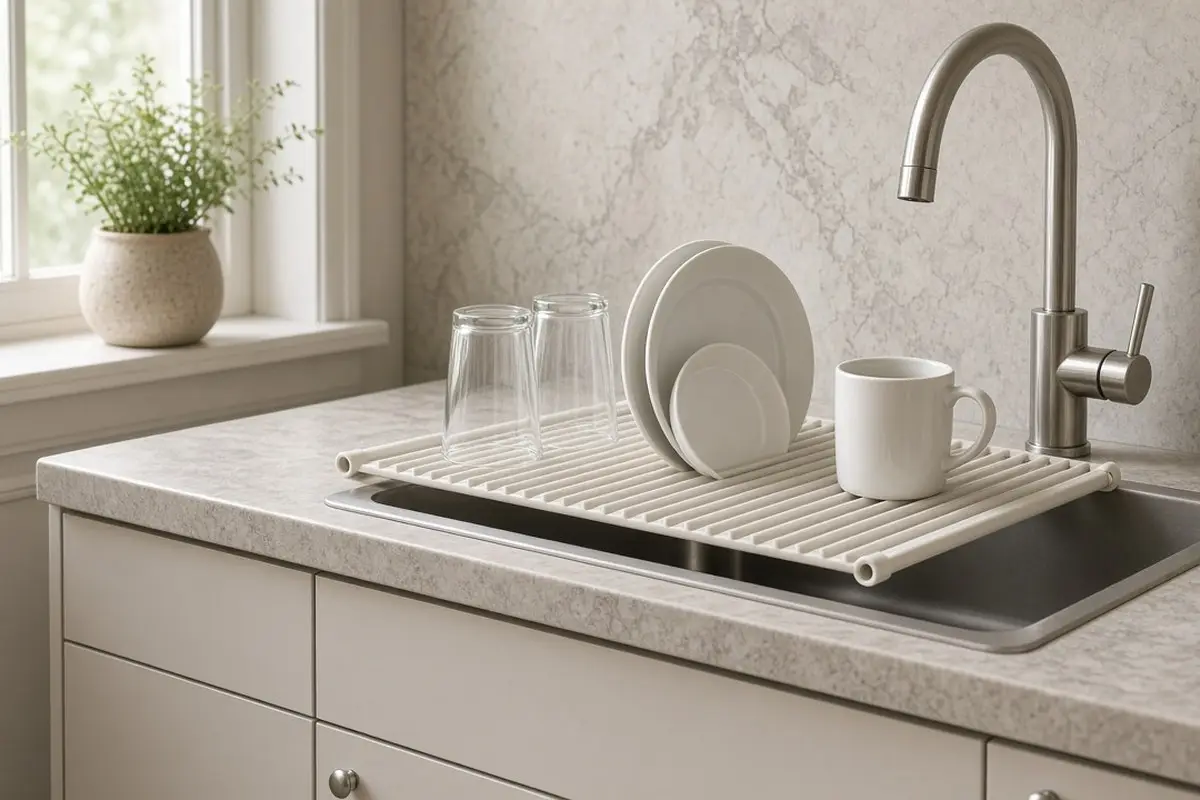
A roll-up drying rack over the sink, or a wall-mounted rack, frees the counter for prep.
A roll-up rack is made of silicone-coated bars that span the sink. Dishes drip straight into the basin, and when you are done it rolls up into a small tube that fits in a drawer. It doubles as a trivet for hot pans and a spot to rest a colander. For more dishes, a wall-mounted rack above the sink lets plates drip down without touching the counter at all.
Get the look
6. Hang tools on the wall
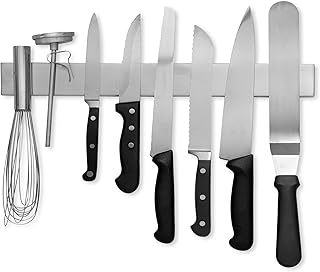
A rail with hooks for utensils, a magnetic knife strip, and a hanging spice rack clear the counter.
The backsplash is valuable vertical space in a tiny kitchen. A rail running its full length can hold utensils, a paper towel roll, small pots, and a cup for wooden spoons. A magnetic strip frees the counter of a knife block, which can take up a surprising amount of room. In a rental, choose adhesive rails or ask permission to drill a few small holes, which are easy to fill when you leave.
Get the look
7. Use the dining table
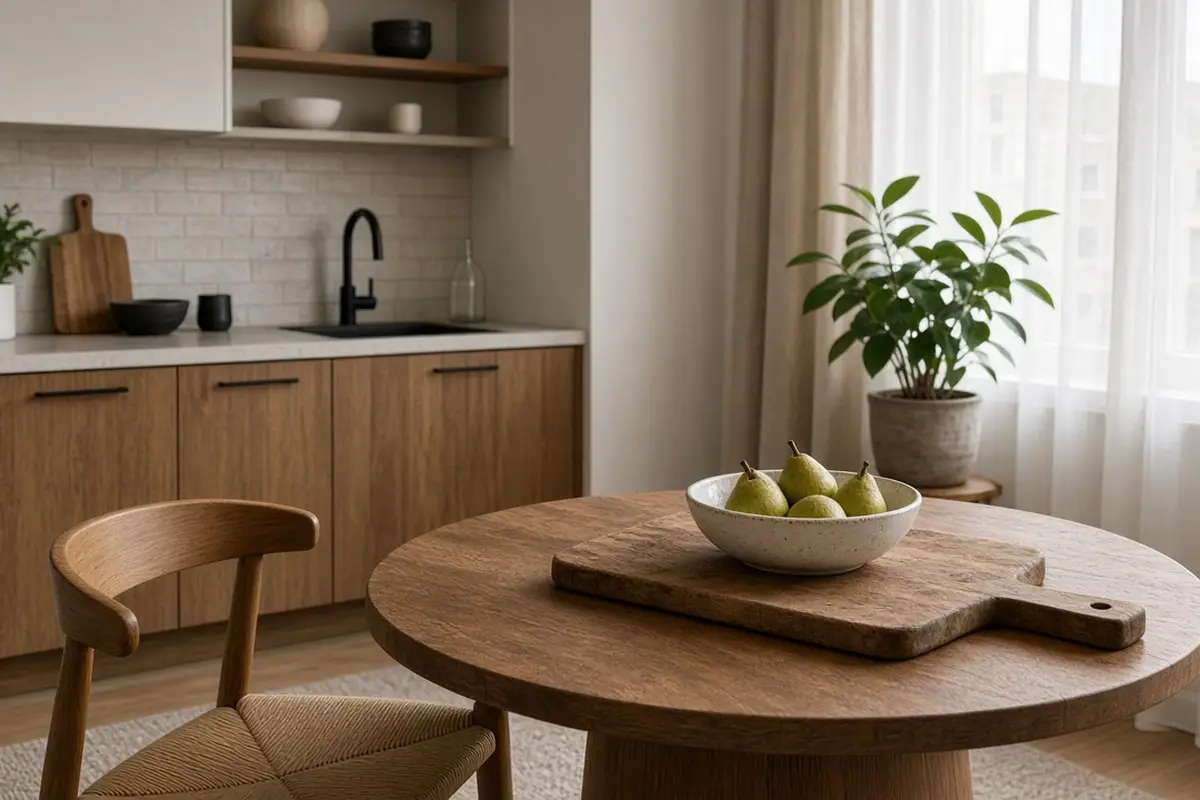
In a studio, the table is often right beside the kitchenette. Treat it as your main prep surface for bigger jobs, with a large board to protect it.
Put a damp towel or a non-slip mat under the board so it does not slide. Sitting down to chop is easier on your back for long jobs, like a big batch of vegetables for the week. When you are done, the table returns to its usual role, and the cart or the board goes back to its spot.
Get the look

8. Stack inside cabinets
Shelf risers and under-shelf baskets double cabinet capacity, so appliances leave the counter.
The toaster, the blender, and the rice cooker are the biggest counter hogs. If you use one daily, keep it out; if not, store it in a cabinet or on a shelf above the fridge. Many small appliances can be replaced by one good pan or the oven, which saves even more space.
9. Light the prep area
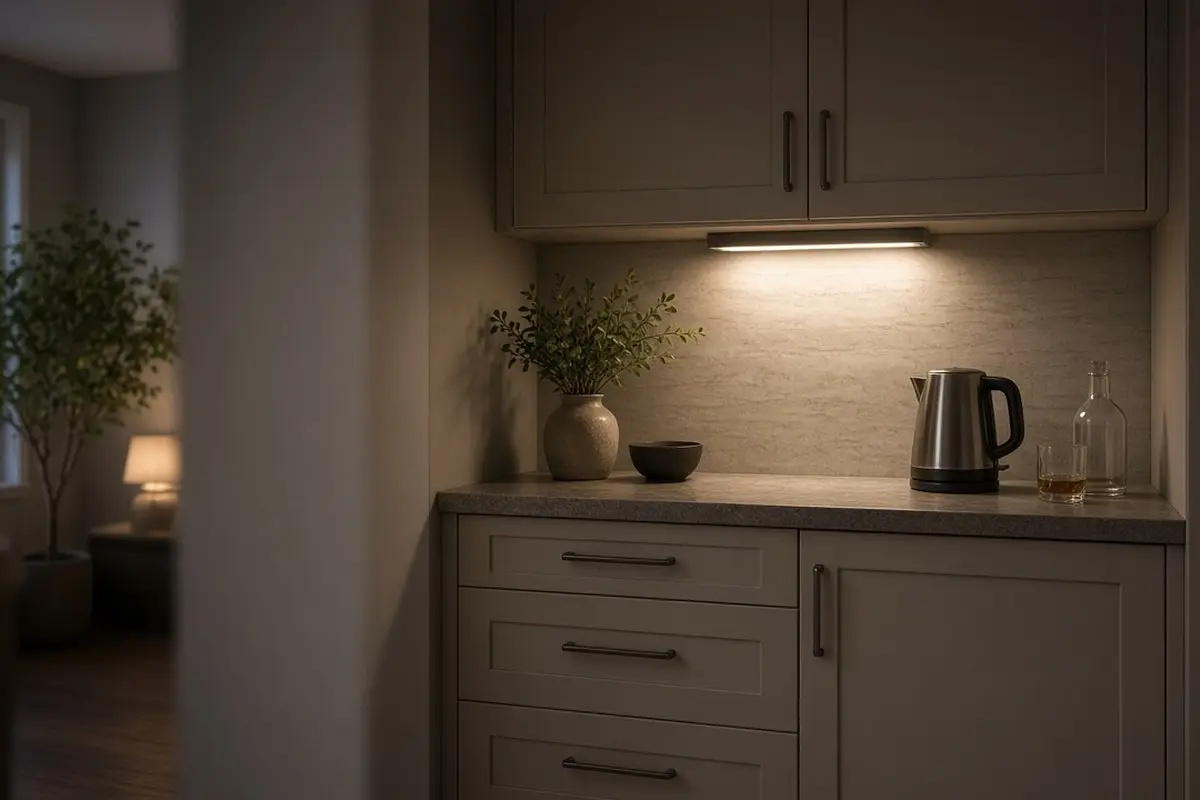
Rechargeable under-cabinet lights brighten the workspace without wiring.
Studio kitchenettes are often tucked into corners or alcoves without a window, lit only by a ceiling light behind you. That means you cast a shadow over the board as you chop. Lights under the cabinets or a shelf fix it instantly. Motion-sensor versions switch on when you step up to the counter.
Get the look
10. Choose multi-use tools
A few good tools that do many jobs save space: a chef’s knife, one big board, a sheet pan, a Dutch oven.
A small kitchen rewards a short tool list. One sharp knife does almost every job. A large board gives you a proper work area even on the cart or table. A Dutch oven braises, boils, fries, and bakes bread. A sheet pan roasts a whole dinner at once. Fewer, better tools mean less storage and more room to work.

FAQ
How do I get more counter space in a studio kitchenette?
Use an over-sink board, a stove cover, a rolling cart, or a fold-down table.
Can I add counter space in a rental?
Yes, with freestanding carts, boards, and wall racks that need few or no holes.
What should stay on a kitchenette counter?
Only items you use daily. The studio apartment layout post covers the rest of the room.
Is a stove cover safe?
Yes, as long as you only use it on a cold stove and remove it before cooking. Never leave it on a hob that is warm or switched on.
How can I make a studio kitchenette look nicer?
Clear the counter, match a few items like canisters and towels, add warm under-cabinet light, and hang a small piece of art or a plant nearby. The quiet apartment details post has more small-space styling ideas.
What is the best cutting board for a tiny kitchen?
One large, lightweight board that fits over the sink or across the cart. A second small board for quick jobs is enough; more than two boards just take up space.
A tiny kitchen can have a real place to prep. Clear the counter, cover the sink and stove, and add a cart.