
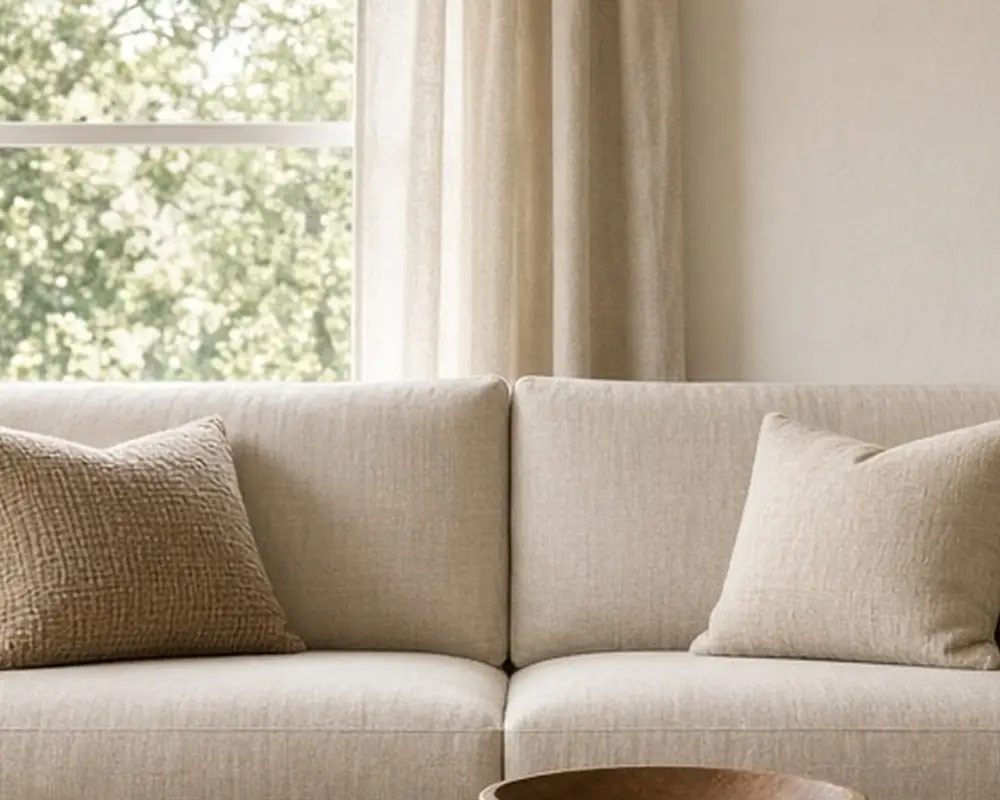
11 Staging Moves Before You List a House

On this page8 sections
Most buyers meet a house through a phone screen. They swipe through twenty or thirty photos, and in a few seconds they decide whether to book a showing. That makes the listing photos the most important hour of the whole sale, and staging is mostly about getting those photos right.
Staging is not decorating. Decorating makes a house feel like yours. Staging makes it feel like it could belong to anyone, which means removing more than you add. It is also cheaper than most people expect. The biggest improvements come from packing, cleaning, painting a room or two, and turning on the lights, none of which require buying furniture. The eleven moves below are listed in the order that works best, starting a few weeks before the photographer arrives and finishing on the morning of the shoot.
As an Amazon Associate I earn from qualifying purchases.
Three to four weeks out
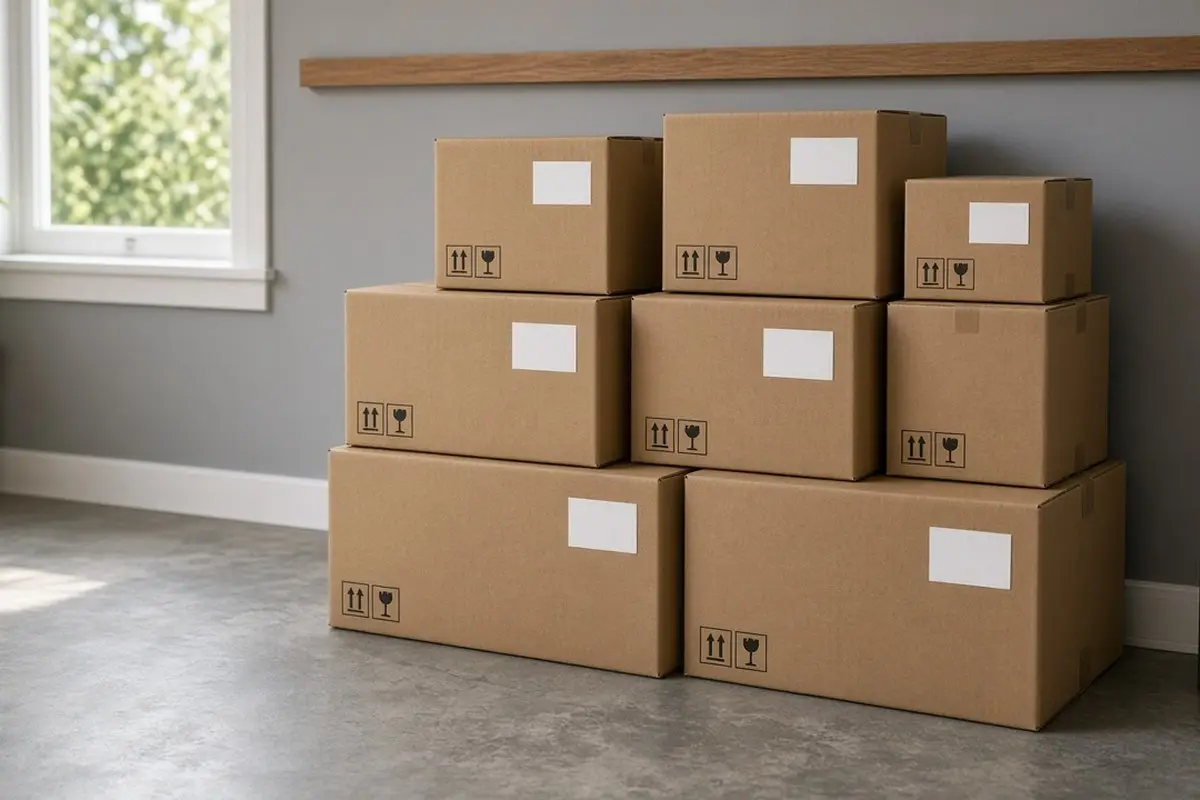
1. Pack a third of everything
Walk each room and pack about a third of what you see: books, extra chairs, the second throw, the small appliances on the counter, the collection on the shelf. You are moving anyway, so this is packing you would have to do regardless. Rent a storage unit or stack labeled boxes neatly in the garage. Label each box by room and by priority, so the things you will want first in the new house are easy to find. Packing now also tells you how many boxes the whole move will need.
Closets count too. Buyers open them. A half-empty closet looks big. A packed closet looks like the house lacks storage.
Get the look
2. Remove the personal layer
Take down family photos, kids’ artwork, diplomas, and anything with names on it. Clear the fridge door completely. Do the same with the bathroom: medications, razors, and toothbrushes go into a drawer or a bin under the sink. Put away religious items, political items, and sports team gear. None of this is about hiding who you are. It is about letting buyers picture their own photos on the walls. Leave a few pieces of neutral art up, like landscapes or abstract prints, so the walls do not look bare in photos.
3. Fix what the camera will see
Walk through with a phone camera and look at the screen, not the room. Take a photo of each room from the doorway, the same angle a photographer will likely use, and study the photos later on a larger screen. The camera catches things your eye has learned to ignore: a cracked switch plate, a chipped baseboard, a dripping faucet, a burned-out bulb, a scuff on a door.
Patch nail holes left by the photos you just took down. Touch up the paint. Replace yellowed switch plates and outlet covers, which costs little and makes a room look newer in photos.
This is also the time for a deep clean. Wash windows inside and out, since clean glass makes a big difference in how much light reaches the camera. Clean grout, degrease the range hood, wipe baseboards, and shampoo or replace any stained rug. If you can only hire help for one thing before listing, a professional deep clean usually pays off more than anything else on this list.
One to two weeks out
4. Neutralize the loudest wall
If a room has one bold wall color, such as a bright red dining room or a dark navy nursery, consider repainting just that room in a warm white or a soft greige. Bold colors photograph unpredictably and narrow the pool of buyers who like the room.
You do not need to repaint the whole house. Focus on the rooms that will appear in the first five listing photos. That is usually the front exterior, the living room, the kitchen, the main bedroom, and the main bathroom.
Get the look
5. Float the furniture
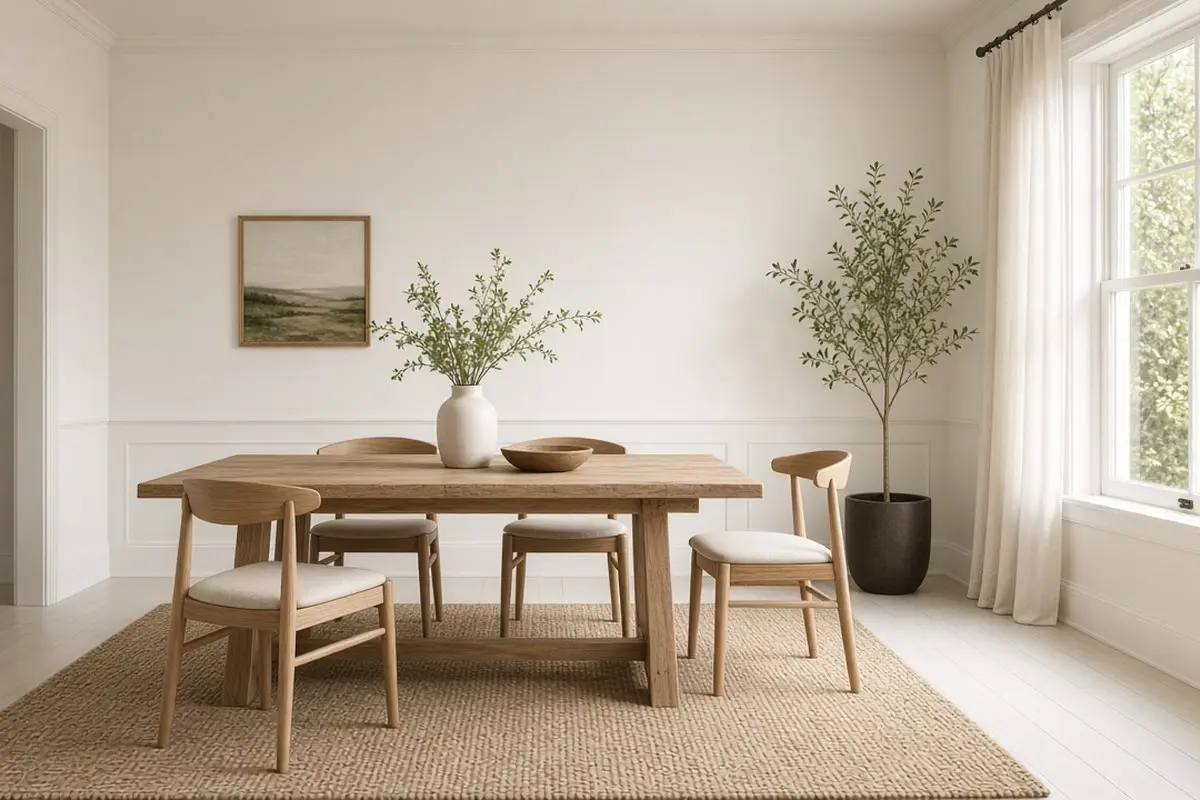
Pull furniture away from the walls and group it into conversations. A sofa and two chairs facing each other around a rug look inviting. Furniture pushed against every wall makes a room look like a waiting room. If a room has too much furniture, take one large piece out entirely. Measure the walkways after you rearrange. Aim for about 3 feet of clear path through each room, which makes the space read as open in photos and lets buyers walk through without turning sideways.
6. Define every room
Buyers want to understand what each space is for. A room full of boxes, a treadmill, and a futon should become one thing: a guest bedroom, an office, or a nursery. A corner of a basement can become a reading nook with a chair, a lamp, and a rug. Buyers pay for what they can picture, and a clearly labeled use makes the square footage count in their minds.
The week before
7. Make the bed like a hotel
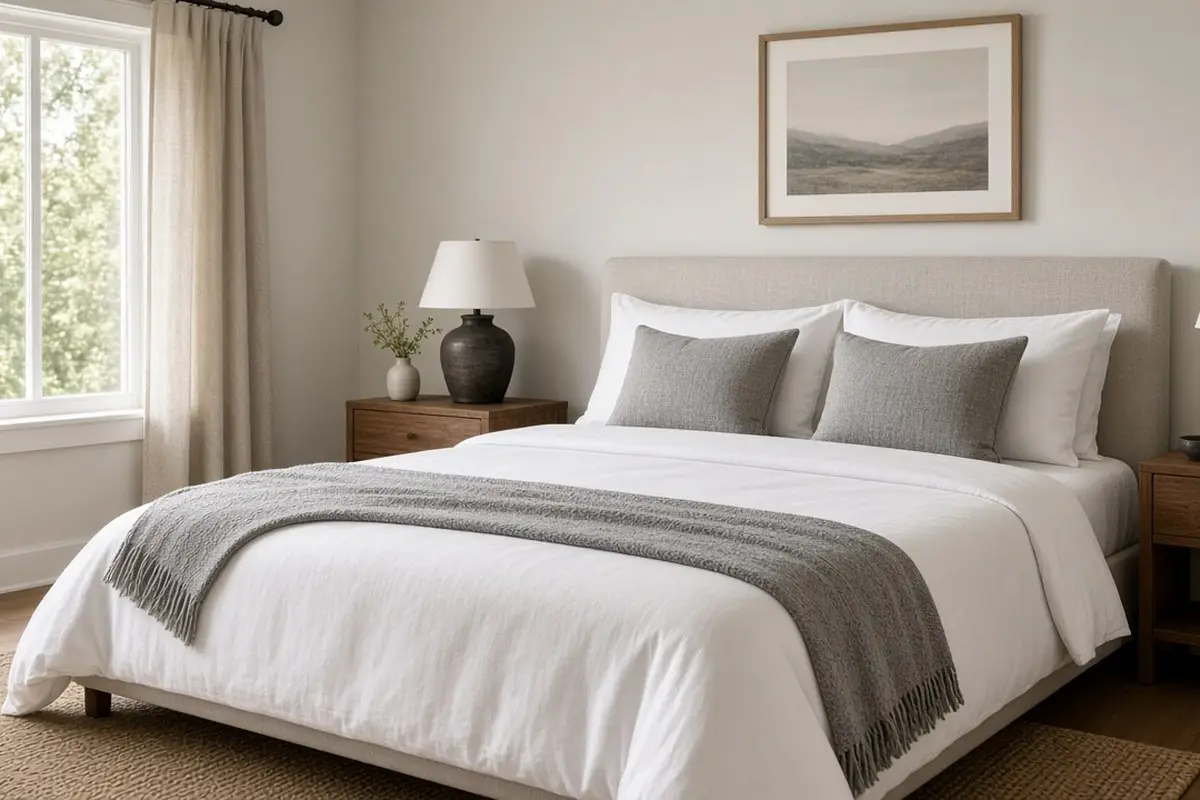
In the bedrooms, use white or light bedding, two sets of pillows, and a folded throw at the foot. Smooth everything. Bedrooms photographed with white bedding look larger and cleaner. Clear the nightstands down to a lamp and one small item each, and take everything out from under the bed, since low camera angles often show it.
Get the look
8. Clear every counter
Kitchen and bathroom counters should be almost empty. In the kitchen, leave out one thing, like a bowl of lemons or a cutting board with a plant. In bathrooms, leave a folded white towel and a small soap. Everything else goes in a drawer.
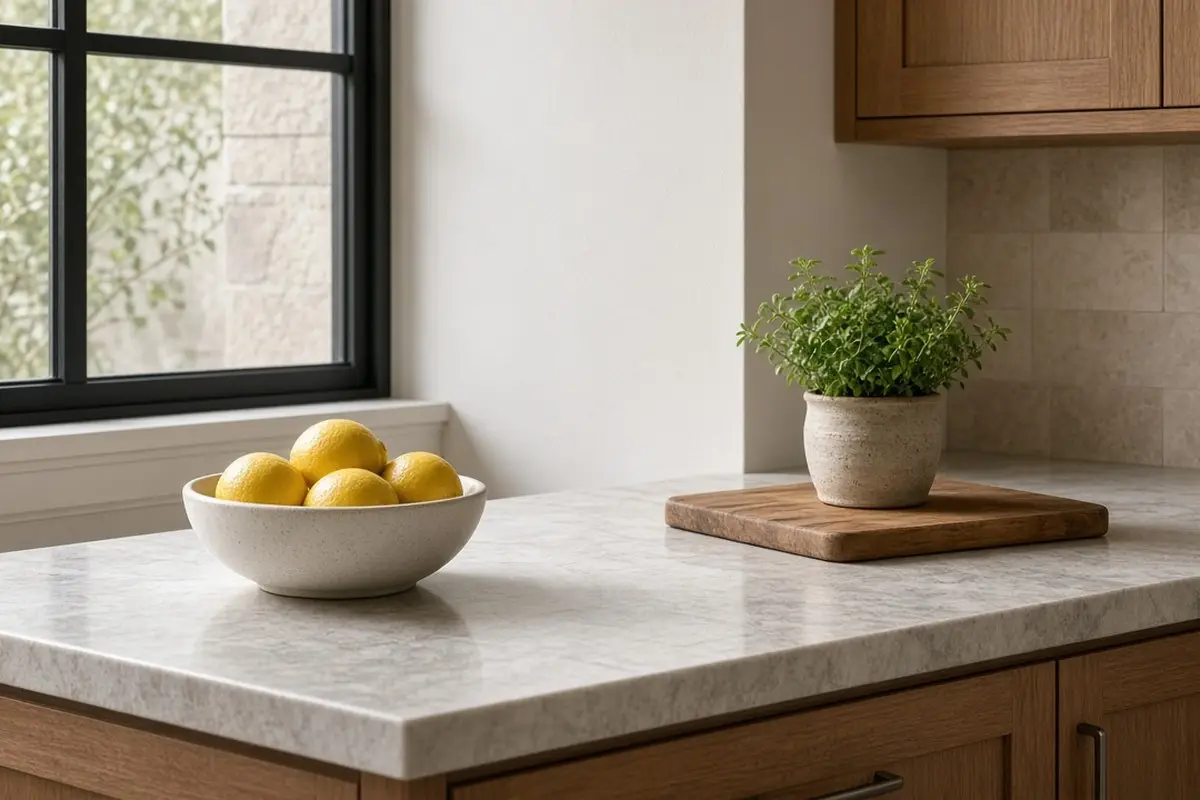
This feels strange in a house you live in every day. Set up a single basket or bin under each sink for the things you use daily, so you can pull it out in the morning and put it away in thirty seconds before you leave.
9. Freshen the outside
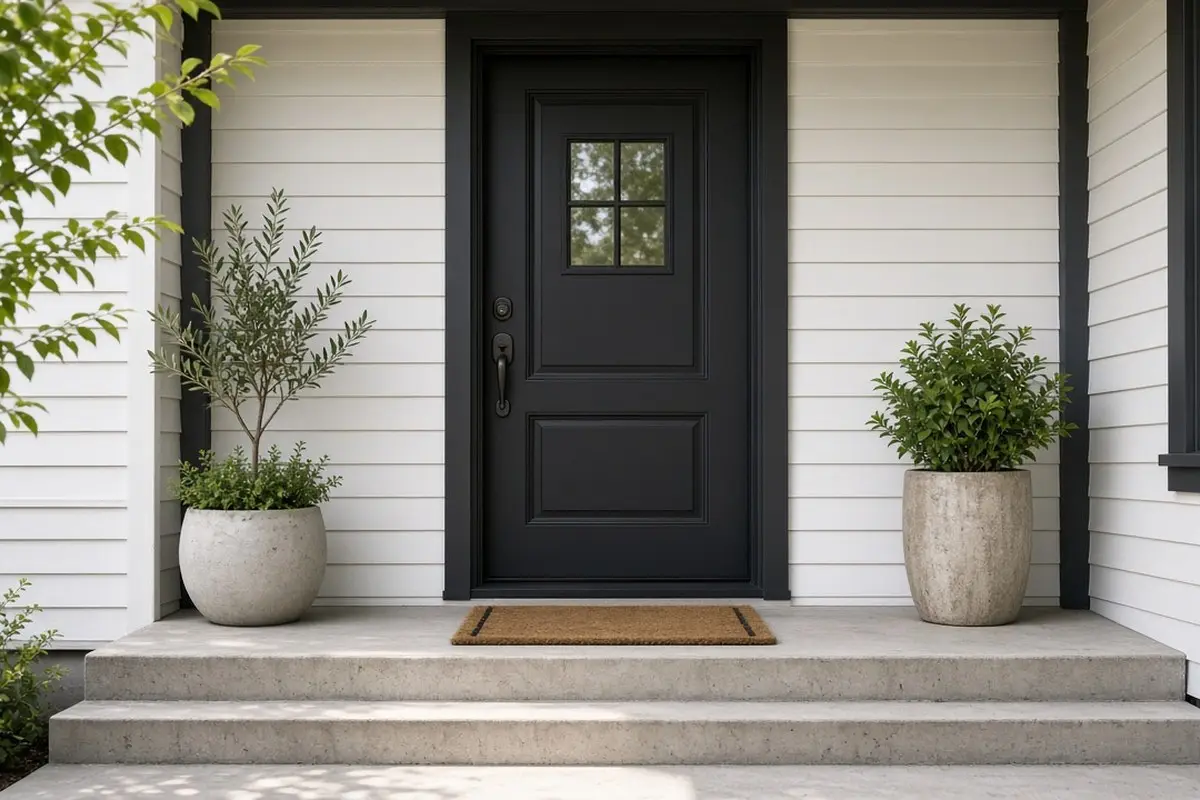
The front of the house is usually the first photo. Mow, edge, and sweep. Wash the front door, replace a tired doormat, and add two potted plants by the entry. If the door paint is faded or chipped, a fresh coat in black, deep green, or the original color is a one-afternoon job that makes the first listing photo look cared for. Make sure house numbers are visible. If it is late fall or winter, rake leaves and clear any snow from the walk and steps. Seasonal decor, like a simple wreath, is fine; inflatables and full holiday displays date the photos.
Get the look
The day of the shoot
10. Turn on every light
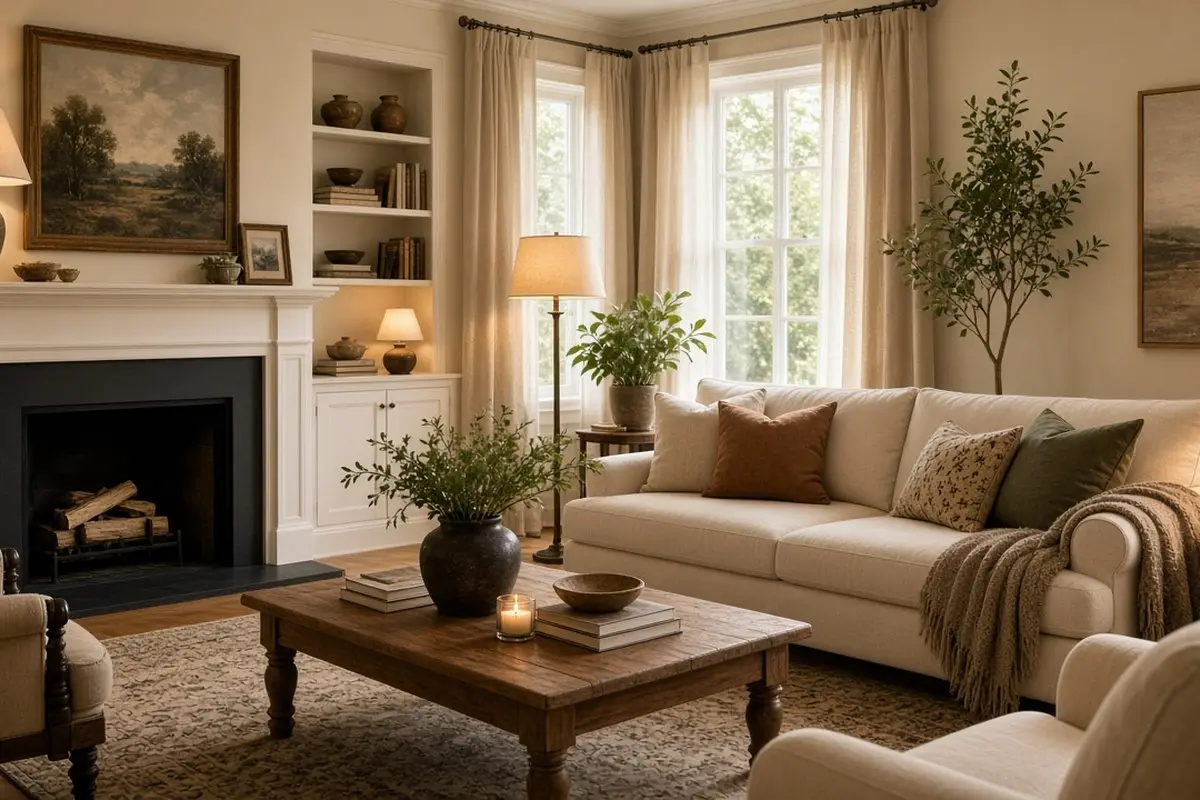
Open every curtain and blind, then turn on every lamp, overhead light, and under-cabinet light. Replace any bulbs that do not match so the color is the same across the room. Photographers balance natural and artificial light, and a room with a dark corner looks smaller. If a room has no overhead light and only one lamp, borrow a second lamp for the shoot. Two light sources on opposite sides of a room give the photographer much more to work with than one.
Use the same warm-white bulbs throughout, around 2700 to 3000K, so rooms look consistent across the listing.
Get the look
11. Do the final sweep
Just before the photographer arrives, walk every room with a laundry basket. Collect remotes, chargers, keys, pet bowls, trash cans, shoes, and toiletries. Close toilet lids. Hide the dish soap and sponge. Move cars out of the driveway. Take down the outdoor trash and recycling bins too, and roll up any garden hose lying across the lawn. Outdoor photos are often taken first, so start the sweep outside.
Then step outside while the photos are taken, and take the basket with you. Pets should leave too, along with their beds and toys, for the length of the shoot.
What not to bother with
Some things are rarely worth the effort before listing:
- Major renovations. A new kitchen rarely pays back fully in the sale price. Fresh paint and new hardware often get you most of the effect.
- Expensive new furniture. Rent or borrow if a room is empty. Your existing furniture, edited and rearranged, usually works.
- Strong scents. Plug-in fragrances can make buyers wonder what they are covering. Clean, fresh air is better.
- Every small repair on the inspection list. Fix what shows in photos and what a buyer would notice on a walk-through. Leave the rest for the inspection negotiation, where you will know exactly what the buyer cares about.
After the photos
Once the photos are done, keep the house close to its photo state for showings. Showings often come with little warning, sometimes an hour or less. It will never be quite as clean as shoot day, but a ten-minute reset each morning, with the laundry basket and a quick wipe of the counters, keeps it ready for a last-minute showing. Keep a short written checklist on the fridge so everyone in the house knows the routine.
More ideas for getting a house ready
Quick answers
How long does staging take? For an occupied house, three to four weeks of gradual work is comfortable. A rushed version can be done in one long weekend.
Should I stage an empty house? Empty rooms are hard to read in photos. A few rented or borrowed pieces in the living room, main bedroom, and dining area help buyers understand scale.
Do I need a professional stager? Not always. Editing, cleaning, and lighting do most of the work. A stager is most useful for vacant homes and high-end listings.
For the bedroom you set aside for overnight guests, see guest-ready bedroom ideas. A fast refresh of the main living space is in calm living room weekend refresh. And for the bathroom, bathroom refresh, not remodel covers improvements that photograph well without a renovation.