
9 Bathroom Refreshes That Stop Short of a Gut Job

On this page13 sections
A gut remodel means weeks without a working bathroom, a dumpster in the driveway, and a bill that tends to grow once the walls come open. Plenty of bathrooms do not need that. The tub works, the toilet flushes, the tile is not broken. The room just looks tired.
This post is about the space between doing nothing and tearing everything out. Every idea below leaves the plumbing where it is and the major fixtures in place. Some take an afternoon, some take a weekend, and a few need a handy friend. Together they can make an old bathroom feel cared for again, whether you rent, plan to remodel in a few years, or simply want to stop wincing when you brush your teeth.
The order matters. We have listed the refreshes roughly in the order you should do them, because some steps make a mess that would ruin the ones that come later. Start at the top and stop whenever the room feels right.
As an Amazon Associate I earn from qualifying purchases.
The rule of keeping
Before you buy anything, write down what is staying. Usually that means the tub, the toilet, the floor, and the wall tile. Then choose every new piece to work with those, not against them. A pink 1960s tub is not going anywhere in a refresh, so the paint, towels, and hardware should make it look deliberate rather than fight it. This one habit is what separates a refresh that looks finished from one that looks like a half-done renovation.
1. Deep clean and regrout
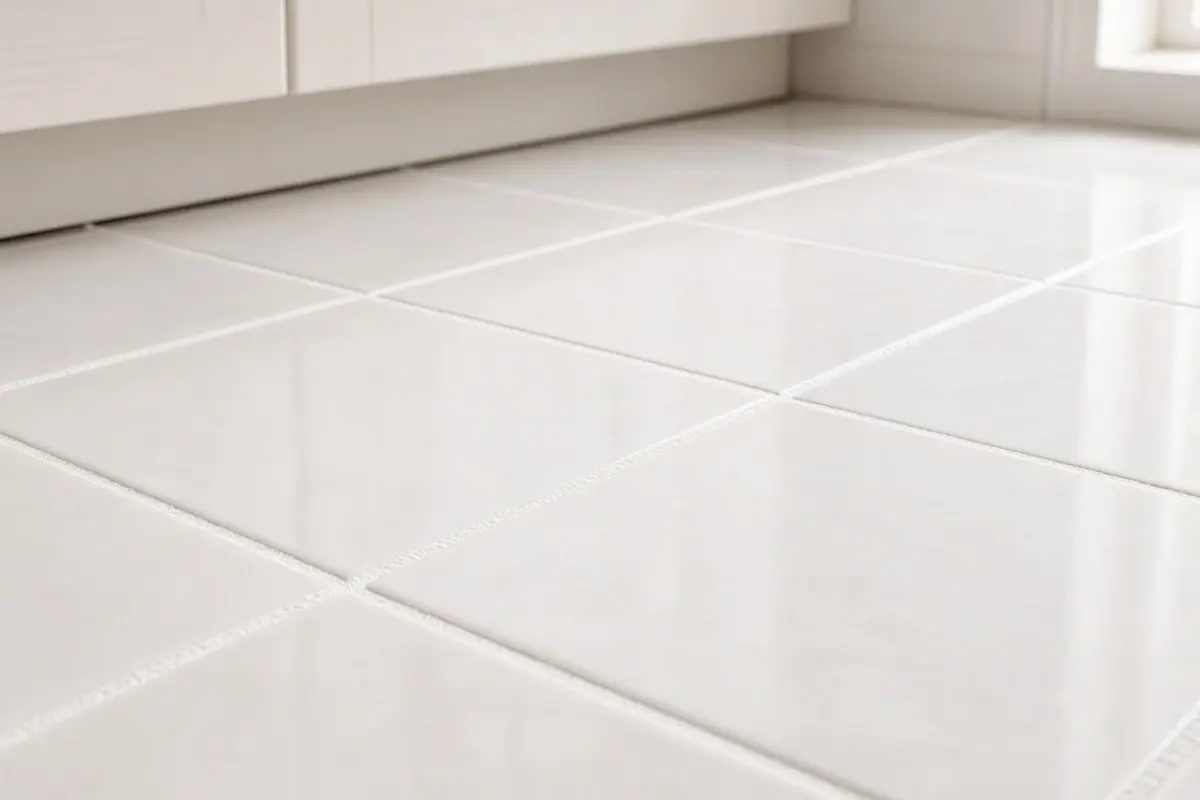
The single most underrated refresh. Dirty grout makes clean tile look old. Scrub it with a grout brush and an oxygen cleaner, and if it is cracked or permanently stained, rake out the worst lines and regrout. If the grout is sound but discolored, a grout pen or grout colorant can turn it bright white or a new shade entirely.
Regrouting is slow but simple, and it is the right first step because it is messy. Do it before any painting. Wear gloves and eye protection when raking grout, and work one small section at a time so you do not leave large gaps open overnight. Choose a grout color that suits the tile you are keeping: bright white for crisp white tile, a warm gray for older almond or colored tile, which hides future stains far better. Let new grout cure for at least two days before the shower gets heavy use, and seal it once it is fully dry.
Get the look
2. Recaulk the tub and sink
Old caulk turns yellow, peels, and grows mildew. Cut it all out with a razor scraper, clean the joint with rubbing alcohol, let it dry fully, and run a fresh bead of mildew-resistant silicone. Masking tape on both sides of the joint gives a crisp line even if you have never caulked before. Pull the tape while the caulk is still wet, at a low angle, then smooth the bead with a damp fingertip. Fill the tub with water before caulking the tub joint; the weight of the water opens the gap slightly, so the caulk will not crack when someone sits in a full bath. Leave the shower unused for a full day afterward.
3. Paint the walls and ceiling
Paint is the biggest visible change for the smallest outlay. Use a paint made for bathrooms with a mildew-resistant finish, usually satin or eggshell. Paint the ceiling too; bathroom ceilings yellow from steam faster than anywhere else in the house.
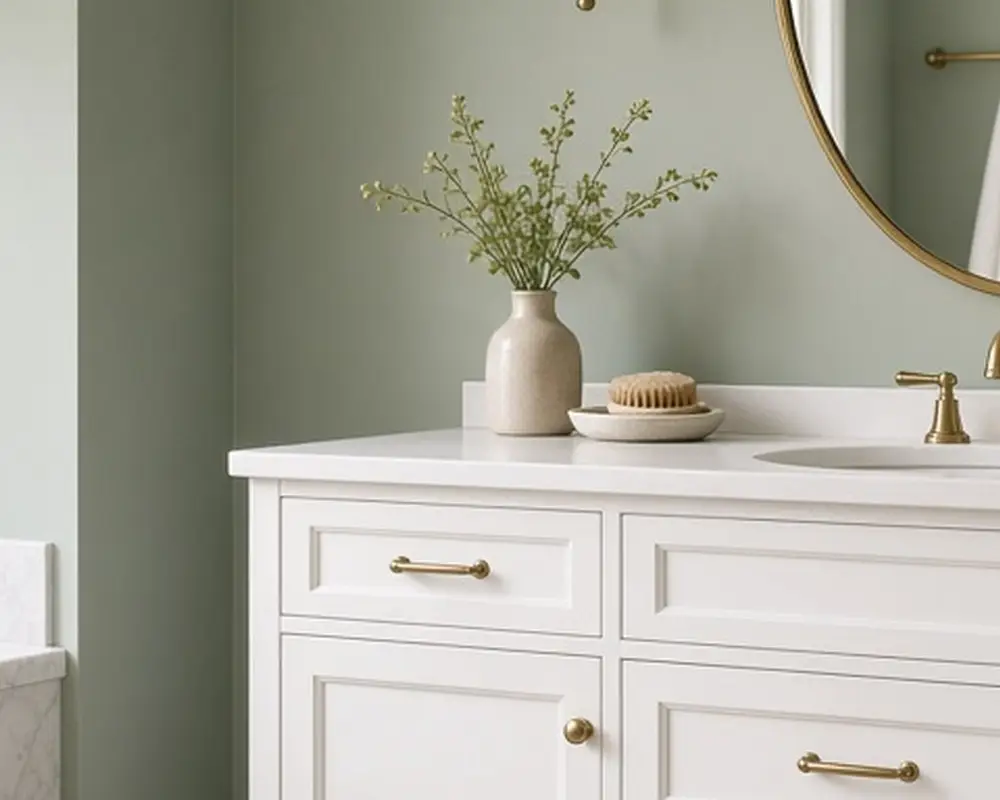
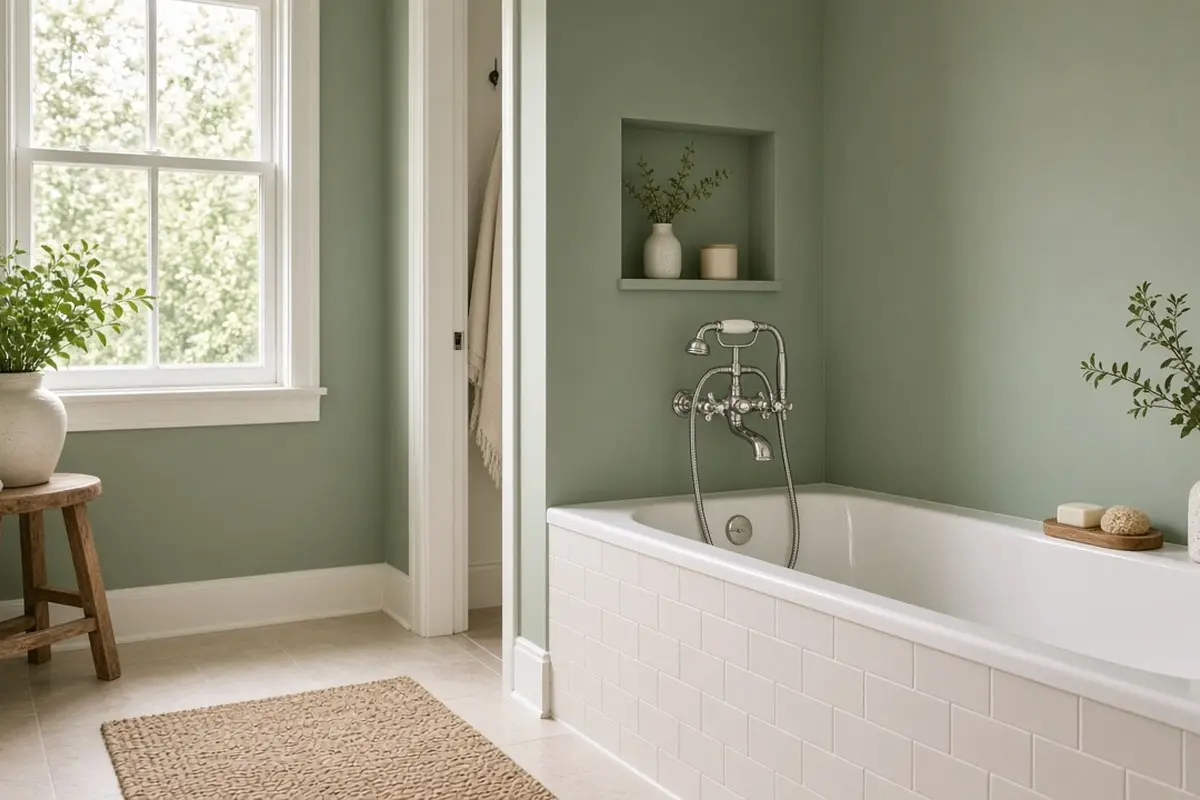
Pick a color that suits the fixtures you are keeping. Soft sage, warm white, or pale clay all flatter older tile. Hold paint samples right next to the tile, not across the room, and look at them under the bathroom light at night. Cool grays tend to make cream or almond tile look dingy, while warm off-whites make it look intentional. If the room has no window, choose a lighter value than you think you need. Run the exhaust fan for an hour after each painting session to help the finish cure.
4. Refinish or paint the vanity
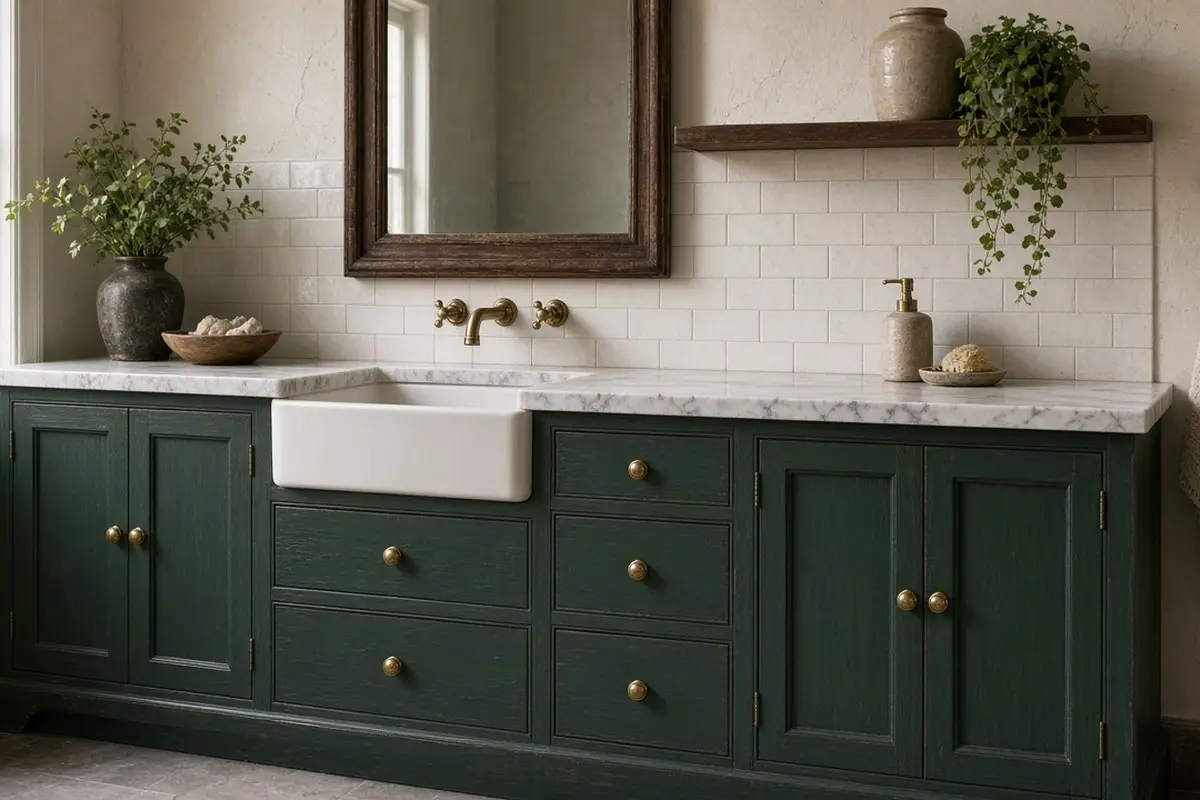
A dated oak or builder-grade vanity can be painted in a weekend. Remove the doors, degrease, sand lightly, prime with a bonding primer, and finish with a cabinet enamel. Dark green, navy, and warm black all look current. If you want to keep the wood, a gel stain can darken orange oak to a richer brown without stripping.
5. Swap the hardware
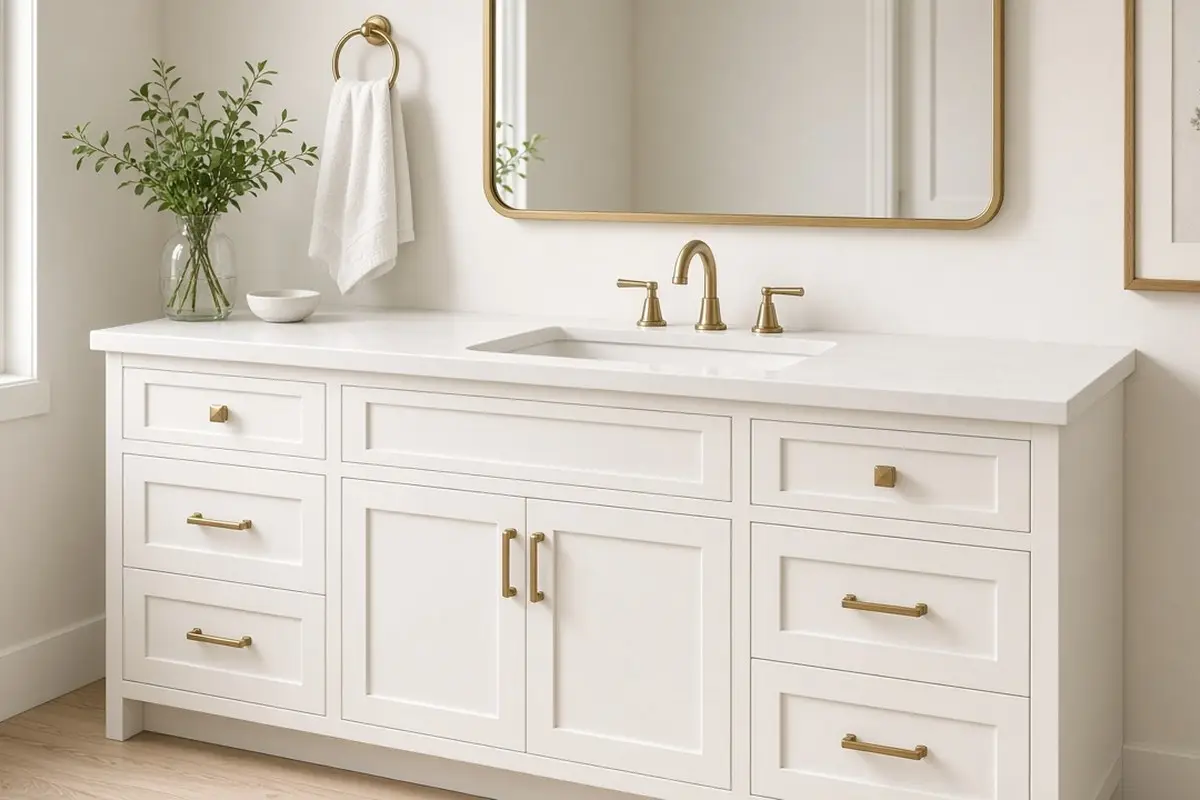
New pulls, knobs, a towel bar, a toilet paper holder, and a robe hook in one matching finish make the whole room look coordinated. Measure the hole spacing on the existing pulls before you buy, or plan to fill and redrill. Keep every metal piece in one finish, including the toilet handle if you can find a match; mixed finishes are what make an old bathroom look accidental. Brushed brass warms up white and cream tile, matte black suits modern or monochrome rooms, and polished nickel softens a cool palette. Small pieces like these are easy to swap again later, so they are a low-risk place to try a new finish.

6. Replace the faucet
A new faucet is the one plumbing job most people can manage, because it uses the existing supply lines and drain. Pick one with the same hole configuration as the old one. A new faucet in the same finish as your hardware ties the vanity together. Turn off the supply valves under the sink, open the faucet to release pressure, and keep a towel and a small bucket handy. Replace the flexible supply lines at the same time; they are inexpensive and old ones are a common source of slow leaks. If the shutoff valves themselves are stiff or corroded, that is the moment to call a plumber.
7. Change the mirror and light
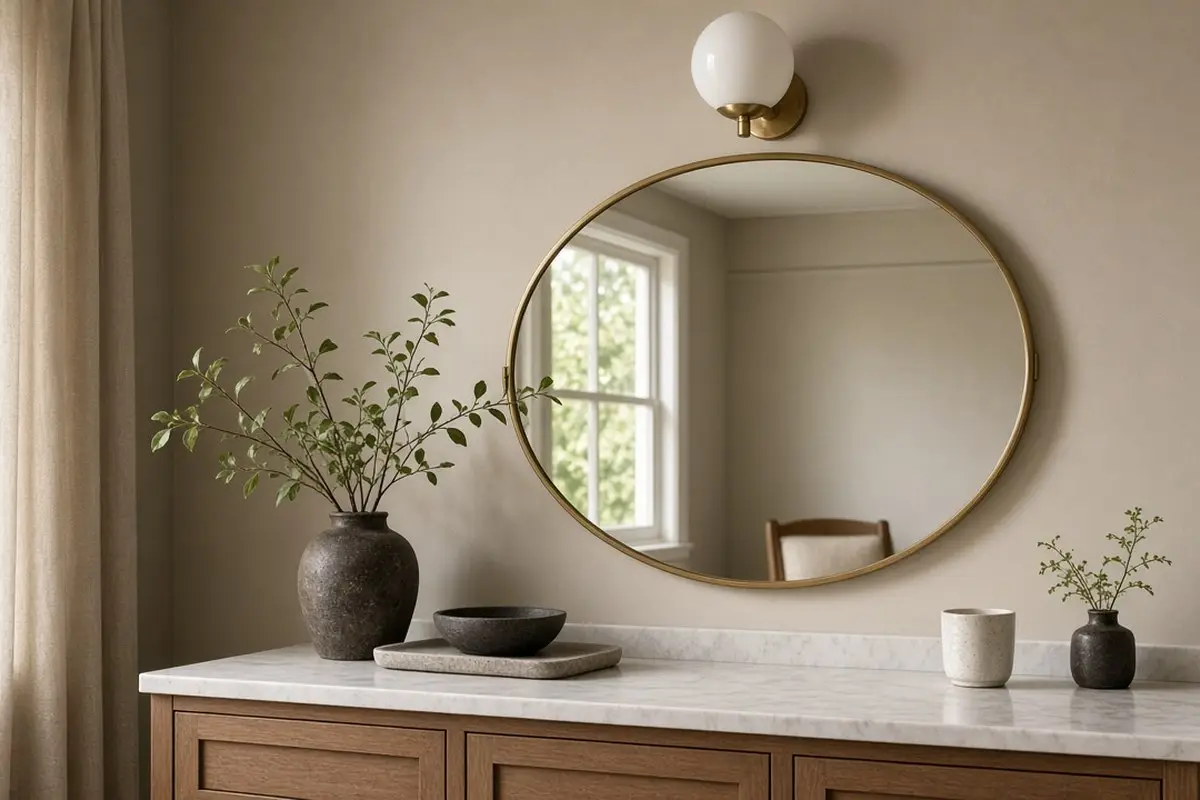
The builder-grade mirror glued to the wall and the strip light above it are the two clearest signs of an unloved bathroom. Swap them for a framed or oval mirror and a simple sconce or bar light. If you are not comfortable with wiring, hire an electrician for this one step; it is quick work. Removing a glued mirror takes patience: tape an X across the glass to contain breakage, then use a wire saw behind it to cut through the adhesive. Patch and paint the wall before hanging the new mirror. Hang it so its center is at roughly eye level and the light sits a few inches above the frame. Warm white bulbs around 2700K to 3000K are more flattering for faces than the cold light many older fixtures used.
8. Cover the floor
If the floor tile is the problem, luxury vinyl tile or a large washable rug can hide it. Click-together vinyl floats over existing tile in many cases. A washable runner in a small bathroom softens the floor and adds pattern. Before laying vinyl over tile, check that the old floor is flat and firmly bonded; deep grout lines can telegraph through thin vinyl, so fill them with a floor leveler first. Remove the toilet only if you are comfortable resetting it with a new wax ring. Otherwise, cut the vinyl neatly around the base and finish the edge with clear caulk. A rug is the fully reversible option, and a large, flat-woven washable one can be thrown in the machine every week.
9. Finish with textiles and storage
A new shower curtain hung higher on an extended rod, matching towels, a bath mat, and one storage piece make the room feel finished. These are the easiest changes, so they come last. Hang the rod a few inches below the ceiling and use an extra-long curtain so it nearly reaches the floor; the room instantly looks taller. Add one storage piece that solves a real problem, like a slim cabinet over the toilet or a tray that corrals daily products on the vanity.


When a refresh is not enough
If the tub leaks, the subfloor is soft, or the tile is coming off the wall, a refresh will only hide a bigger problem. In those cases, read our small bathroom remodel priorities before spending anything on cosmetic fixes.
A sample weekend plan
If you want to tackle a refresh in a single long weekend, split it like this. Friday evening: clean, remove old caulk, and take down the mirror and hardware. Saturday: regrout or color the grout, then patch walls. Sunday morning: paint the ceiling and walls. Sunday afternoon: recaulk, hang the mirror, add new hardware, and finish with textiles. Leave the vanity painting for a second weekend, since cabinet enamel needs time to cure. For more inexpensive accessories to finish the room, see the budget bathroom updates post.
Quick questions
Can I paint over bathroom tile? You can, with a tile primer and epoxy paint, but it wears in wet areas. It works best on a wall of tile outside the shower, not on floors or inside the tub surround.
Will a refresh add value when selling? Clean grout, fresh caulk, neutral paint, and updated hardware make a real difference in photos and showings, even though they cost little.
Do renters need permission? Usually for paint and fixtures. Textiles, peel and stick items, and swapped shower heads you can reverse are generally fine, but check your lease.
A good refresh keeps the bones and changes the clothes. Clean, recaulk, paint, then layer in hardware, lighting, and textiles. The bathroom you have might be closer to the one you want than you think.