
12 Bathroom Backsplashes Sorted by What You Can Spend

On this page7 sections
The strip of wall behind a bathroom sink takes more abuse than almost any surface in the house. Toothpaste, splashes, hair spray, and the occasional hand slapped against it to steady yourself. A good backsplash protects that wall and also gives a plain vanity a reason to look finished.
The good news is that a vanity backsplash is small. Even a generous one is rarely more than a few square feet, which means you can afford a nicer material than you would ever use on a whole floor. The twelve ideas below are grouped into three tiers: things you can do in a weekend with no tile saw, mid-range projects that need basic tiling skills, and splurges where a small area makes a premium material reasonable. Pick the tier that matches your budget and your patience.
As an Amazon Associate I earn from qualifying purchases.
Before you choose
Measure the real area. Width of the vanity times the height you want. A standard four-inch strip is the minimum; a backsplash that runs up to the mirror looks more intentional.
Check the wall. Peel and stick products need a smooth, painted, clean surface. Real tile can go over drywall or cement board, but not over old wallpaper.
Think about the counter edge. The joint between counter and backsplash needs a flexible caulk, not grout, because the two surfaces move differently.
Tier one: a weekend and no tile saw
1. Peel and stick subway tile
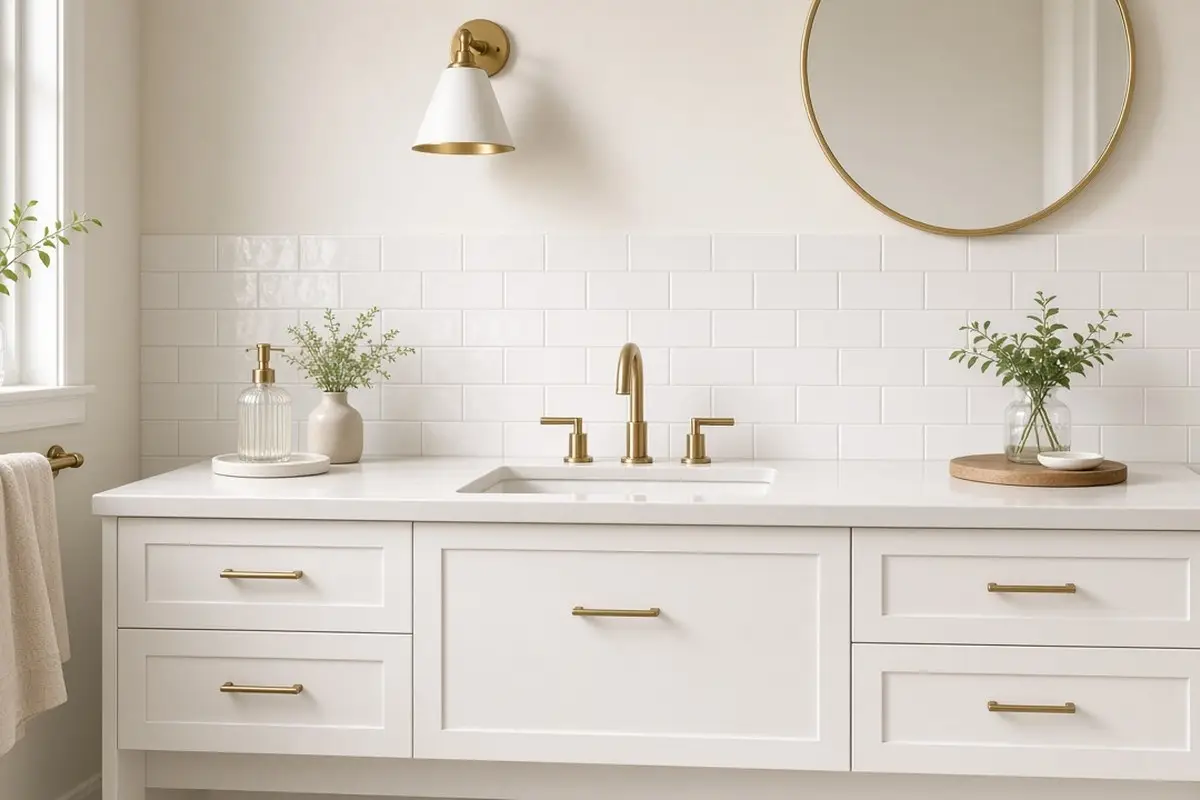
Gel-style peel and stick tiles have a slight dimension that reads like glazed ceramic from a few feet away. Cut them with a utility knife, press them on, and you are done in an hour. They are the best way to cover a dated strip of tile in a rental. Clean the wall with rubbing alcohol before you start, because any soap film will stop the adhesive from gripping. Start from the center of the vanity and work outward so the cut pieces at each end are the same width. Avoid running peel and stick tile inside the shower; behind a sink it handles splashes well, but constant soaking will lift the edges. When you move out, warm each tile with a hair dryer and peel slowly to protect the paint underneath.
2. Peel and stick hexagon or penny tile
Small mosaics are harder to fake with paint and easier with stickers. Marble-look hexagon sheets give a classic bathroom feel without cutting dozens of tiny pieces.
Get the look
3. Paintable beadboard panel
A short run of beadboard, painted in semi-gloss, makes a cottage-style backsplash. Glue it up with construction adhesive and caulk the edges. Cap the top with a simple chair rail or a small ledge, prime the panel with a stain-blocking primer, and finish with two coats of semi-gloss paint. Beadboard suits older homes and farmhouse vanities, and it costs very little.
4. Waterproof wall panel offcut
A single acrylic or PVC panel in a marble or solid finish gives a seamless, grout-free backsplash. It is very easy to clean, which makes it ideal for a kids bathroom. Panels come in large sheets, so you may be able to cut a backsplash and a matching shelf from a single offcut. Score and snap thinner panels; thicker ones need a fine-tooth saw. Use the adhesive the manufacturer recommends and finish the top edge with a slim trim piece or a neat bead of caulk. The bathroom wall panels post covers these materials in more detail if you are tempted to do the whole tub surround too.
Get the look
Tier two: basic tiling skills
5. Classic white subway, dark grout
Real ceramic subway tile is inexpensive by the square foot. The trick that makes it look designed is a contrasting grout, like charcoal, and a neat stacked or offset pattern. If this is your first tile job, buy a small kit with a notched trowel, a rubber float, and spacers. Practice your cuts on a few spare pieces with a manual tile cutter, which is quieter and cheaper than a wet saw. Lay out the full row on the counter first to check the spacing. White subway is forgiving, and the dark grout hides any small inconsistency in your joints as part of the look.
6. Colored glazed tile
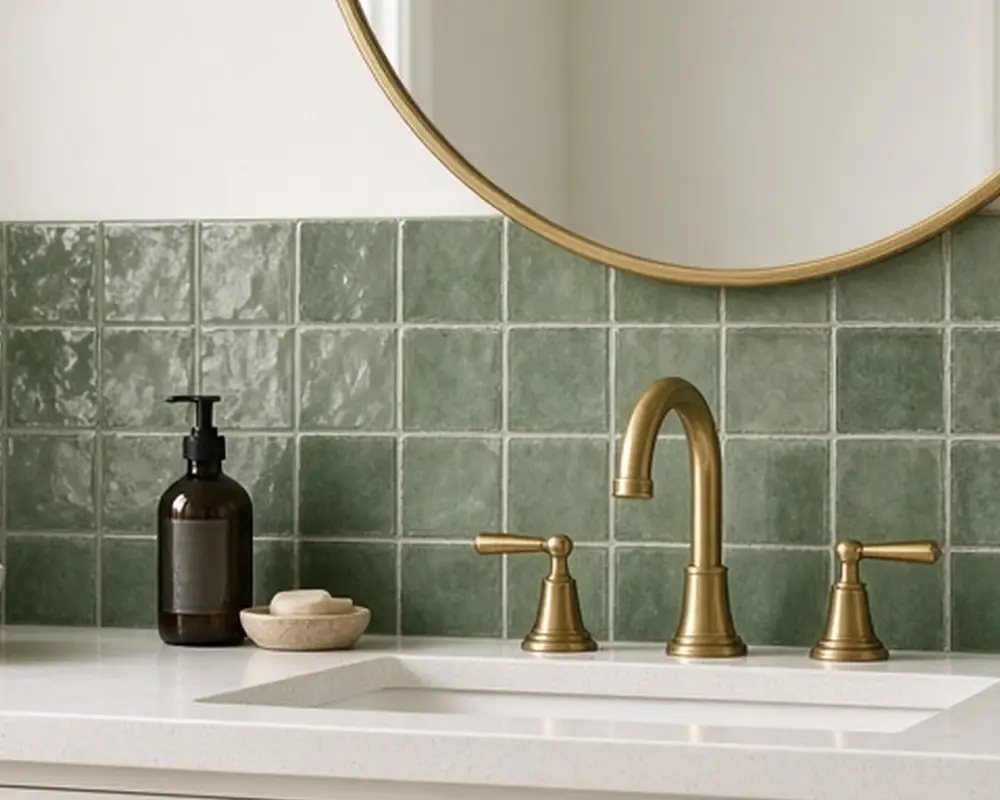
Green, blue, or terracotta glazed tile turns a plain vanity into the focal point of the room. Because the area is small, a bold color does not overwhelm. Glazed tile varies from batch to batch, so buy all of it at once and add ten percent extra for cuts and breaks. Mix tiles from different boxes as you lay them so any color shifts are spread across the wall. A brass or warm gold faucet is the classic partner for green; chrome looks crisp with blue. Keep the rest of the room simple, with white walls and plain towels, so the color behind the sink is the one thing people notice.
7. Vertical stacked tile
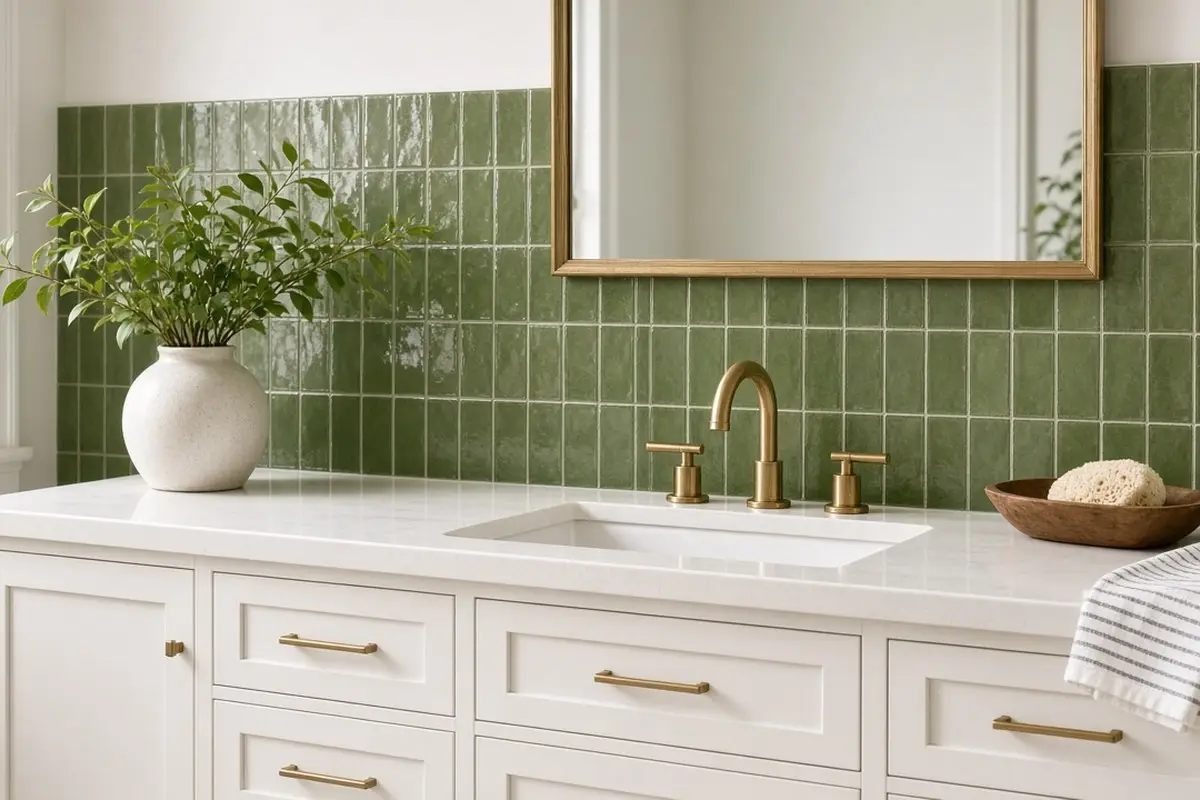
Long, narrow tiles stacked vertically draw the eye upward and make a low ceiling feel taller. Run them from counter to ceiling for best effect.
Get the look
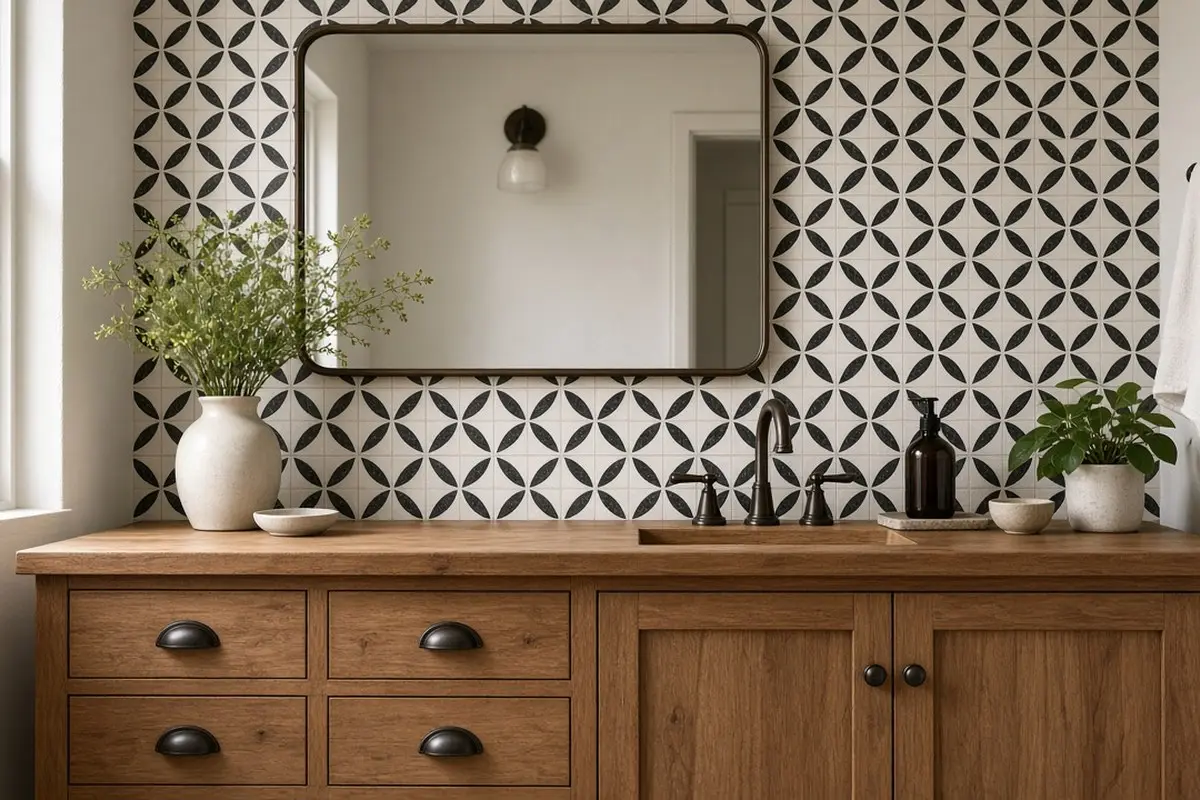
8. Patterned cement-look tile
Encaustic-look porcelain gives the graphic pattern of cement tile without the sealing. A single row behind the sink is plenty. Pair a busy pattern with a plain vanity and a plain mirror; two patterns side by side compete. Lay the tiles out on the floor before setting them, since many patterned tiles form a larger motif when four meet at a corner, and you want those motifs centered on the faucet.
Get the look
Tier three: small-area splurges
9. Zellige to the ceiling
Handmade zellige is costly per square foot, but behind a single vanity you only need a few square feet. The uneven glaze makes a small wall glow. Expect a lot of variation in thickness and color; that is the point. Use a wide grout joint and a grout color close to the tile so the wall reads as one shimmering surface. Hire a tiler if you have never set tile, since thick, irregular pieces are harder to keep level than standard ceramic. In a small powder room, a single wall of zellige can carry the whole design, leaving the rest of the room in simple paint.
Get the look
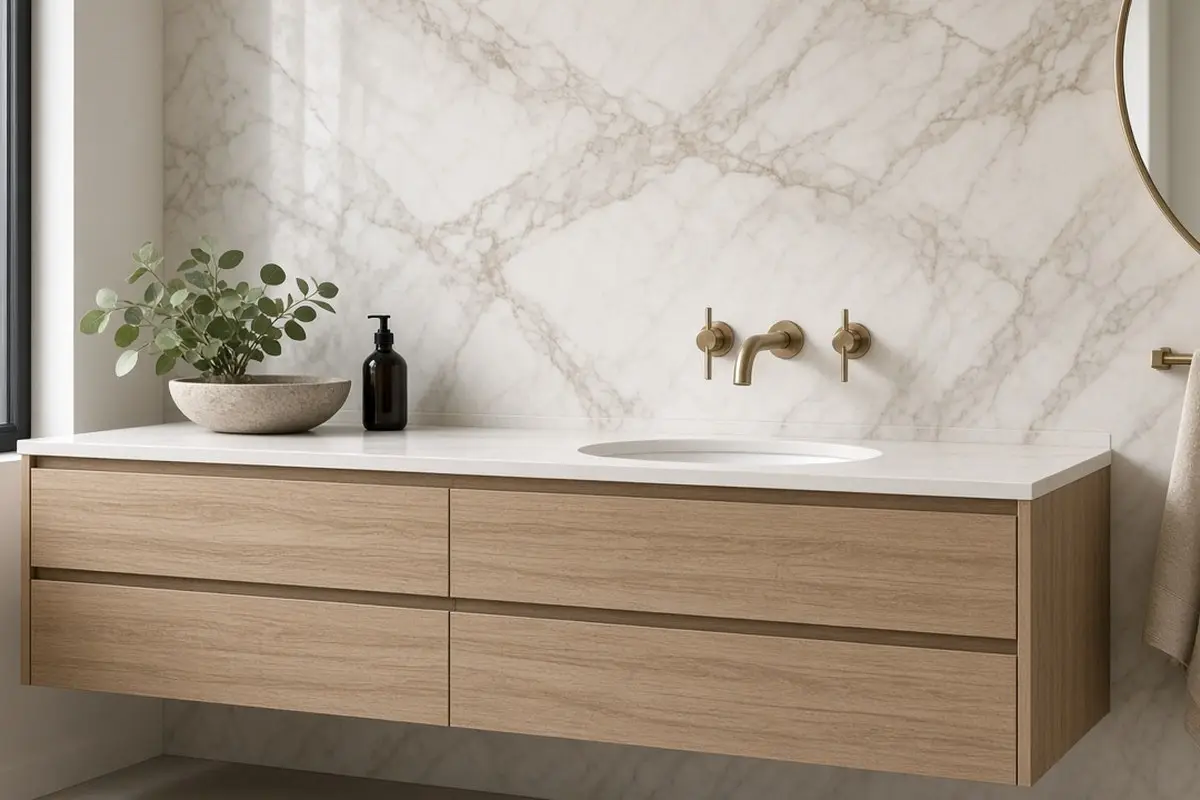
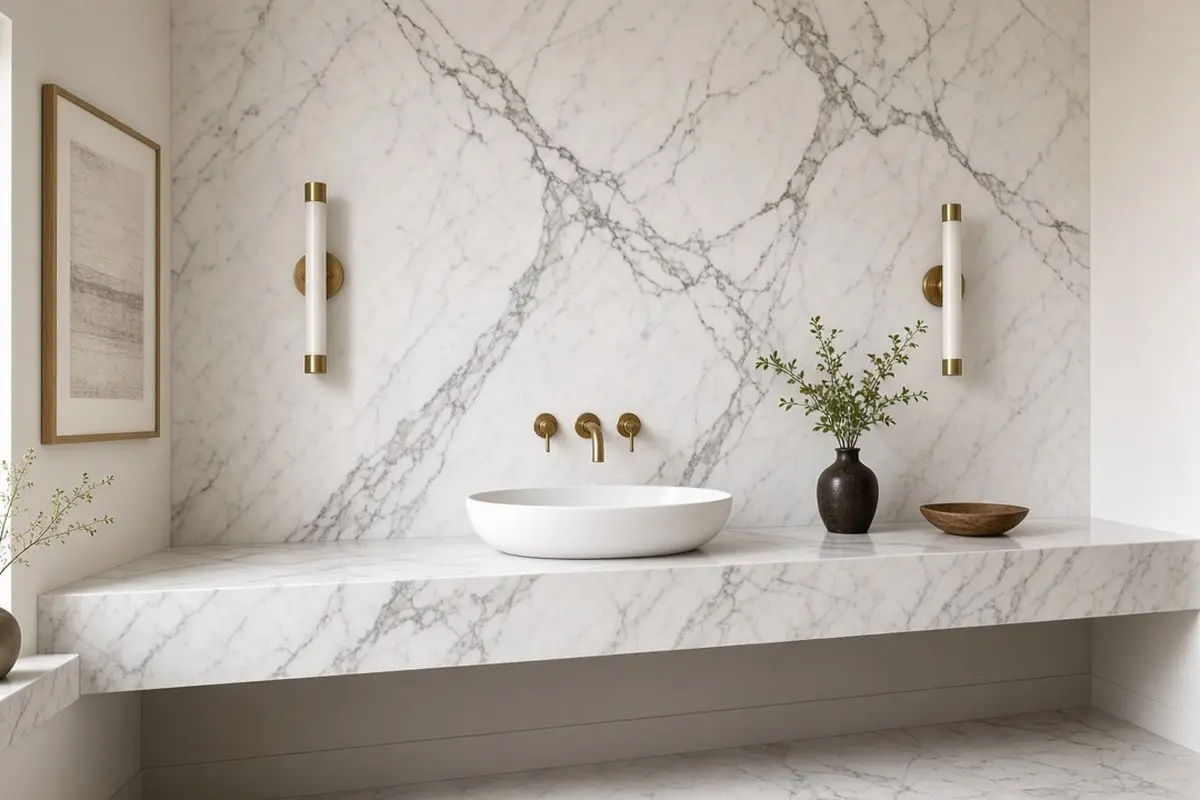
10. Marble slab remnant
Stone yards sell remnants that are perfect for a vanity backsplash. Ask for a piece that matches your counter or contrasts with it. Bring your vanity width and the height of your mirror, and ask the yard if they can cut and polish the edges. Many will do it for a modest fee. Mount the slab with stone adhesive, check it with a level, and support it from below while the adhesive cures. A slab with no grout lines is the easiest backsplash of all to clean, and it gives even a modest bathroom the look of a boutique hotel.
Get the look
11. Mirror-to-counter tile with a ledge
Tile up to the mirror and finish with a narrow stone ledge. The ledge holds soap and a small vase and makes the vanity feel custom.
Get the look
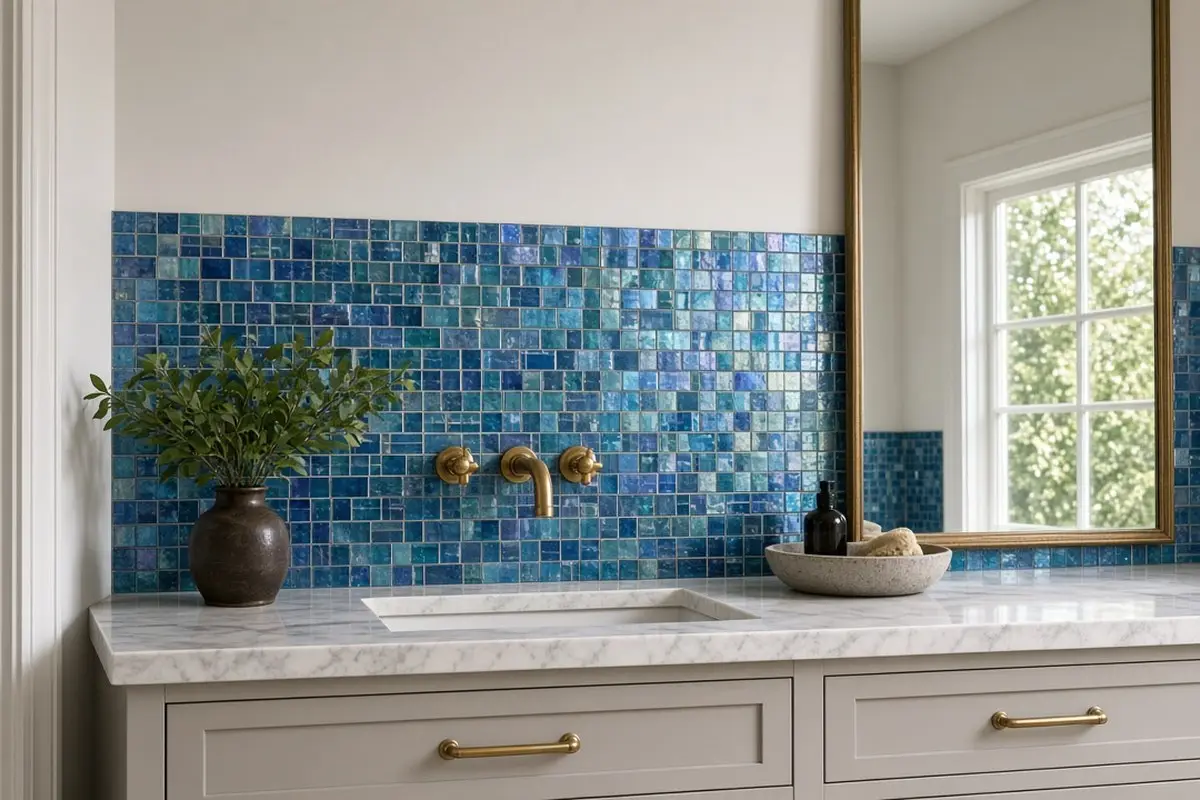
12. Glass mosaic in a bold color
Iridescent glass mosaics catch the light like water. They are pricey but stunning in a powder room. Glass tile shows every bit of thinset behind it, so use a white adhesive and spread it evenly. Cut with a glass tile nipper or a wet saw with a glass blade. Because powder rooms see little steam, they are the safest place to try a delicate finish like this.
Get the look
Sealing and caulking
Whatever you choose, finish with a bead of mildew-resistant silicone where the backsplash meets the counter. Seal natural stone and cement-based grout once a year. A good backsplash should last as long as the vanity it protects. Wipe the backsplash dry after heavy use for the first few weeks while caulk and grout fully cure, and keep harsh, acidic cleaners away from stone and cement-look surfaces. A soft cloth and a mild pH-neutral spray are all most backsplashes ever need, and a quick weekly wipe keeps grout lines from darkening around the faucet.
Matching the backsplash to the rest of the room
A backsplash does not have to match the floor or shower, but it should share something with them, whether that is a color, a finish, or a tile shape. A green glazed backsplash looks deliberate next to a white floor and a green towel. A marble slab looks right with a marble-look floor. If you are working on a tight budget overall, the budget bathroom updates post lists other quick changes that pair well with a new backsplash.
Quick questions
How high should a bathroom backsplash go? At least four inches above the counter. Running it up to the bottom of the mirror or all the way to the ceiling looks more finished and protects more wall.
Can I tile over an existing backsplash? Often yes, if the old tile is solid and flat. Clean it, scuff the glaze, and use a bonding primer or a tile adhesive made for tile-over-tile installation.
Is peel and stick tile waterproof? It is water resistant, which is enough behind a sink. It is not designed for showers or tub surrounds.
What grout should I use behind a sink? A stain-resistant or epoxy grout is easiest to keep clean, especially with toothpaste and makeup nearby. Seal cement-based grout after it cures.
A backsplash is one of the cheapest ways to make a bathroom look finished. Choose the tier that suits your budget, keep the area small, and let one material shine.