
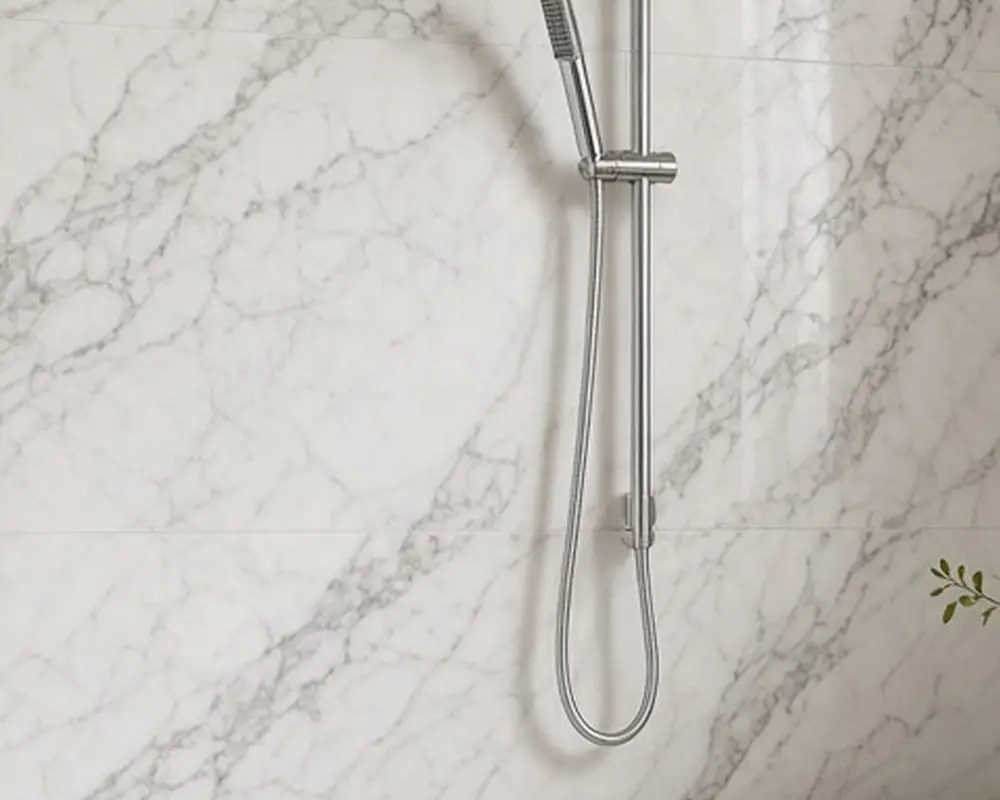
8 Bathroom Wall Panels for a Tub You Do Not Want to Tile

On this page10 sections
Tiling a tub surround is a big job. Hiring a tiler takes time and money, and good ones are often booked weeks ahead. Doing it yourself takes patience, special tools, and a fair amount of practice before the results look professional. It takes days, requires cutting tools and some skill, involves waterproofing the wall behind, and leaves grout lines that need cleaning and sealing for years afterwards. For many people, especially in rentals, older homes with uneven walls, or bathrooms that need a quick refresh, it is more work than the room deserves.
Wall panels are the alternative. They are not new; acrylic surrounds have been around for decades. What has changed is the range of looks, from realistic marble and concrete to plain matte colors, and the quality of the joints, which now look far neater than older kits. Large sheets of waterproof material go straight onto the wall around the tub, with few or no grout lines. They install faster than tile, often in a day, and many are designed for confident DIYers. The eight options below range from inexpensive PVC to premium solid surface, with notes on where each works best. For brightening the rest of the room, the small bathroom more light post has ideas that pair well with a new surround.
As an Amazon Associate I earn from qualifying purchases.
Before you choose: check the wall
Every panel system needs a sound, flat, dry wall behind it. Panels are rigid, so they will bridge small dips, but large bumps or bows will show through and can stop seams from closing properly. Before buying, remove the old surround or check the existing tile. Look for soft spots, mold, or water damage. Any rot or mold must be fixed first; panels will not solve a leak, and covering damage only hides it.
Measure the three walls around the tub from the tub edge to the ceiling or to the height you want, and note the position of the faucet, spout, and shower head. Most kits include instructions for cutting holes for plumbing. Cut those holes slightly larger than the pipe, then cover the gap with the escutcheon plate and seal it. Measure twice before cutting, because a misplaced hole in a large sheet is costly to fix.
Finally, check the manufacturer’s requirements for the substrate. Some panels can go over existing tile; others need cement board or moisture-resistant drywall. Follow those instructions exactly, especially for sealing seams and edges.
1. PVC bathroom panels
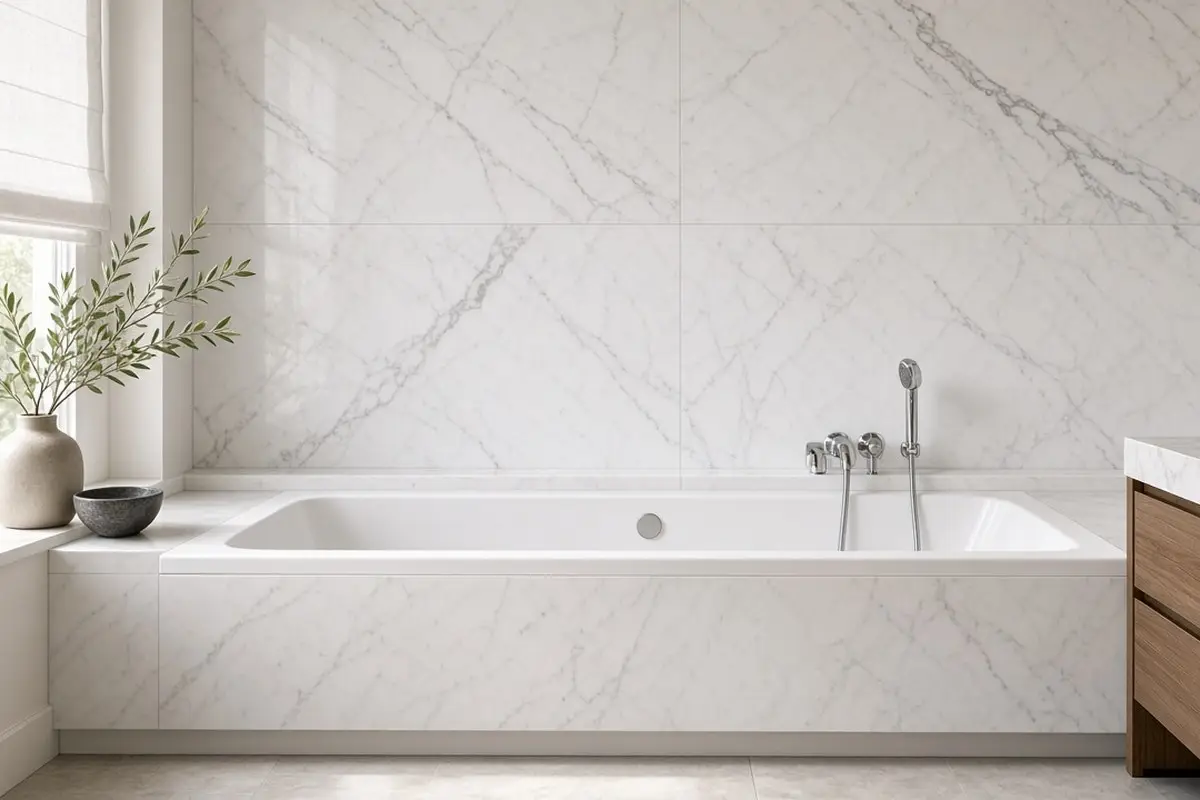
PVC panels are the most affordable and lightweight option. Their light weight also makes them good for ceilings above a shower, where moisture can damage paint. They are fully waterproof, come in tongue-and-groove planks or large sheets, and can be cut with a utility knife or fine-tooth saw. Many look like tile, marble, or plain gloss white.
They are a favorite for rentals, utility bathrooms, and quick updates. The downside is that cheaper versions can look plasticky up close and may dent. Choose a thicker panel with a matte or textured finish for a more convincing look.
Install them with the recommended adhesive and trims at corners and edges, and seal every joint with bathroom silicone.
PVC planks with interlocking edges are easier for a beginner than large sheets, because each piece is light and small mistakes affect only one plank. Start at one corner, keep the first plank perfectly plumb with a level, and the rest will follow. Leave a small expansion gap at the tub edge and fill it with silicone, since PVC moves slightly with temperature.
Good ventilation matters with any panel, but especially with PVC, which does not breathe. Run the fan during and after showers so moisture does not sit on the surface.
Get the look
2. Acrylic tub surround kits
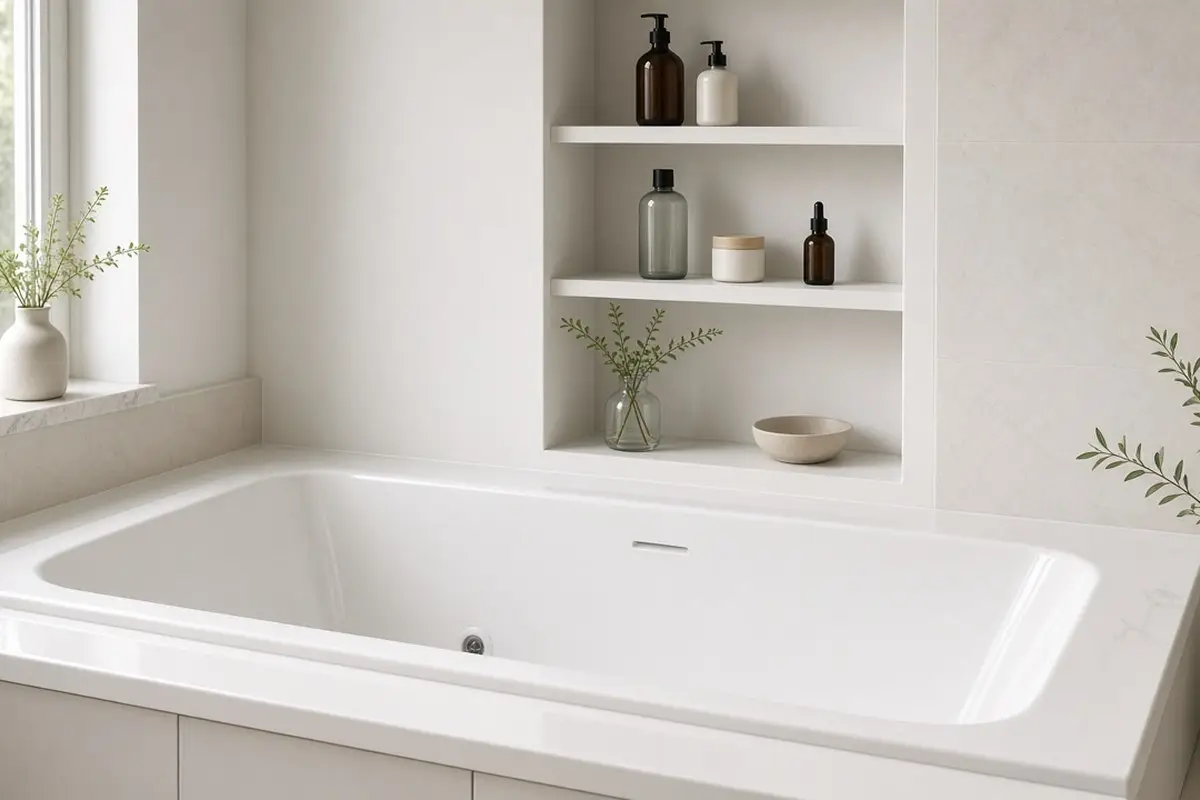
Acrylic surround kits come as three or five pieces sized for a standard tub. They are glossy, easy to clean, and often include built-in shelves. Installation is straightforward on a flat wall.
They suit family bathrooms where cleaning speed matters more than a custom look. Choose a kit sized exactly to your tub, usually 60 inches long and about 30 to 32 inches deep.
Built-in shelves and soap niches are one of the best features of acrylic kits. They replace hanging caddies, which tend to rust and collect grime, and they wipe clean with the rest of the wall. Check the shelf positions against your own household before buying; a shelf set too high or too low will be annoying for years.
Acrylic can scratch if cleaned with abrasive powders. Use a soft cloth and a non-abrasive bathroom cleaner to keep the gloss. A quick wipe once a week is enough.
Get the look
3. Solid surface sheets
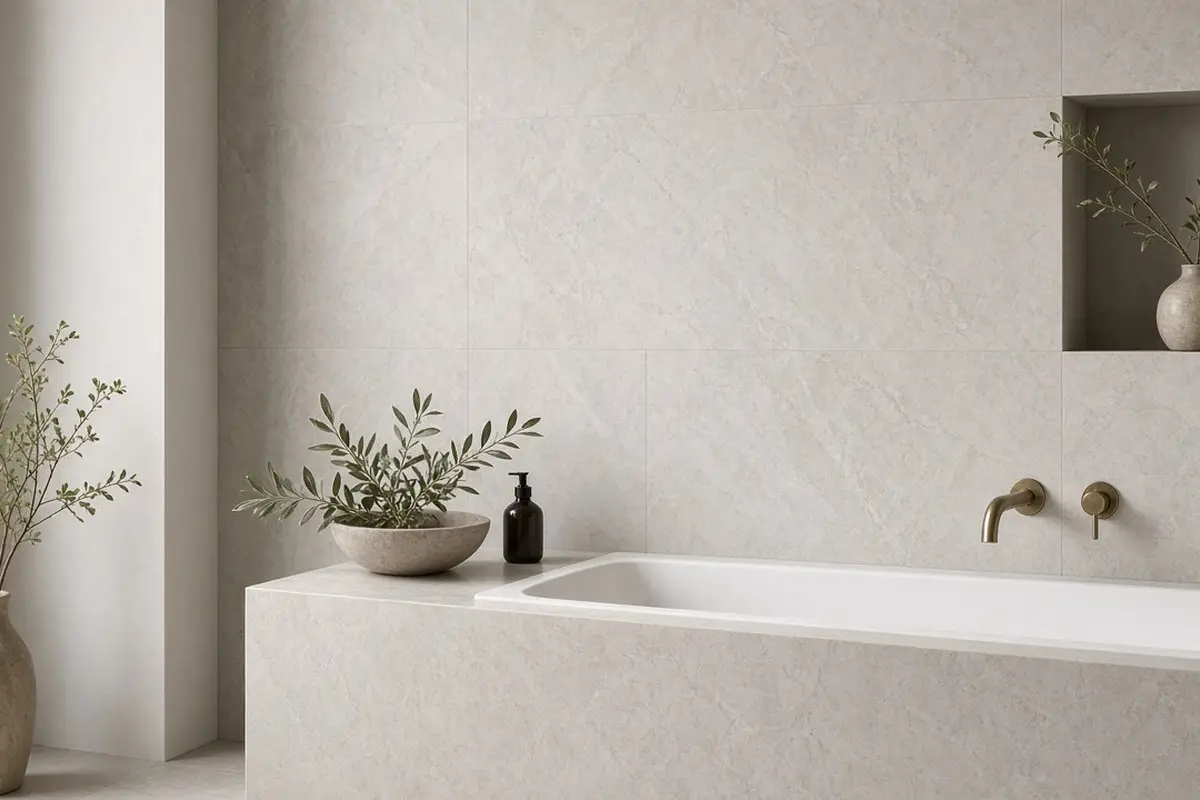
Solid surface panels, made from acrylic and mineral blends, look like stone and can be cut and joined almost invisibly. They are more expensive but feel substantial and last for decades. Scratches can be sanded out.
Solid surface is heavier than PVC or acrylic and usually needs two people to lift and fit. Many kits are cut to size by the supplier, which makes installation easier. Because it is a single material all the way through, edges can be routed smooth and joints sealed with color-matched adhesive, giving a near-seamless finish that looks like a stone slab at a fraction of the cost.
It also takes heat well and does not yellow, which makes it a good long-term choice for a main bathroom.
Get the look
4. Laminate shower panels
High-pressure laminate panels with a waterproof core offer realistic stone, concrete, and wood looks. They are popular in Europe and increasingly available elsewhere. Joints use special profiles.
The joints are the most important part of any laminate system. Panels usually connect with tongue-and-groove edges sealed with silicone, or with aluminum profiles at corners and ends. Done well, the joints are thin and neat; done badly, they are where water gets in. Read the instructions twice and do a dry fit before applying any adhesive.
Laminate also comes in large sheets, sometimes over 8 feet tall, so one panel can cover a whole wall from tub to ceiling.
Get the look
5. Beadboard-style panels
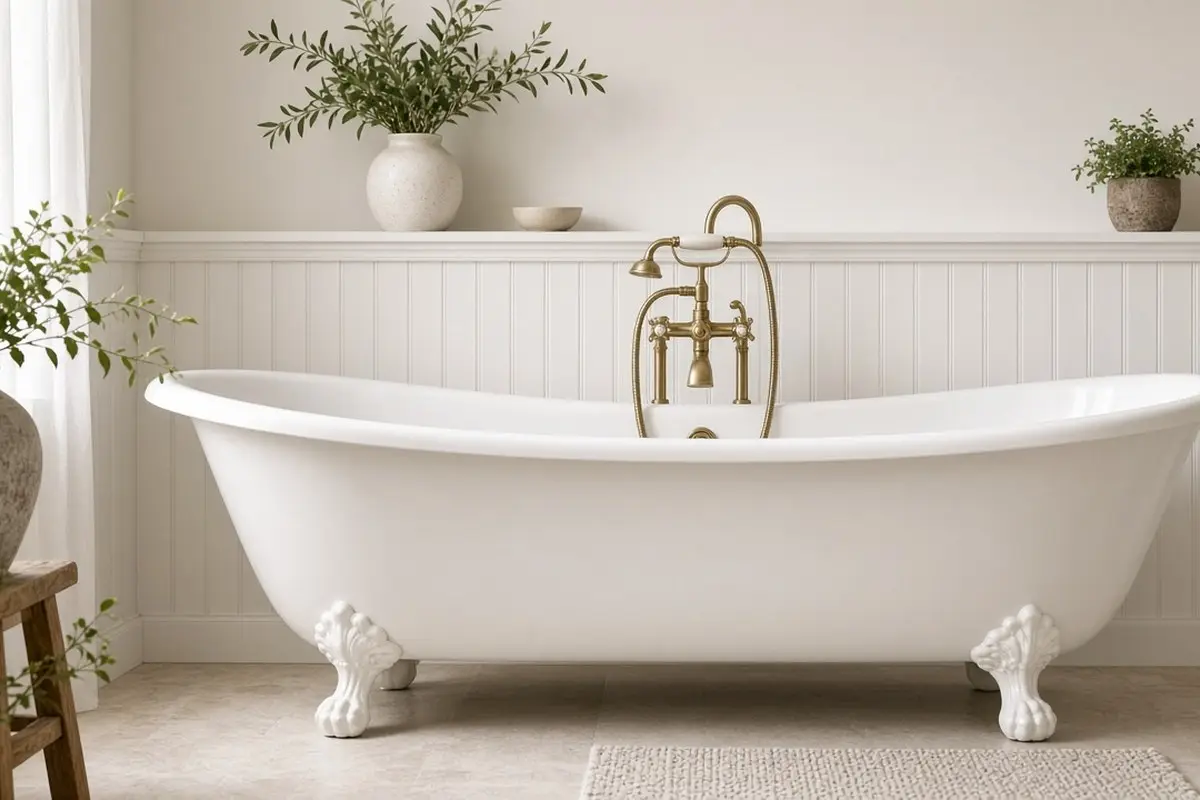
Waterproof PVC beadboard gives a cottage look around the tub or on the walls outside the splash zone.
Beadboard suits older homes, cottages, and farmhouse bathrooms. Around a tub, use it only if the product is rated for wet areas, and seal the joints well. Above the tub, a shelf or cap molding at the top edge gives a neat finish and a place for a candle or a plant.
Painted or prefinished white beadboard with a soft color above is a classic combination.
6. Glass wall panels
Back-painted glass panels are sleek, reflective, and very easy to clean. They have no grout and no texture to hold soap scum, and the color sits behind the glass where it cannot be scratched. They need precise measuring and usually professional installation.
Because they are cut to size before delivery, a template is usually made on site. Glass reflects light and makes a small bathroom feel bigger. Back-painted glass comes in almost any color, from soft white to deep blue, and wipes clean with a squeegee after every shower.
It is one of the more expensive options but also one of the easiest to keep spotless.

7. Panels over existing tile
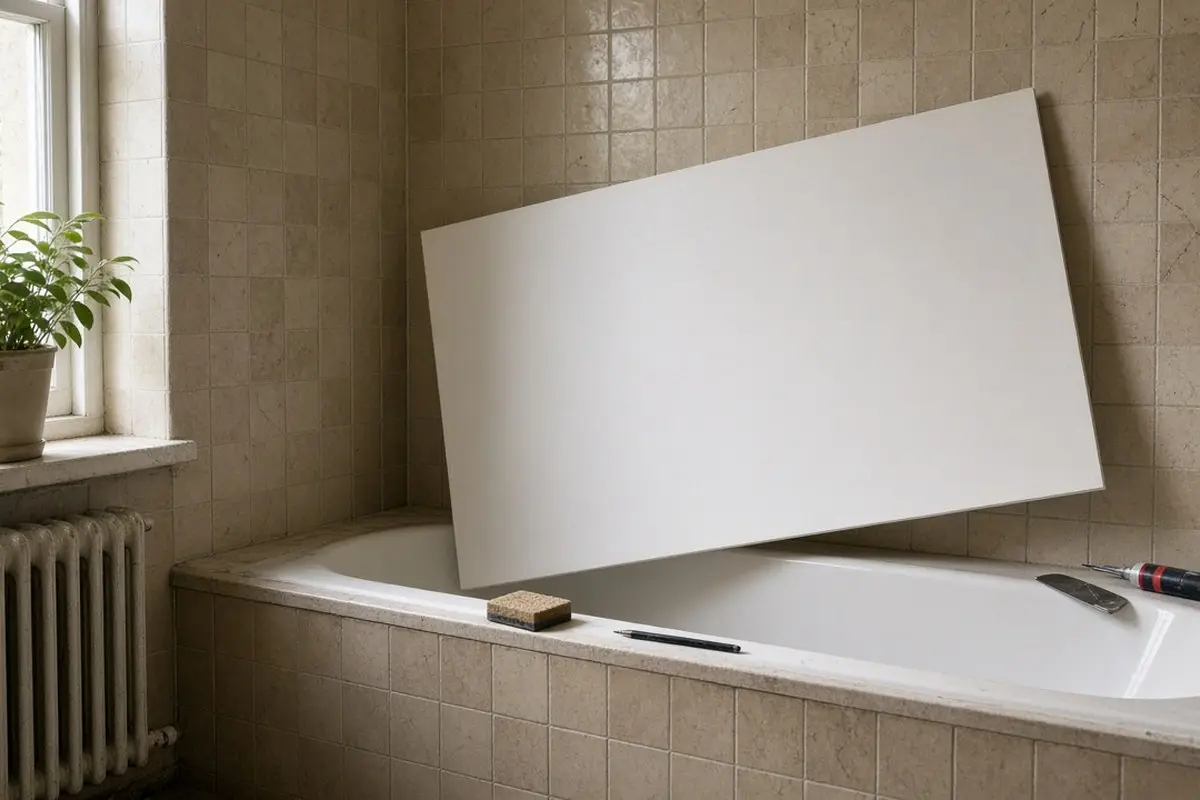
Some panel systems are designed to go over sound, flat tile, avoiding demolition. This is a big advantage in a rental or an older home, where removing tile might reveal problems or damage plaster walls. Check the manufacturer’s guidance first.
Going over tile saves time, mess, and the risk of damaging the wall during demolition. It only works if the tile is firmly attached, flat, and free of water damage. Clean the tile thoroughly, remove soap residue, and use a bonding primer if required. The extra thickness may mean you need extension kits for the faucet and shower valve trims.
8. Finishing details
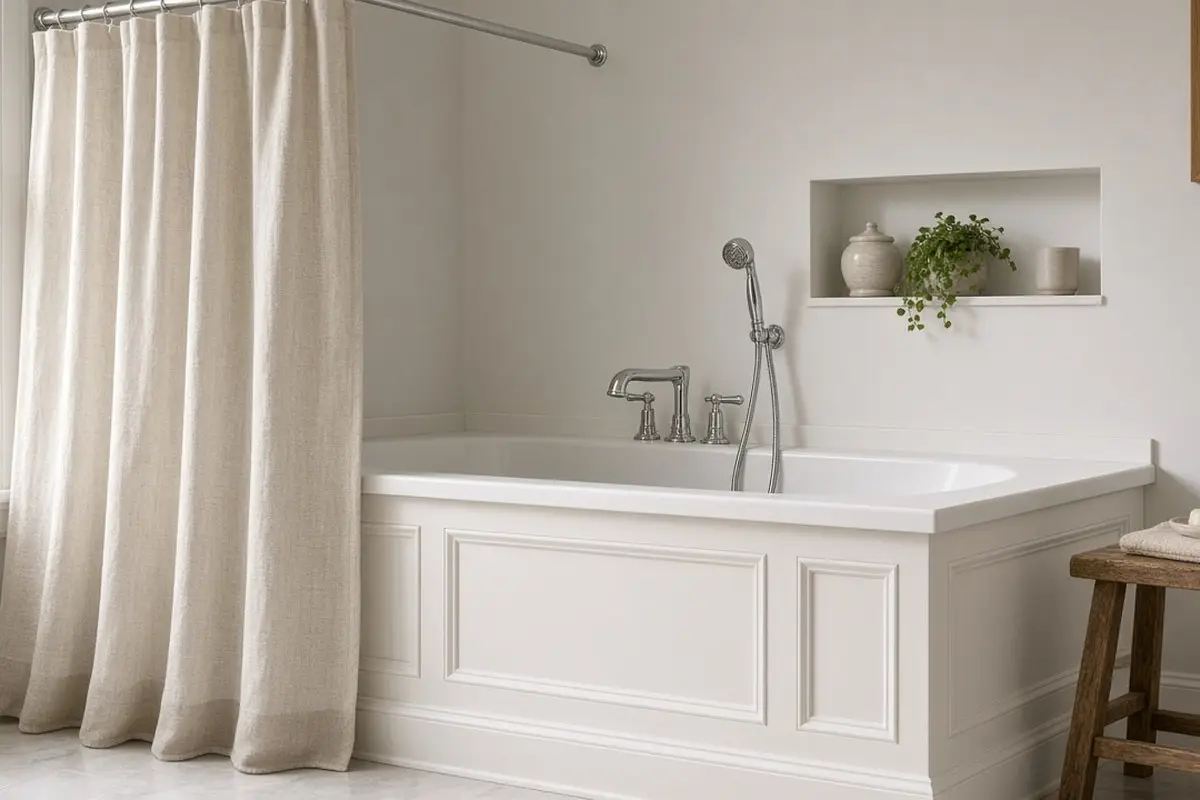
Matching trims, a new shower curtain, and updated fixtures make panels look finished.
Trim pieces cover cut edges where the panels meet the tub, the ceiling, and the outer walls. Choose trims in the same color as the panels for a seamless look. A fresh bead of white silicone along the tub edge makes the whole surround look new. A new shower head or tub spout in a matching finish completes the update.
Get the look
FAQ
Are bathroom wall panels waterproof?
Yes, when installed and sealed correctly.
Can wall panels go over tile?
Some can. Check the product instructions.
Are panels cheaper than tile?
Usually, especially including labor. The bathroom refresh, not remodel post covers more updates.
How long do bathroom wall panels last?
Good PVC and acrylic panels last many years; solid surface and glass can last decades. Proper sealing and ventilation matter most.
Do I need a professional to install panels?
PVC and acrylic kits are common DIY projects. Solid surface and glass often need a pro. The budget bathroom updates post covers smaller DIY changes.
Which looks most like tile?
PVC and laminate panels with printed tile patterns and grooved joints look closest to tile from a distance. For a stone look, solid surface is the most convincing.
Can I paint bathroom wall panels?
Most should not be painted, since paint will not bond well to the waterproof surface. Choose a color or finish you like from the start.
Wall panels give a clean, waterproof surround without tiling. Choose the material that fits your budget, wall, and skills, and seal every edge carefully.