
10 Shed Interiors That Work as a Shop, Not a Dump

On this page13 sections
- Start by emptying it
- A real workbench under the window
- Pegboard above the bench
- French cleats for flexible walls
- Wall racks for long-handled tools
- Ceiling and loft storage
- Shop lighting that actually works
- Small-parts organizers
- A potting corner
- A floor you can sweep
- Rules that keep it a shop
- Weatherproofing the shop
- Common questions
Most backyard sheds start with good intentions. A lawnmower goes in, then a few bags of potting soil, then the bikes, the patio cushions, a box of holiday lights, and a broken chair someone meant to fix. Within a couple of years the door opens onto a wall of stuff, and the idea of actually working in there, fixing a bike, building a planter, repotting seedlings, seems impossible.
A shed can be a real workshop, even a small one. The difference between a shop and a dump is not size. It is a clear work surface, storage that gets things off the floor, light you can see by, and a few rules about what is allowed to live there. This post walks through ten changes that turn a storage shed into a space you want to spend an afternoon in.
As an Amazon Associate I earn from qualifying purchases.
Start by emptying it
You cannot plan a shop around clutter. Pick a dry weekend and take everything out onto the lawn. Sort it into four piles: tools and supplies you use, garden and seasonal gear that has to live somewhere, things that belong in the house or garage, and things to donate or throw away. Be ruthless with the last pile. Dried-up paint, rusted tools you have replaced, and mystery hardware jars can all go.
While the shed is empty, sweep it out, check for leaks and rot, and look at the walls. Decide where the bench will go, usually under the window, and where the bulky gear will sit, usually nearest the door. Everything else follows from those two decisions.
1. A real workbench under the window
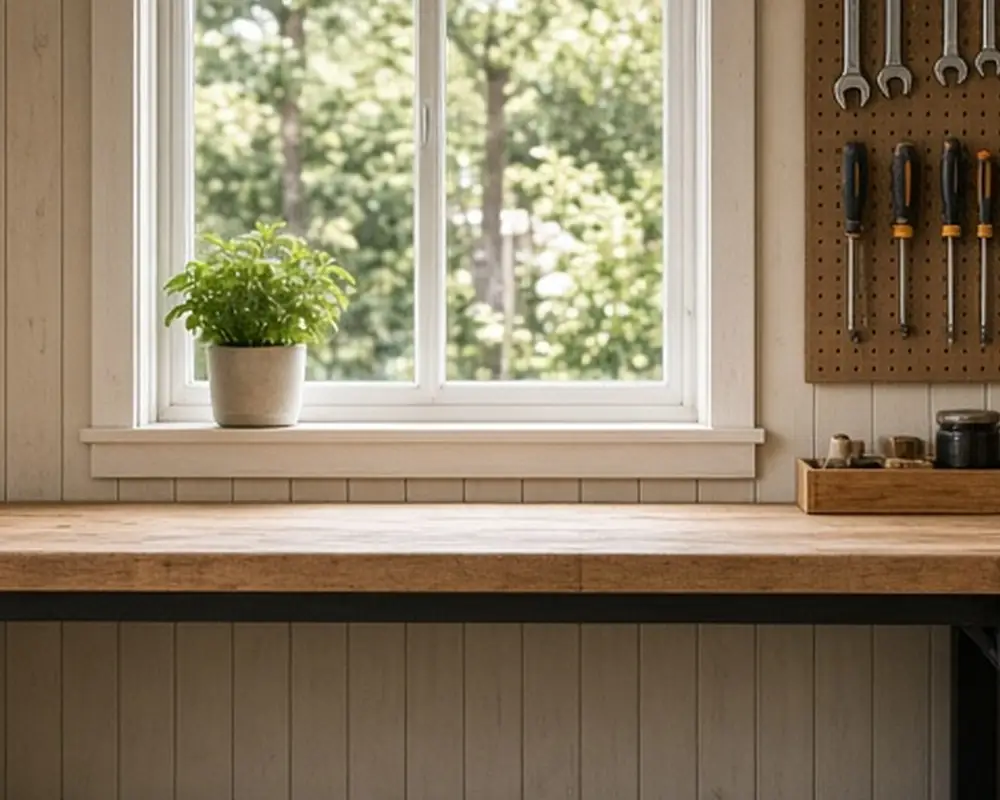
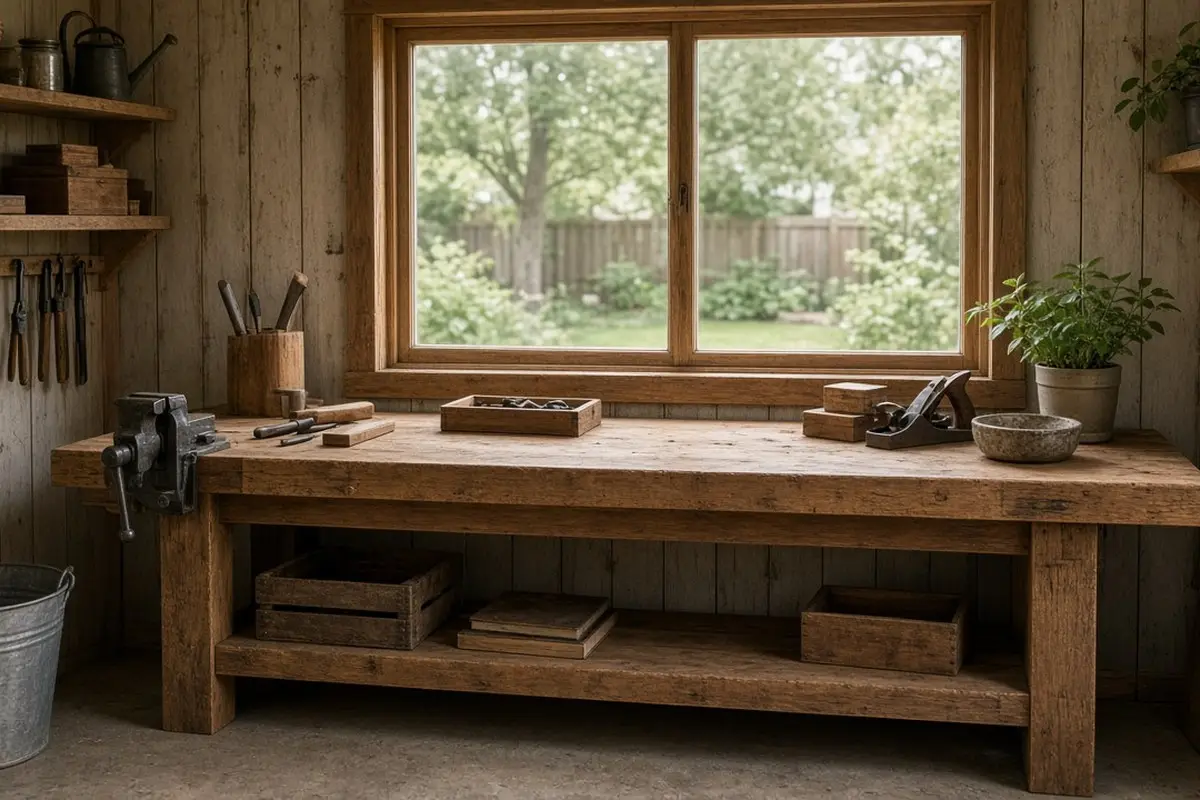
A workbench is what makes a shed a shop. Put it under the window for natural light, and make it as long as the wall allows. A sturdy bench at about hip height suits most work; adjust it so you can stand and work without hunching. A solid wood top takes a beating and can be planed or sanded flat again. If space is tight, a fold-down wall bench gives you a work surface that disappears when you need to get the mower out. Add a shelf below the top for power tools and a vise at one end for holding work steady. Mount a power strip along the back edge of the bench so cords do not trail across the surface. If you build your own, a simple frame of two-by-fours with a doubled plywood or butcher-block top is strong enough for most home projects, and you can size it exactly to your wall.
Get the look
2. Pegboard above the bench
Pegboard keeps the tools you use most often within arm’s reach and in plain sight. Outline each tool with a marker so you can see at a glance what is missing. Metal pegboard is stronger and does not sag, while hardboard is cheap and easy to cut. Mount it on furring strips so the hooks have space behind the board, and use locking hooks so tools do not fall off when you lift them. Keep only the tools you reach for every project on the pegboard: hammers, screwdrivers, pliers, tape measure, square, and a couple of saws. Rarely used tools go in drawers or bins so the board stays readable. A narrow shelf along the top of the board holds glue, tape, and finishing supplies.
3. French cleats for flexible walls
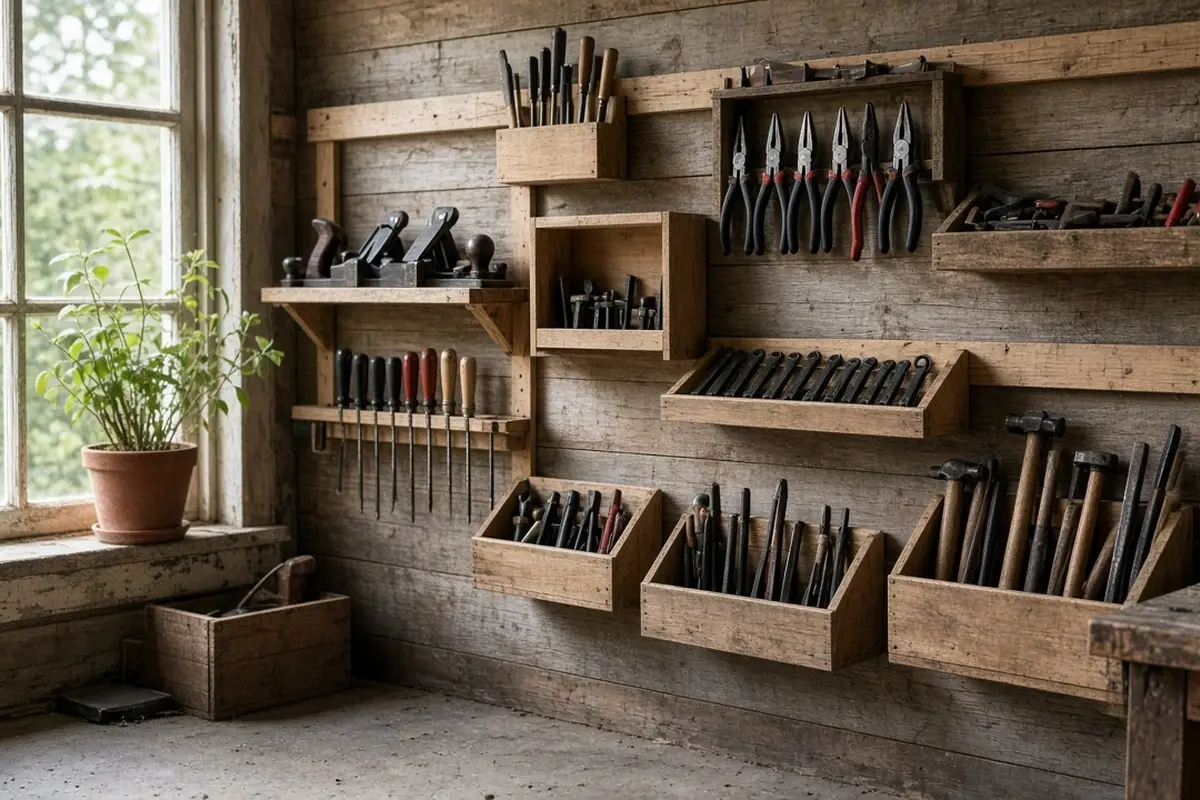
A French cleat wall is a series of strips cut at a forty-five-degree angle and screwed to the wall. Tool holders, shelves, and bins with matching cleats hang on them and can be moved anywhere. It is the most flexible shop wall system there is and can be built from scrap plywood. Rip three-quarter-inch plywood into strips with a bevel on one edge, and screw them into the studs every eight to ten inches up the wall. The holders are just small boxes, hooks, or shelves with a matching bevel on the back. Because nothing is fixed in place, you can rearrange the wall every time your projects change, from woodworking one season to bike repair the next.
Get the look
4. Wall racks for long-handled tools
Rakes, shovels, and brooms are what turn a shed floor into an obstacle course. A wall-mounted rack holds them upright and out of the way, ideally next to the door. Rail systems with adjustable hooks also hold hoses, extension cords, and folding chairs. Hang tools with heads up and handles down so sharp edges sit away from your face. Keep the lawnmower and wheelbarrow nearest the door, with the tool rack just inside, so you can grab what you need without walking through the shop.
Get the look
5. Ceiling and loft storage
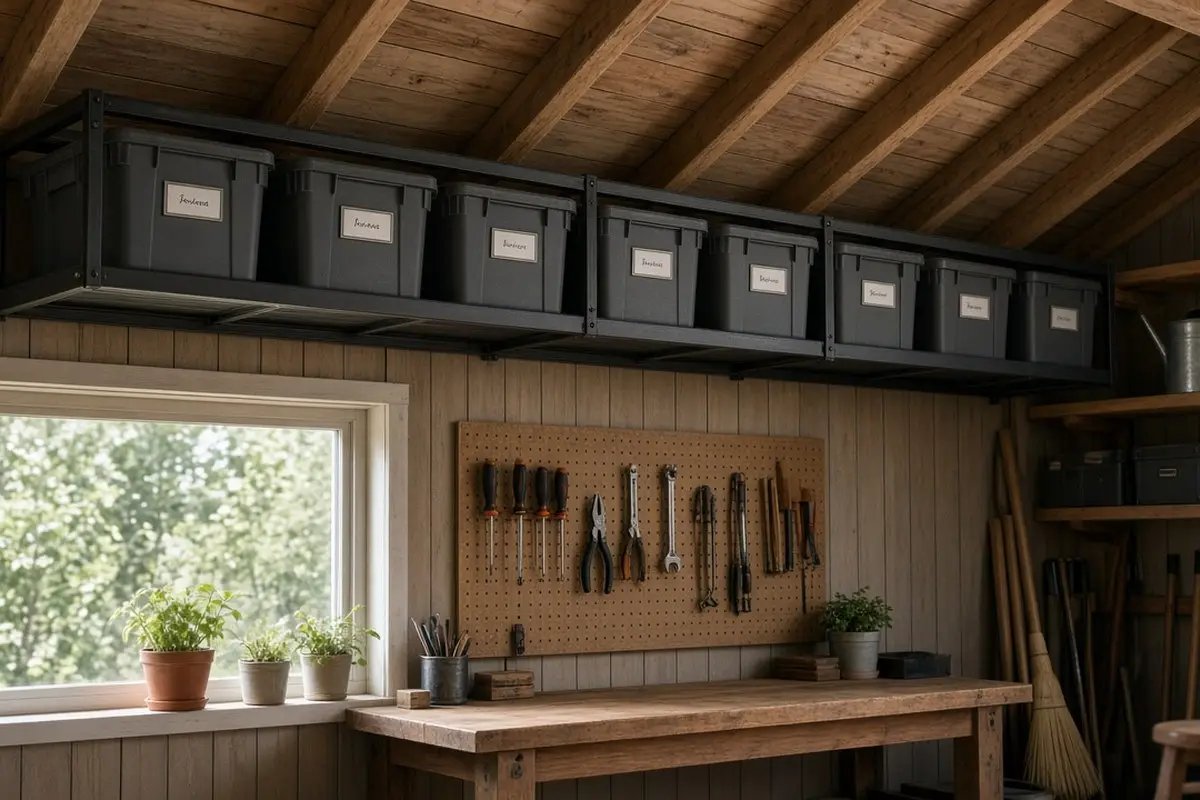
The space above head height is usually wasted. A simple loft across the rafters or a pair of overhead racks holds seasonal gear like holiday decorations, patio cushions in bins, and camping equipment. Keep only light, rarely used things up there. Check the rack’s weight rating and screw it into the rafters, not just the roof sheathing. Use matching lidded bins with labels on the end facing down, so you can read them from the floor. A small step stool kept on a wall hook makes the loft easy to reach safely.
Get the look
6. Shop lighting that actually works
One bare bulb is not enough to work by. Linkable LED shop lights mounted over the bench and down the middle of the shed give bright, even light. Add a clamp lamp for close work. If the shed has no power, solar shed lights with a panel on the roof are a decent start. Daylight-colored LEDs, around five thousand kelvin, show true colors for painting and finishing. Paint the walls and ceiling white or a pale gray; it can nearly double how bright the shed feels, because light bounces instead of being absorbed by bare wood.
7. Small-parts organizers
Screws, nails, washers, and bits are what make a shop feel chaotic. A wall of clear drawer organizers or a stack of small-parts cases keeps them sorted and visible. Label every drawer. Group parts by type rather than by project, and keep a spare empty drawer or two for new hardware. A magnetic strip on the wall holds drill bits and screwdriver bits where you can see them.
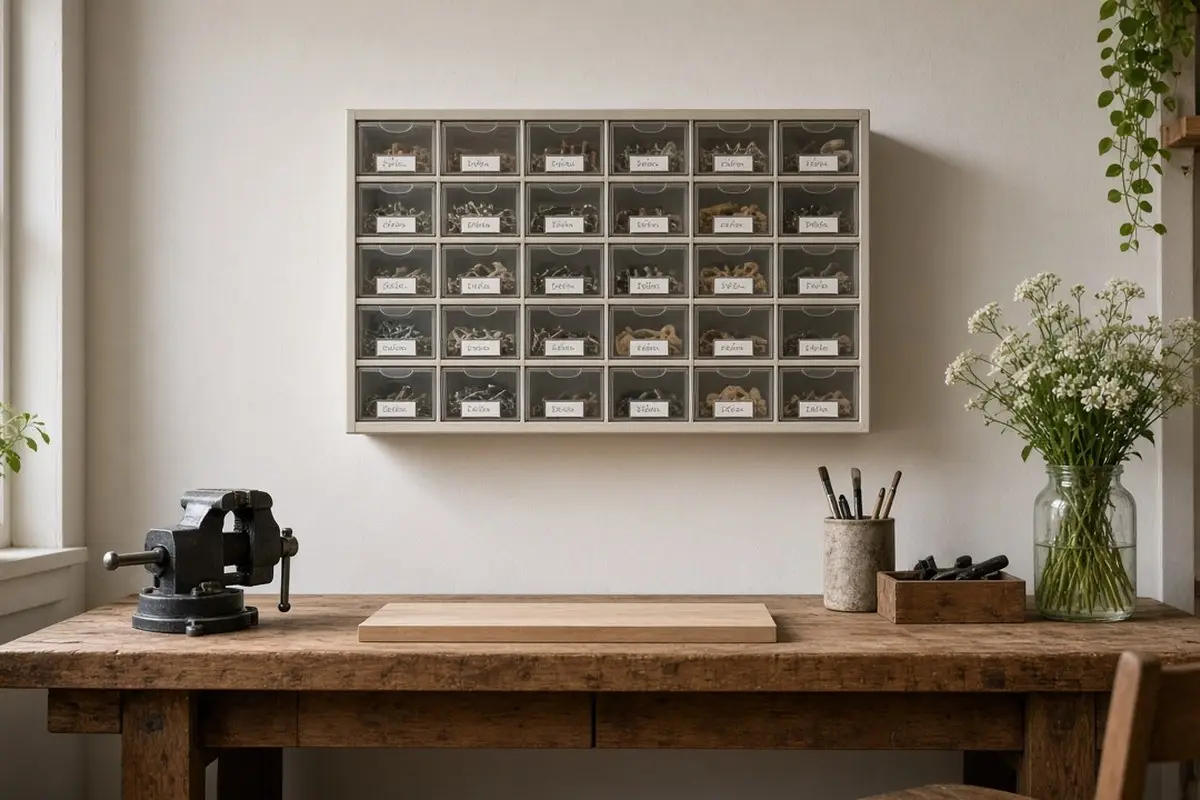
Get the look
8. A potting corner
If the shed doubles as a garden shed, give potting its own corner so soil does not end up in the tools. A potting bench with a lip, a bin of soil with a lid, and hooks for hand tools keep it contained. A boot tray under the soil bin catches spills, and a hand broom and dustpan on a hook make cleanup a one-minute job.
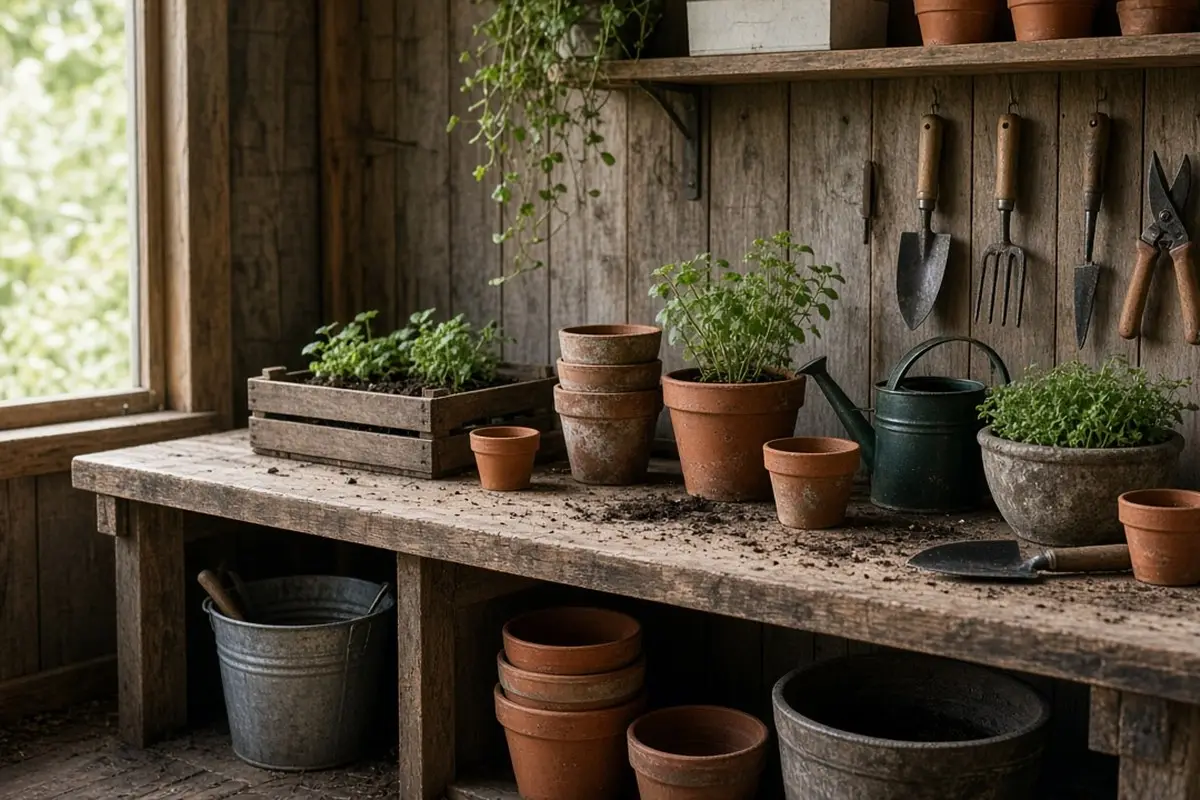
Get the look
9. A floor you can sweep
A clean floor makes the shop feel usable. Paint a plywood floor with porch and floor paint, or lay interlocking floor tiles over it. Rubber mats in front of the bench are kinder on your feet. Seal any gaps along the base of the walls to keep out leaves and critters, and keep a push broom on the wall by the door so sweeping happens after every project.
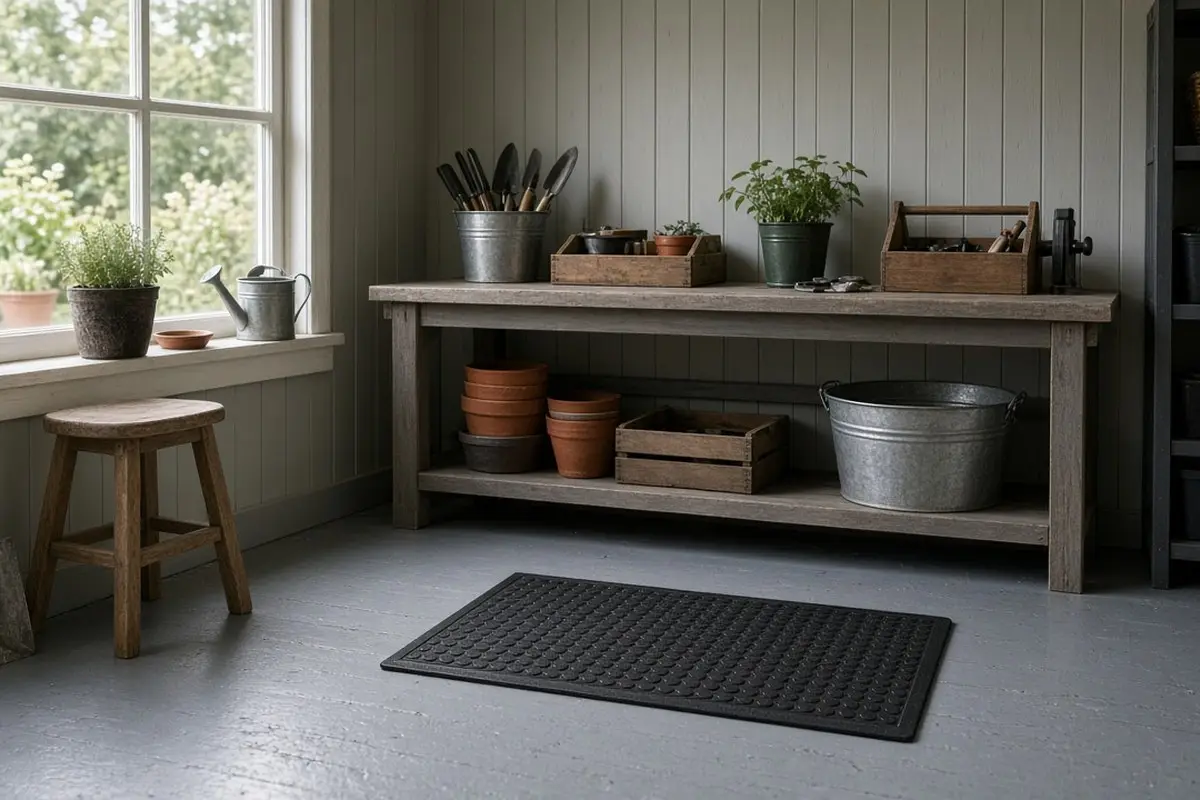
Get the look
10. Rules that keep it a shop
Keep the bench clear at the end of every project. Nothing goes on the floor except wheeled equipment. Bring house overflow back to the house. A few rules keep the shed from sliding back into a dump. Put a donation bin by the door for anything that turns out not to belong, and empty it every month. Once a season, spend twenty minutes walking the walls: return stray tools to their outlines, toss empty cans, and check that nothing has crept onto the floor.
Weatherproofing the shop
A shed workshop has to handle heat, cold, and damp that a garage barely notices. Tools rust quickly in a humid shed, so keep metal hand tools on the wall where air moves around them, and wipe them with a light oil a couple of times a year. A small dehumidifier or a few moisture-absorbing buckets help a lot in a closed, damp shed. Store paint, glue, and finishes on a shelf away from the walls that get direct sun, and bring anything that must not freeze into the house for winter. Insulating the walls with rigid foam and covering them with plywood both improves comfort and gives you a solid surface to screw storage into anywhere, which is a big upgrade from hunting for studs.
Ventilation matters too. A window that opens at one end and a vent at the other let fumes and heat out when you are sanding, staining, or working on a hot afternoon. Keep a small fire extinguisher on the wall by the door, and a first-aid kit beside it. Safety glasses and hearing protection belong on a hook right above the bench, where you will see them every time you pick up a power tool. A shed that is comfortable, bright, and organized is a shed you will actually use, and the projects that have been waiting for years finally get done.
Common questions
How do I organize a small shed? Empty it, keep only what you use, and go vertical: pegboard, cleats, and wall racks for tools, with bulky gear by the door and seasonal bins overhead.
Do I need electricity in a shed workshop? It helps, but solar lights and battery tools make an unpowered shed workable for light projects.
What is the best wall for shed tool storage? Pegboard is cheap and simple; a French cleat wall is more flexible and holds heavier tools.
For more storage ideas, see laundry closet setups and our small kitchen organization guide, which use many of the same wall-first principles.