
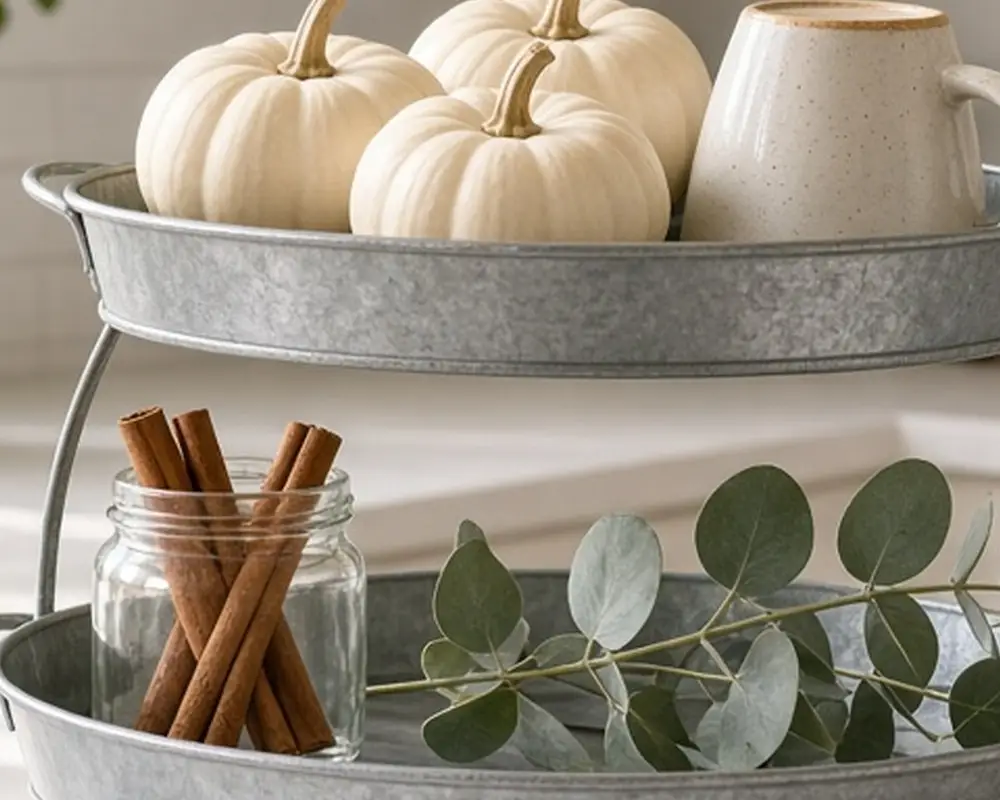
6 Tiered Trays for a Fall Kitchen Counter

On this page11 sections
- Before you style: three tray decisions
- The coffee bar tray
- The baker’s tray
- The harvest tray
- The apple and cider tray
- The slim tray for a narrow counter
- The island tower
- How to fill any tier so it looks full but not crowded
- Moving the tray from fall to winter
- More fall ideas for the kitchen and beyond
- Quick answers
A tiered tray is the one fall decoration that has to share space with the toaster. It sits on a counter where people chop onions, drop keys, and wipe up spills, so it has to look good without getting in the way. That is a different job from a mantel or a coffee table, where decor can sprawl and nobody needs the space for anything else.
The six setups below are built for that job. Each one starts with a tray size that fits a real counter, then fills the tiers from the bottom up, with a note on what tends to go wrong. If you have already styled a flat tray of pumpkins, these work on a different principle: height, small objects, and a footprint about the size of a dinner plate.
As an Amazon Associate I earn from qualifying purchases.
Before you style: three tray decisions
Measure the counter depth under the upper cabinets. Most upper cabinets sit about 18 inches above the counter. A tray with a center handle needs to clear that with room to lift it, so a two-tier tray around 15 to 17 inches tall is usually the safe choice for a spot under cabinets. Save the three-tier towers for an island, a peninsula, or a counter run with open shelving above.
Pick the material for the room, not the season. A galvanized metal tray reads farmhouse. Black metal reads modern. Wood reads warm and works with almost anything. Because the tray stays out all year and only the contents change, choose the finish that matches your cabinet hardware or your lighting, and let the fall objects bring the color.
Plan for one working tier. A counter tray that holds only decor tends to get moved every time someone needs space. Give one tier a job, such as holding the sugar, the salt cellar, or the good olive oil, and the tray earns its spot.
Check the weight limit. Many tiered trays hold less than they look like they should, especially ones with thin center rods. A few real pumpkins, a ceramic crock, and a glass bottle add up quickly. If the rod wobbles when you set the top tier down, move heavy items to the bottom tier or to the counter beside the tray.
1. The coffee bar tray
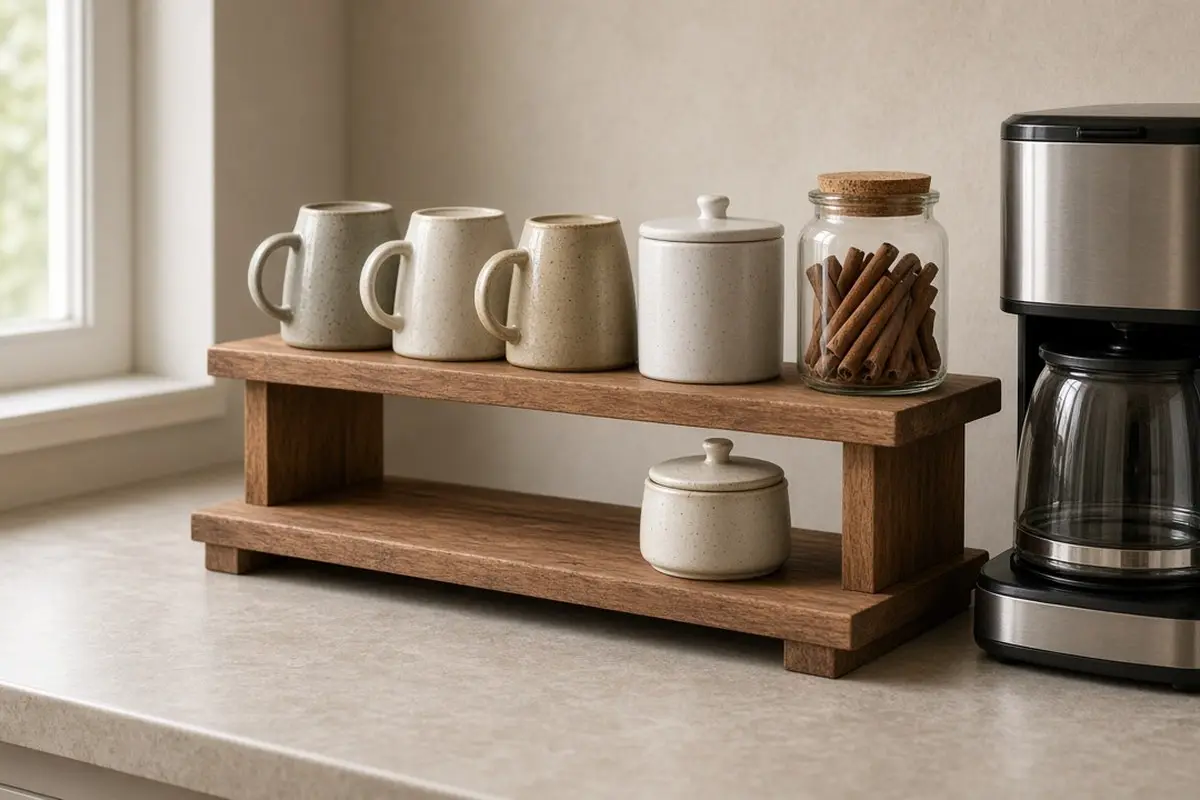
This is the most useful version and the easiest to keep tidy. It sits next to the coffee maker and holds everything you reach for in the morning, with a little fall color around the edges.
Bottom tier: two or three mugs turned upside down, a small jar of stirrers, and a lidded canister of sugar or sweetener packets. Turning the mugs over keeps dust out and makes them look like part of the display.
Top tier: a small jar of cinnamon sticks, a mini pumpkin or two, and a short sprig of dried eucalyptus or wheat. The cinnamon jar earns its place twice: it looks seasonal, and you can drop a stick into a cup.
What to skip: candles. A lit candle next to a coffee maker, paper filters, and a curling steam vent is asking for trouble. If you want the glow, use a small battery tealight with a timer.
Get the look
2. The baker’s tray
Fall is baking season in a lot of kitchens, and a tiered tray can hold the small things that otherwise live in a drawer you dig through every time.
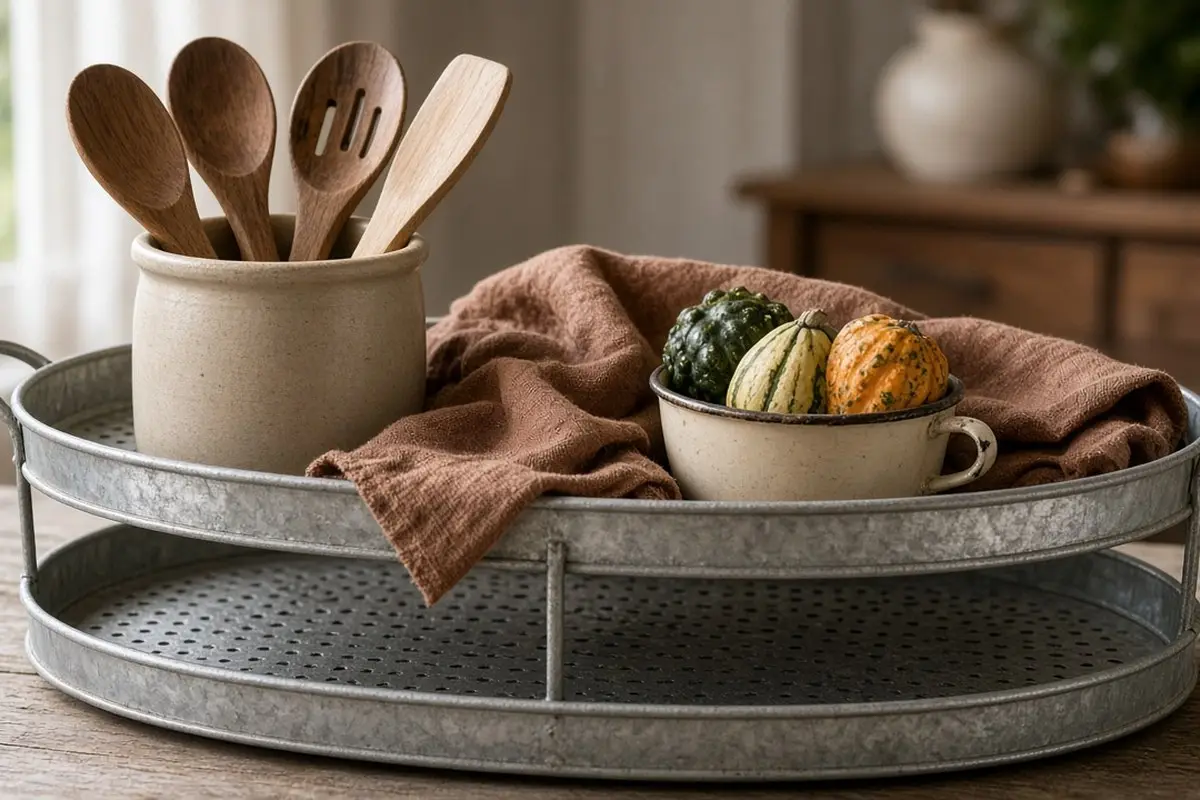
Bottom tier: a crock of wooden spoons and a whisk, a small jar of vanilla or a bottle of extract, and a folded linen towel in rust or mustard. The towel softens the metal or wood and adds a block of color without a single faux leaf.
Top tier: a vintage measuring cup holding a few small gourds, or a short stack of recipe cards in a little wooden stand. A recipe card in a relative’s handwriting makes the tray feel like it belongs to your house rather than a store display.
What to skip: flour and sugar in open containers. They gather dust and attract pests. Keep staples in sealed canisters, and put those canisters on the counter beside the tray, not on it.
3. The harvest tray
This is the classic: small pumpkins, gourds, and natural textures. It looks best when you keep the palette tight and vary the shapes.
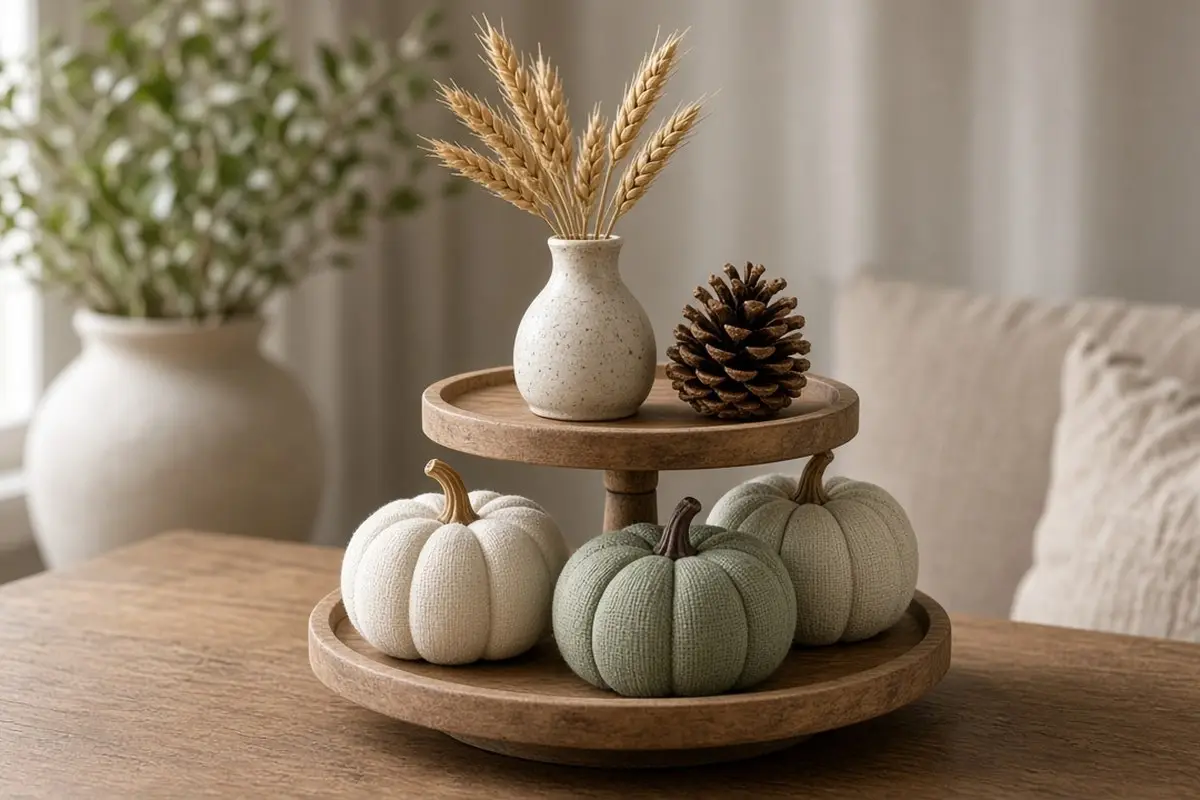
Bottom tier: two or three pumpkins about the size of a softball, in cream, sage, or pale orange. Set them at different angles so the stems point in different directions. Tuck a little reindeer moss or a few dried leaves between them to hide the tray floor.
Top tier: one tiny pumpkin, a small bundle of wheat stems in a bud vase, and a pinecone. The top tier should be lighter and more open than the bottom, which keeps the tray from looking top-heavy.
What goes wrong: real pumpkins on a warm counter near the stove or dishwasher vent can soften within a few weeks. If the tray sits near heat, use faux pumpkins for the bottom tier and save the real ones for a cooler spot. Check real pumpkins every week for soft spots on the underside.
Get the look
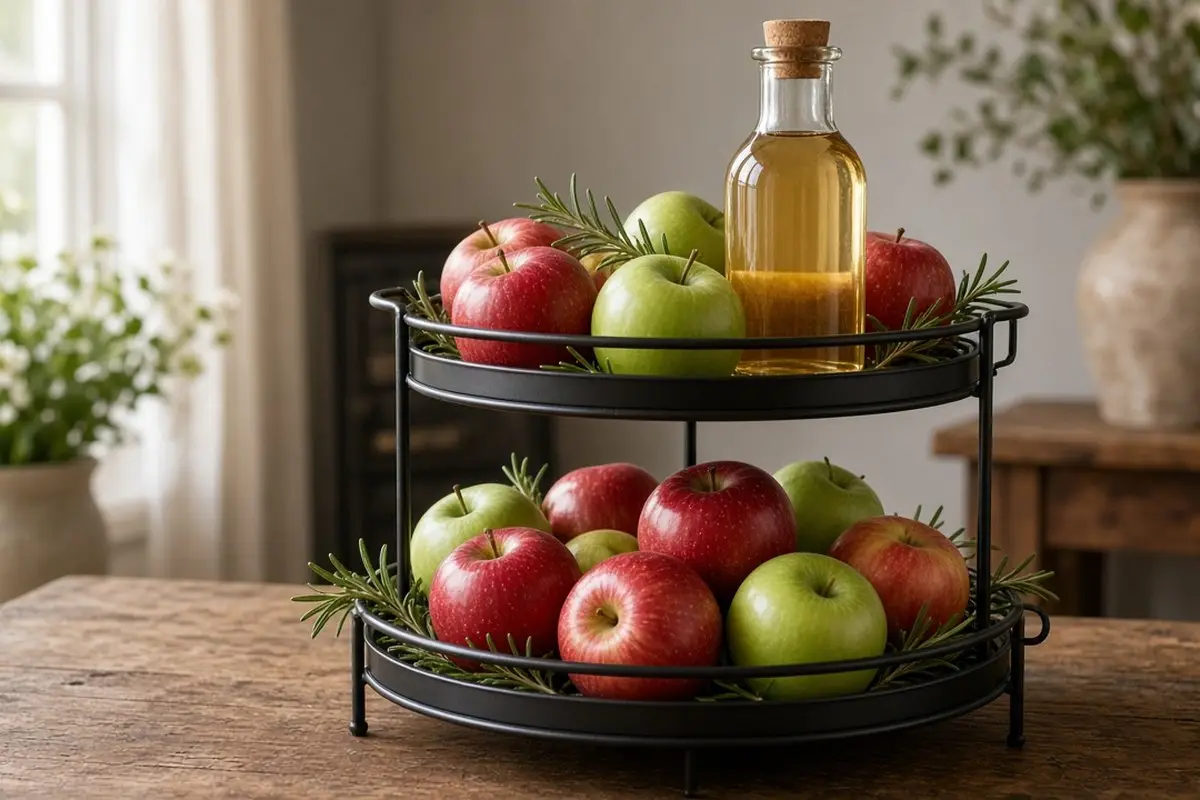
4. The apple and cider tray
If orange pumpkins feel overdone, apples give you the same season in deep red and green. This version leans on fruit you actually eat, which keeps it changing through the week.
Bottom tier: a small bowl or the tray floor itself filled with apples, mixing a dark red variety with a green one. Add a small glass bottle of cider or a jug-shaped bottle filled with water and a cinnamon stick.
Top tier: a cluster of three small apples with a few sprigs of rosemary, or a small jar of caramel dip if you are hosting. Rosemary holds up for days out of water and smells better than most candles.
What to know: apples release ethylene gas as they ripen, which speeds up ripening for anything nearby. Keep bananas and avocados off this tray, and refill it as you eat the apples rather than letting a few sit for weeks.
Get the look
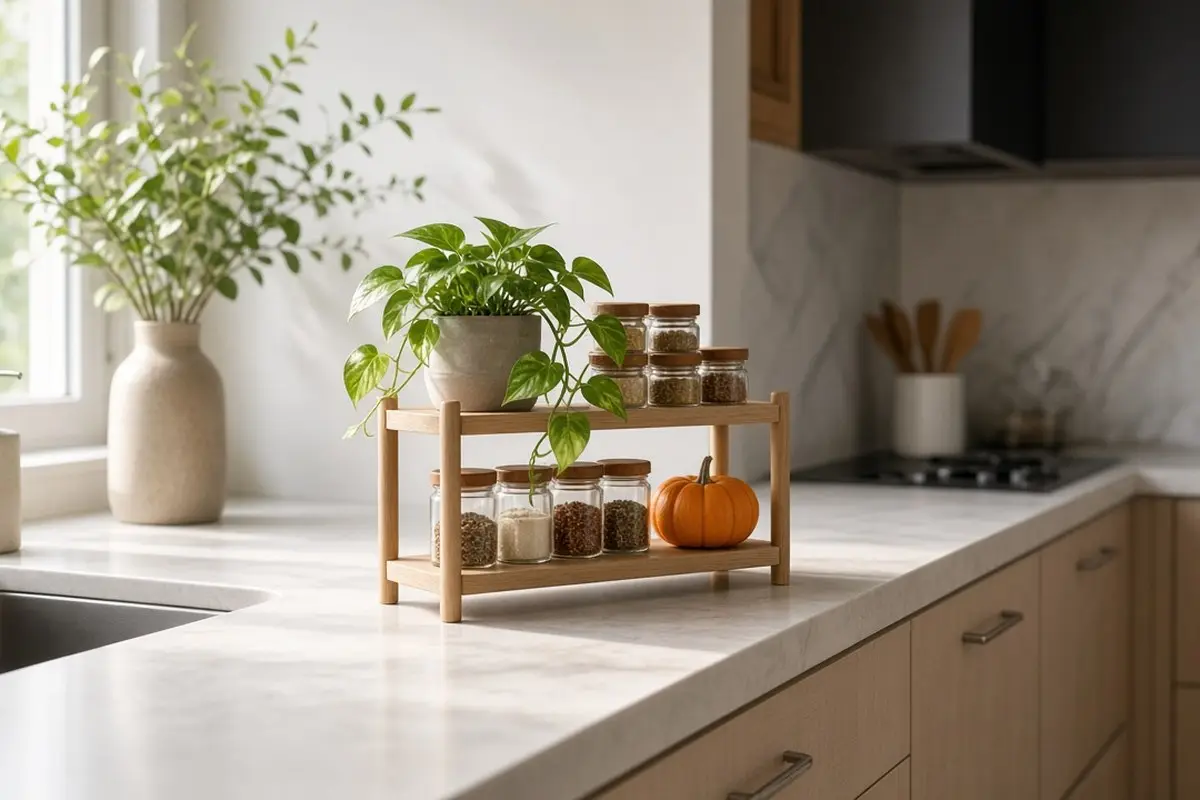
5. The slim tray for a narrow counter
Not every kitchen has room for a round tray with a 12-inch base. In a galley kitchen or a counter just deep enough for a cutting board, a narrow rectangular two-tier stand is a better fit.
Bottom tier: a row of three small jars, such as salt, pepper, and red pepper flakes, with a mini pumpkin at one end. A row looks intentional in a way that a cluster does not on a narrow base.
Top tier: a short trailing plant like a small pothos or ivy in a 3-inch pot. The plant hangs slightly over the edge and softens the hard line of the stand. Add a single cinnamon broom or a little wreath of dried leaves leaned against the back.
What to know: narrow stands tip more easily. Put the heaviest items on the bottom tier and keep the top tier light. If the counter has a backsplash, push the stand back so it can rest against it.
Get the look
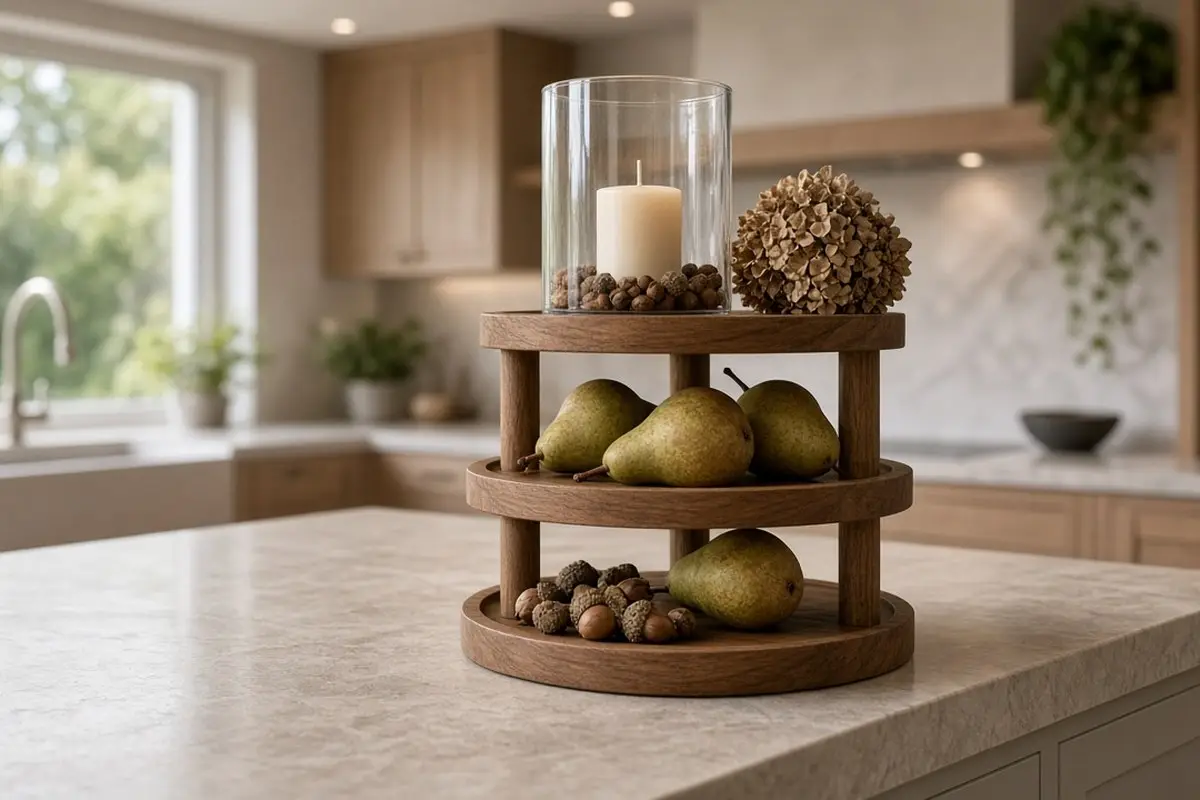
6. The island tower
A three-tier tower needs open space overhead, so this one belongs on an island or a peninsula. It can carry more, and it works as a centerpiece for a fall gathering when the island becomes a buffet.
Bottom tier: a small cutting board leaned upright, a bowl of pears or clementines, and a medium pumpkin. The bottom tier carries the weight.
Middle tier: a small candle in a glass hurricane, a jar of acorns or chestnuts, and a little framed fall print or a chalk sign with just one word, if you like signs at all.
Top tier: a single small plant, a bundle of dried hydrangea, or a tiny white pumpkin. One item is enough.
What to know: a tower in the middle of an island blocks the view across it. Set it at one end, not dead center, so people can still talk across the counter.
Get the look
How to fill any tier so it looks full but not crowded
The trick is the same on every tray: anchor, filler, and one tall piece.
- Anchor: the biggest object on the tier, set slightly off center. On a fall tray this is usually a pumpkin, a canister, or a mug stack.
- Filler: small, loose pieces that hide the tray floor, such as moss, cinnamon sticks, acorns, or a folded towel.
- One tall piece: a sprig, a bud vase, or a recipe card stand that pulls the eye up toward the next tier.
If a tier looks empty, add filler before you add another anchor. If it looks crowded, take away an anchor before you touch the filler. That small rule fixes almost every tray.
Moving the tray from fall to winter
Because the tray stays out, the switch to the next season is quick. Pull the pumpkins and the wheat. Keep the cinnamon, the pinecones, and the rosemary, because all three work in December. Swap the rust towel for a cream or deep green one, and add a few small ornaments or a sprig of cedar. The bones of the tray stay the same, and it takes about ten minutes.
More fall ideas for the kitchen and beyond
Quick answers
How tall should a tiered tray be under kitchen cabinets? Leave at least 2 inches between the top of the handle and the cabinet bottom so you can lift it out to wipe the counter. On a standard 18-inch gap, a tray of 15 to 16 inches fits well.
Can I put real food on the tray? Whole fruit, sealed jars, and cinnamon sticks are fine. Avoid anything open, sticky, or perishable, and wipe the tiers each time you refresh the tray.
How often should I change it? Most kitchen trays look best with a small refresh every week or two: swap a soft pumpkin, replace the rosemary, and move one item to a different tier.
If you want to carry the fall look across the rest of the kitchen, these small fall kitchen touches work alongside a counter tray. For a flat tray on a coffee table or an ottoman, the ideas in pumpkin tray styling cover a lower, wider arrangement. And if your counter is already crowded, start with the everyday ideas in kitchen counter tray ideas before adding anything seasonal.