
8 Cardboard Halloween Builds for a Porch

On this page13 sections
Every house gets a few boxes in October, and most of them go straight to the recycling bin. With a box cutter, some paint, and an afternoon, those same boxes can become the most talked-about porch on the street. Cardboard is free, easy to cut, light enough to move around, and big enough to make props at a scale that store-bought decorations rarely reach without a big price. It is also forgiving. A wrong cut costs nothing but another panel from the pile.
The catch is weather. Cardboard and rain do not get along. The eight builds below come with notes on how to seal them and where to put them so they last from the first week of October through trick-or-treat night.
As an Amazon Associate I earn from qualifying purchases.
Tools and materials
You do not need much:
- Corrugated cardboard. Appliance and furniture boxes are best because the walls are thick and the panels are large. Double-wall boxes are stiffer than single-wall.
- A sharp box cutter or utility knife with spare blades. A dull blade tears cardboard instead of cutting it.
- A metal ruler and a cutting surface, like an old piece of plywood or a self-healing mat.
- Hot glue and packing tape for joining pieces.
- Paint. Exterior latex or chalk paint for the base color, with craft paint for details.
- Clear sealer. A spray-on clear coat or a brush-on exterior sealer makes a big difference in damp weather.
Work on a drop cloth outside or in the garage, and keep the blade retracted between cuts.
Make a template before cutting anything big. Sketch the shape on a sheet of newspaper or kraft paper taped together to full size, cut it out, and trace it onto the cardboard. Templates let you check the size on the porch first, and they let you cut matching pieces when you need two or three layers. Keep the templates flat in a folder, and next year the cutting goes twice as fast.
How to weatherproof cardboard
This is what makes cardboard props last more than one rainy night.
- Prime both sides. A coat of paint on the front alone lets moisture soak in from the back. Paint every surface, including the edges.
- Seal the edges twice. Cut edges are where water gets in. Run an extra coat of paint along every edge, then seal.
- Add a clear coat. Two light coats of clear spray sealer over the finished paint.
- Keep it off the ground. Set props on a brick, a scrap board, or the porch floor rather than wet grass, and use stakes to hold them up.
- Place it under the roof line. A covered porch protects cardboard far better than an open yard.
If a prop does get wet, bring it inside right away and let it dry flat under something heavy, like a few books on a board. Cardboard that dries flat usually recovers enough for another week outdoors. Cardboard left to dry while leaning will warp and stay warped.
1. Tombstones
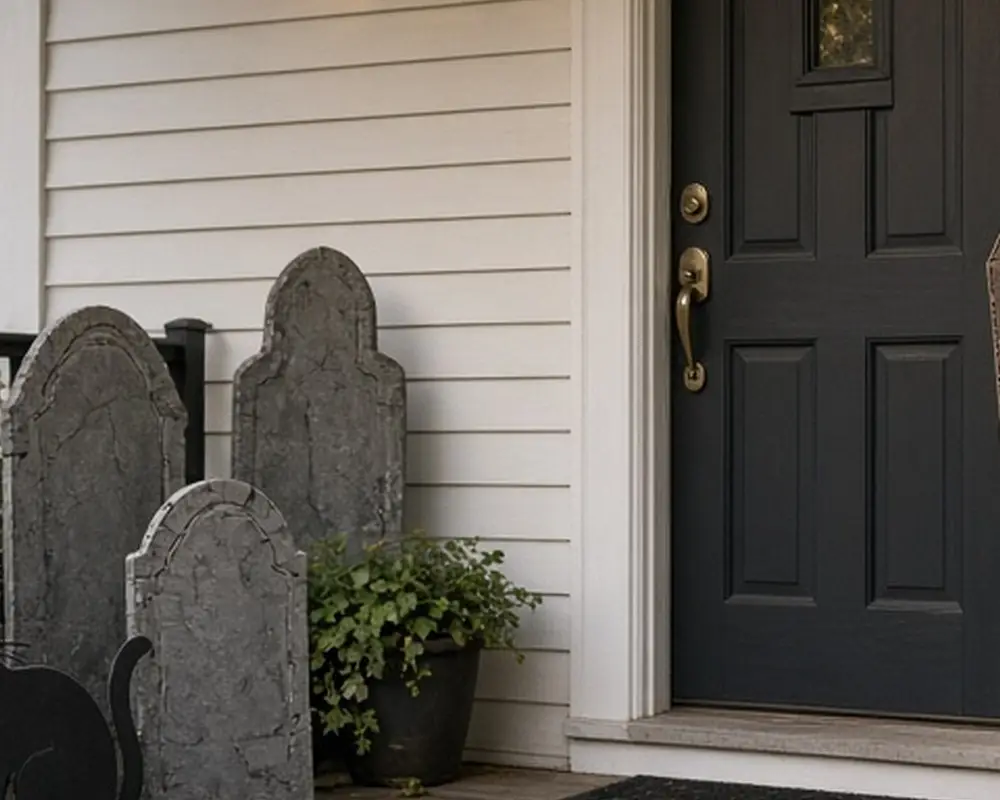
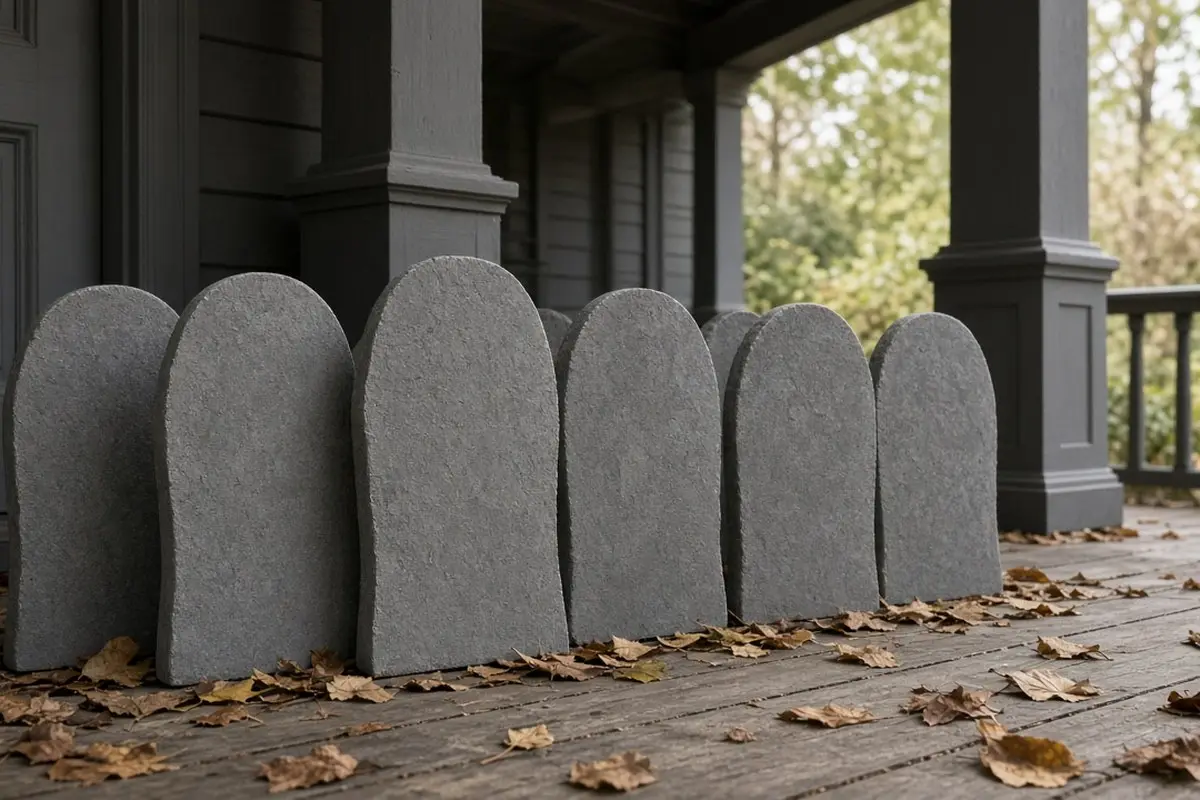
The classic. Cut tombstone shapes from flat panels about 2 feet tall: rounded tops, pointed arches, or crosses. Glue two or three layers together for thickness, then paint them gray. Alternate the direction of the corrugation in each layer, so one runs vertically and the next horizontally. This makes the stack far stiffer and less likely to bend in the wind.
For a stone texture, dab on a darker gray with a sponge, then dry-brush a lighter gray over the top. Paint or stencil a few names and dates, or keep them blank for a quieter look. Puns and inside jokes are part of the fun: a tombstone for the lawn mower that died this summer, or for the last of the summer tomatoes. Set them at slightly uneven angles, a few leaning back, as if the ground has settled around them.
Get the look
2. A coffin by the door
A tall box, like the one a mirror or a door ships in, becomes a coffin with a few cuts. Mark the classic six-sided coffin shape on the front, cut it out, and attach it to a back panel with strips of cardboard as sides.
Paint it black or a dark wood brown, then add simple details: a cross, brass-colored handles made from bottle caps, or a nameplate. Lean it upright next to the door, and it doubles as a photo spot. Line the inside with a scrap of red or purple fabric if the lid will be open, and you have a spot where trick-or-treaters can pose for a picture.

Get the look
3. Black cat silhouettes
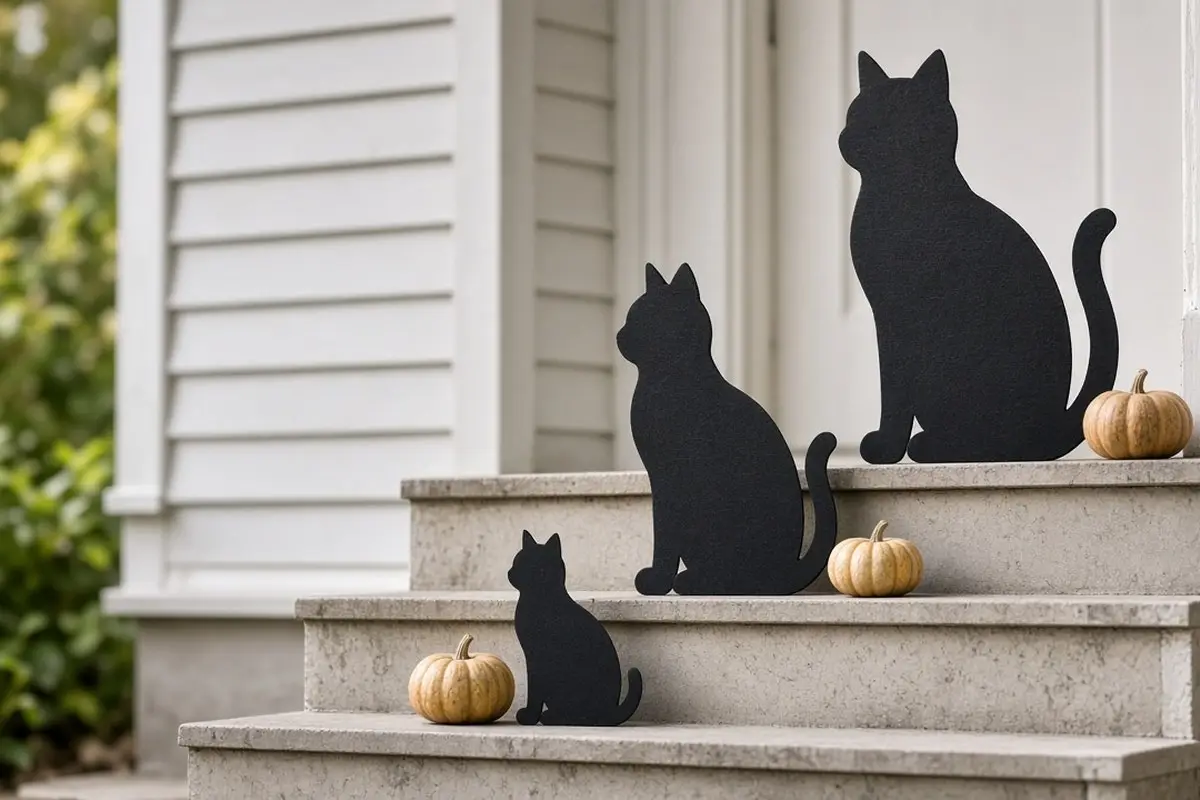
A black cat silhouette is one of the most recognizable Halloween shapes there is. Draw a sitting cat with an arched back or a tall, straight tail on a large panel, cut it out, and paint it matte black.
Set two or three at different sizes on the steps, or put one in a window with a light behind it. Flat black shapes read clearly from the street even at a distance. Add yellow eyes cut from reflective tape, and they will catch car headlights and flashlights after dark.
Get the look
4. A haunted house facade
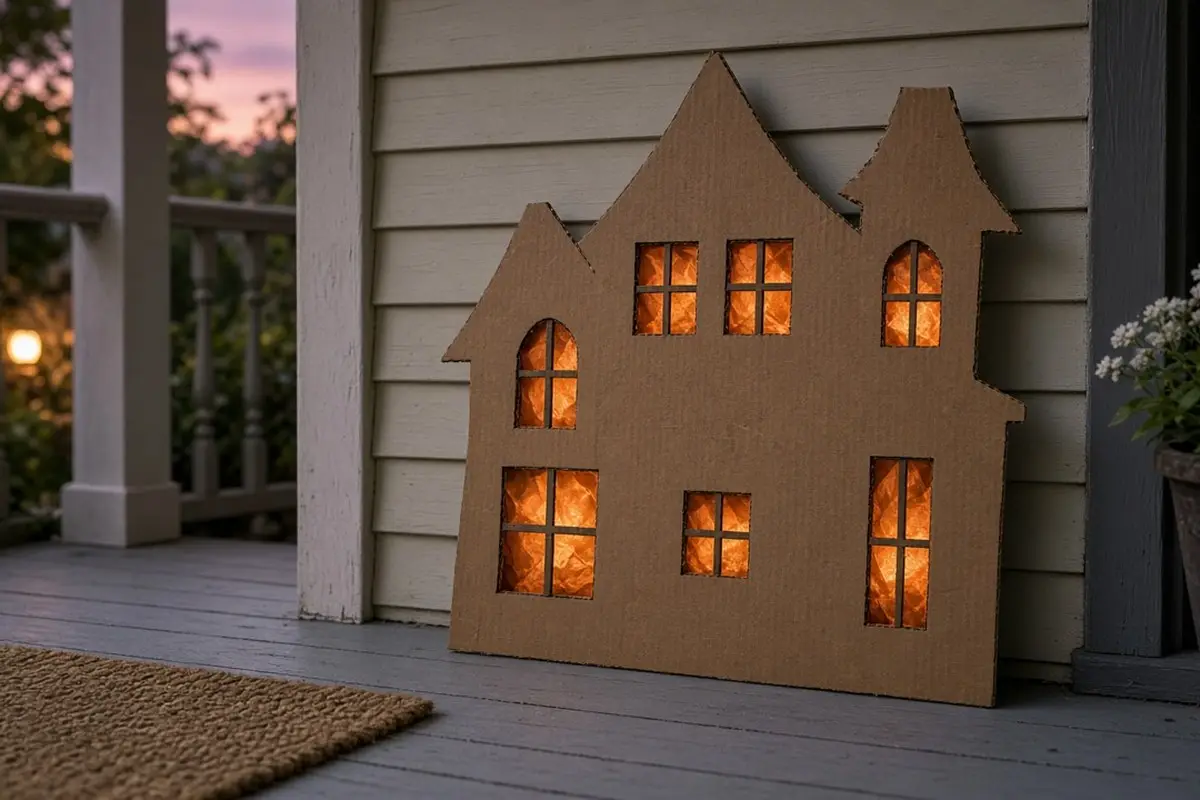
For a large window or a bare section of porch wall, build a flat haunted house facade: a cardboard panel cut into a crooked house silhouette with windows cut out. Tape yellow or orange tissue paper behind the windows and place a light behind it.
It looks like a tiny haunted house glowing on the porch. Keep it flat against the wall so wind cannot catch it. Battery string lights taped behind the tissue paper give the most even glow, and a crooked chimney and a loose shutter cut into the outline add a lot of character for two extra cuts.
Get the look
5. Giant candy corn
A tall triangular box makes a giant candy corn. Cut and fold a box into a tall triangular prism, then paint it in three bands: white at the tip, orange in the middle, yellow at the base. It is cheerful, bright, and a good way to balance spookier props if small kids live nearby.
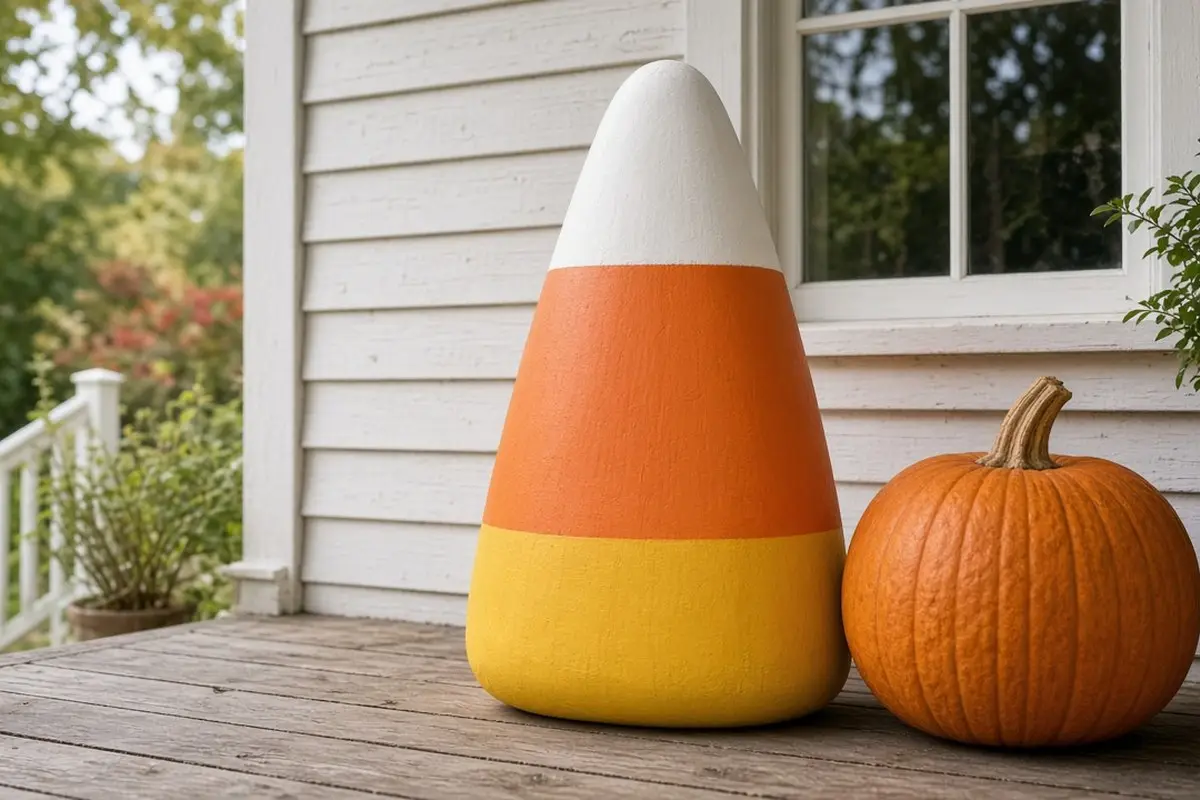
Paint the white tip first, let it dry, then mask a clean line with painter’s tape before the orange band. A slightly rounded tip, made by trimming the corners of the top fold, looks more like the real candy.
6. A bat swarm
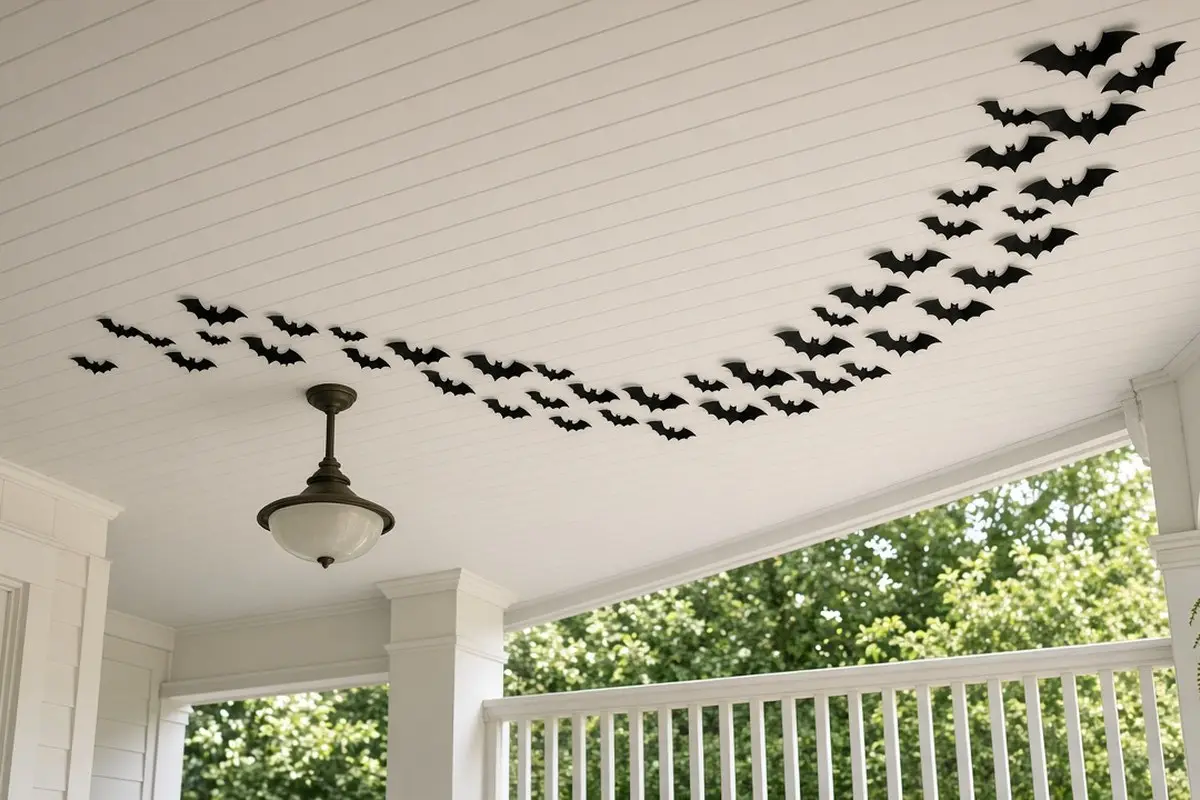
Cut a dozen bat shapes from thin cardboard, like cereal boxes, in two or three sizes. Thin cardboard is lighter and easier to bend than corrugated board, and it holds paint well, which makes it ideal for small pieces that hang overhead and need to stay put with nothing more than a dab of putty. Paint them black and attach them to the wall or ceiling with removable putty or small pins, swooping in a curve as though they are flying out of the porch light.
Bend the wings slightly up at the tips before attaching, so they cast shadows and look like they are mid-flight. Start the swarm small near the light and let the bats grow larger as they spread out, which gives the illusion that they are flying toward the street. A dozen bats is a good start; twenty or thirty look dramatic on a large porch ceiling.
Get the look
7. A cardboard archway
A large curved arch over the front walk or the porch steps makes a grand entrance. Cut two tall side panels and a curved top piece from large boxes, tape them together on the back with plenty of packing tape, and paint them to look like old stone.
Brace each side with a stake and zip ties, or weigh the base down with sandbags. An arch is the build most likely to blow over, so anchor it well. Hang a few strands of cheesecloth or faux moss from the top, and add a small sign with a warning like enter if you dare for trick-or-treaters walking under it.
8. Oversized spider
Build a giant spider from a box body and cardboard tube legs. A small box covered in black paint makes the body, and paper towel or wrapping paper tubes, cut and bent at angles, make the legs. Hang it in a corner on a giant web made of white rope. Knot the rope in a rough spiral out from the center, tying it off to porch posts and railings, and let a few strands droop. A single spotlight below the spider throws a huge shadow across the porch ceiling.
Storing them for next year
Cardboard props that stayed dry can be reused. Stack flat pieces like tombstones and cats with a sheet of paper between each one, and slide them under a bed or behind a garage shelf. Bulky pieces like the coffin and archway are often easier to recycle and rebuild next year, since you will have new boxes by then anyway. Before recycling, trace their outlines onto kraft paper and keep the patterns, so rebuilding takes an hour instead of an afternoon.
More Halloween ideas
Quick answers
Will cardboard props survive rain? Sealed props under a porch roof survive light rain and damp nights well. Unsealed props in an open yard will soften after one storm.
What paint works best? Exterior latex or chalk paint for base coats, followed by a clear sealer. Spray paint is fast for large black shapes.
Is this a good project for kids? Yes, with adults doing the cutting. Kids can paint, sponge on texture, and design the tombstone messages.
For the view from the street, see fall porch from the sidewalk. If you want to light a path for guests, backyard Halloween parties with a lit path covers lighting. And for windows to match the porch, see washable Halloween windows.