
7 Halloween Window Paintings You Can Wash Off Monday

On this page11 sections
Painting your windows for Halloween is one of the most satisfying decorations you can make. It costs very little, it looks great from the street at night with the lights on inside, and children can help with nearly every step. The worry for most people is the cleanup: nobody wants to spend the first week of November scraping dried paint off glass.
The good news is that the right materials come off with a damp cloth or a squeegee. The ideas below all use washable products and designs that are simple to paint and simple to remove, so you can put them up the weekend before Halloween and have clean windows by Monday.
As an Amazon Associate I earn from qualifying purchases.
Which paints wash off
Liquid chalk markers are the easiest choice. They draw like a marker, give bright, opaque lines, and wipe off glass with a damp cloth. They are best for outlines, lettering, and fine details.
Washable tempera or poster paint covers large areas quickly and comes off with warm, soapy water. Adding a small squirt of dish soap to the paint before you start makes removal even easier, because it keeps the paint from bonding firmly to the glass.
Window markers and window paint sold for holidays are designed for exactly this use. Check the label for “washable” or “removes with water.”
Avoid acrylic craft paint, which can be stubborn once dry, especially in sun, and anything labeled permanent. Always test a small spot in a corner first, particularly on older windows, windows with a coating, or any glass with tint film.
Paint on the inside of the glass if you can. It is protected from rain and dew, which can streak washable paint, and it is easier to reach. If you want lettering to read correctly from outside, write it in reverse, or paint it on the outside on a dry week.
Clean the glass before you start. Paint and chalk markers grip a clean window more evenly and come off more cleanly, because there is no film of dust or fingerprints underneath. Use a standard glass cleaner and let the window dry fully. Lay old towels or newspaper along the sill and floor, and keep a damp cloth nearby for quick fixes.
Brushes matter more than you might expect. Use a flat brush about an inch wide for filling large shapes, a small round brush for details, and a foam brush or a makeup sponge for even coverage on moons and ghosts. Two thin coats look better than one thick one, which can drip and streak.
1. A spiderweb in the corner
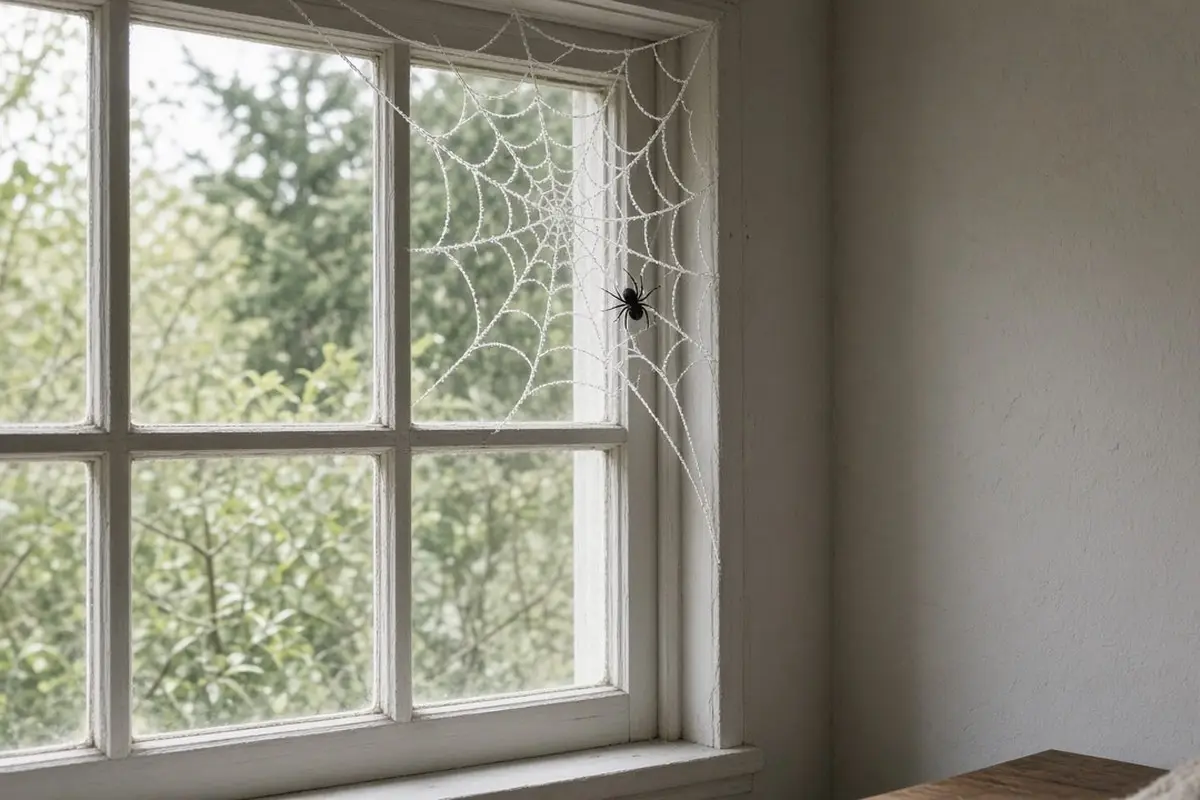
The simplest window design is a white spiderweb radiating out from one corner. Draw five or six straight lines fanning out from the corner, then connect them with gently drooping curves, working outward. Add a small black spider hanging from a thread. It takes ten minutes with a white chalk marker and looks great from outside.
For a fuller look, add a second web in the opposite corner, slightly smaller, so the window feels balanced. A spiderweb also works beautifully on a glass front door or a sidelight, where people see it up close as they arrive.
Get the look
2. Black cat silhouettes on the sill
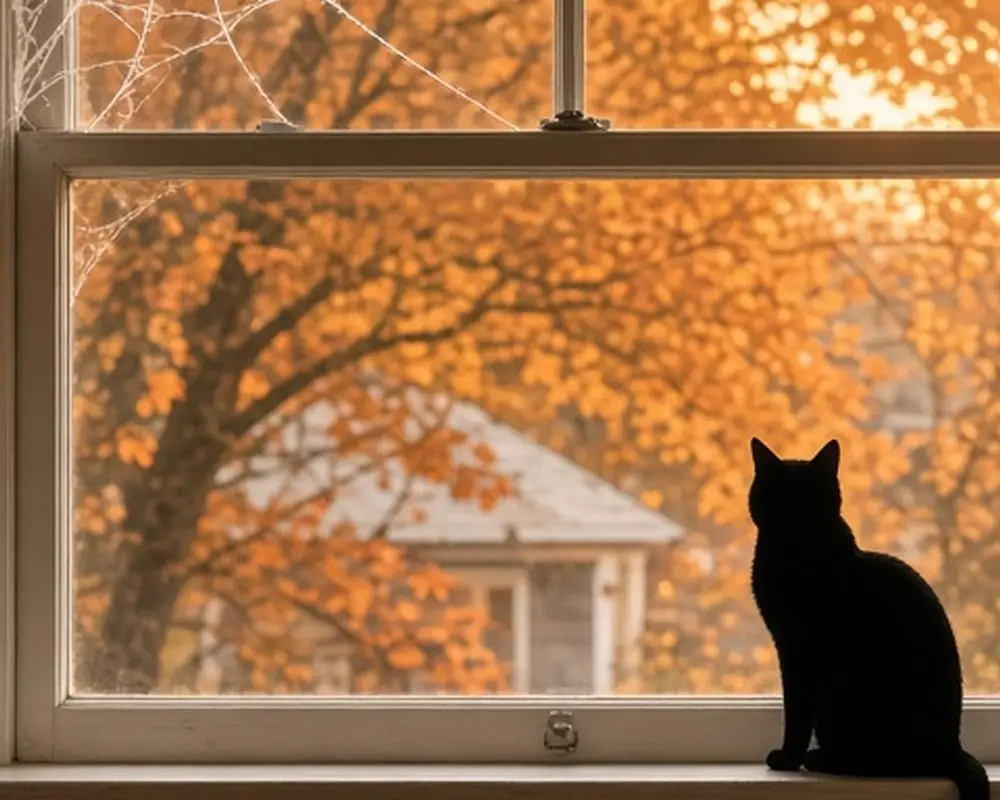
Paint one or two black cats sitting along the bottom of the window, as if perched on the sill, with tails curled up. Solid black silhouettes are easy to fill in with tempera and read clearly from a distance, especially against a lit room. Add yellow eyes with a dot of paint for a little drama.
To draw a cat, start with a large oval for the body and a smaller circle for the head, add two pointed triangles for ears, and a long curling tail. Fill the whole shape with black. Arched backs and stretching poses look great too, if you find a silhouette you like and trace it.
3. A full moon with bats
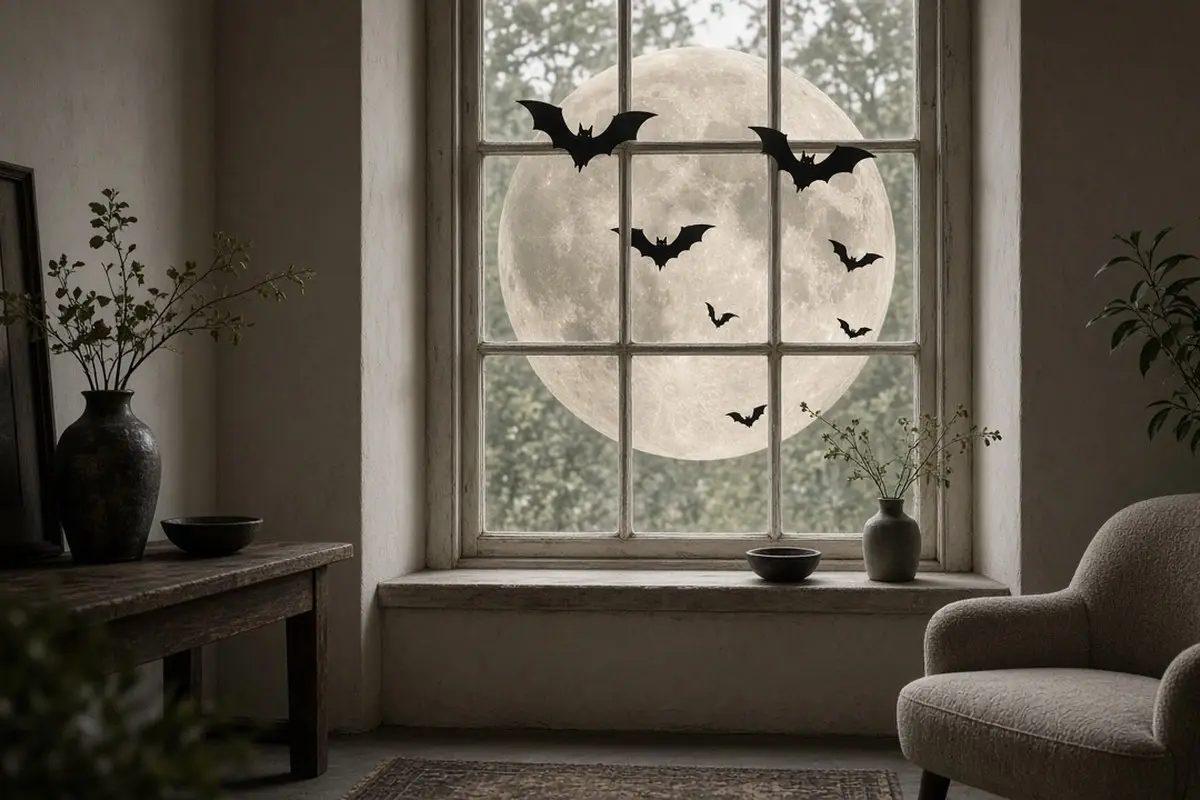
Paint a large pale yellow or white circle in an upper corner, then add a scattering of small black bat shapes flying across it and out over the glass. A paper plate makes a good stencil for the moon. Bats are simply a curved body with two scalloped wings, and they do not need to be precise.
Vary the bat sizes, with larger ones close to the moon and smaller ones farther away, which gives a sense of depth. Lightly sponge a little gray or blue around the edge of the moon to suggest a glow.
Get the look
4. A haunted house skyline
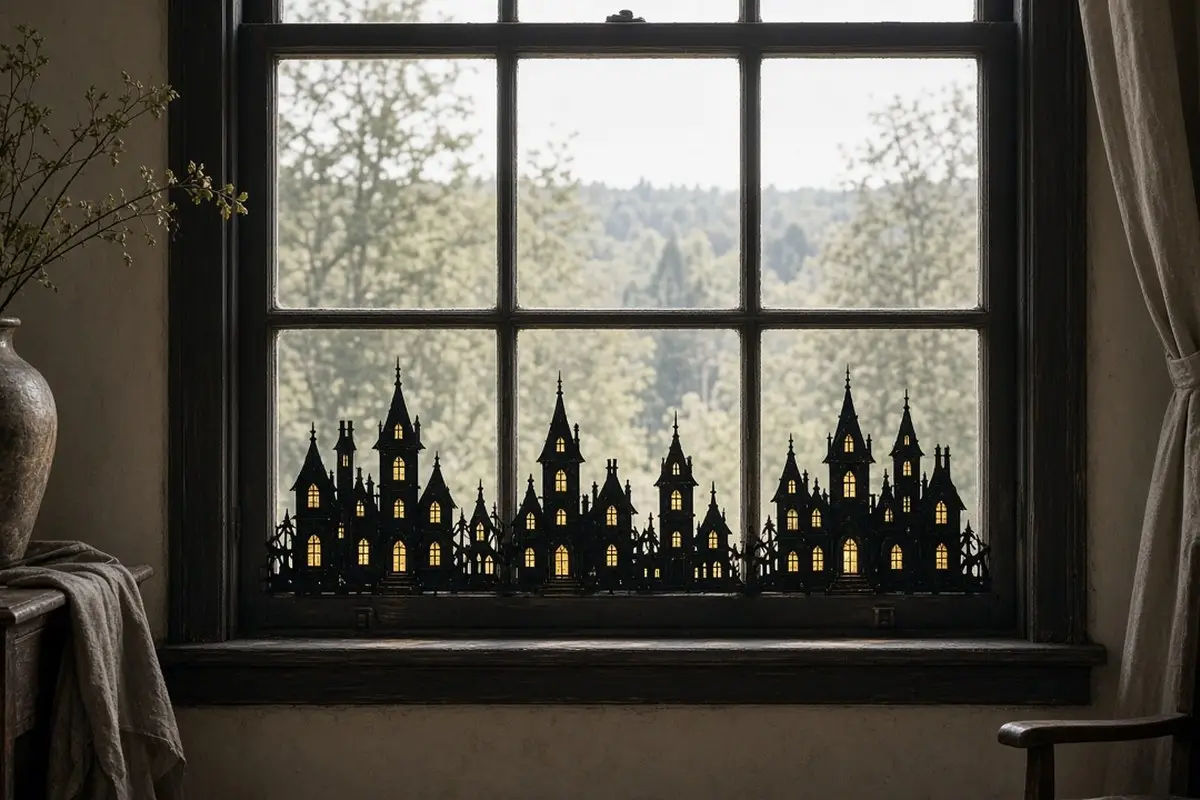
Along the bottom third of a large window, paint a black silhouette of crooked rooftops, a leaning fence, bare trees, and a tower or two. Leave small square windows unpainted or fill them with yellow so they look lit. With room lights on behind it at night, the skyline glows from the street. This is the most ambitious design here, but it is still just flat shapes.
Get the look
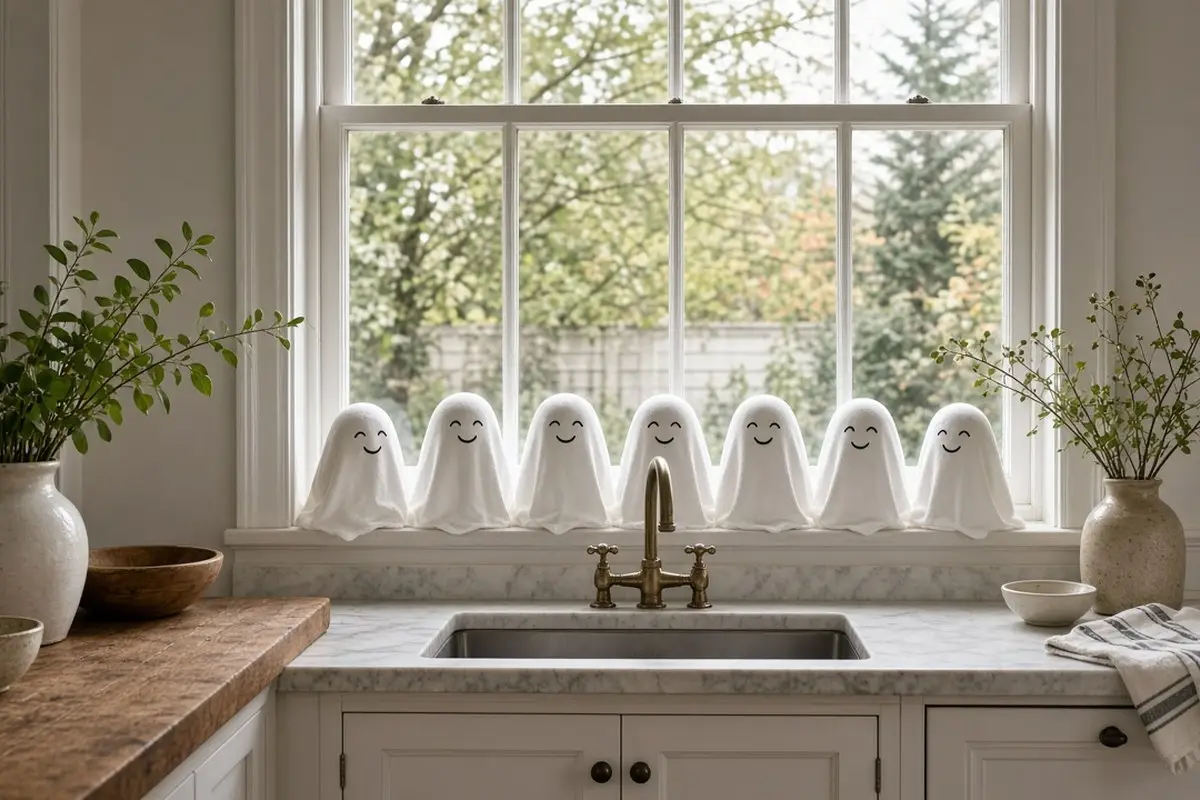
5. Friendly ghosts for younger kids
If you have small children who find spooky designs too much, paint a row of round, smiling white ghosts floating across the window. Children can paint their own, and the uneven shapes only add to the charm. Washable tempera is safe for little hands and comes out of most clothing in the wash, but an old shirt as a smock saves a few stains. Add little pink cheeks and wavy bottoms.
This is a good project for a rainy afternoon. Give each child a pane or a section of the window, and let them paint without too much direction. The results always look better from the street than they do up close.
Get the look
6. Jack-o’-lantern faces on round windows or panes
If you have a round window, small square panes, or a door with glass, turn each pane into a pumpkin. Paint an orange circle or simply draw a face in black on a pane backed by an orange glow. A grid of different faces on a multi-pane window looks fun and is easy to divide between family members.
Mix expressions: a grinning face, a surprised one, a sleepy one, and a classic triangle-eyed jack-o’-lantern. Paint the face in black first, then fill the background with orange around it.
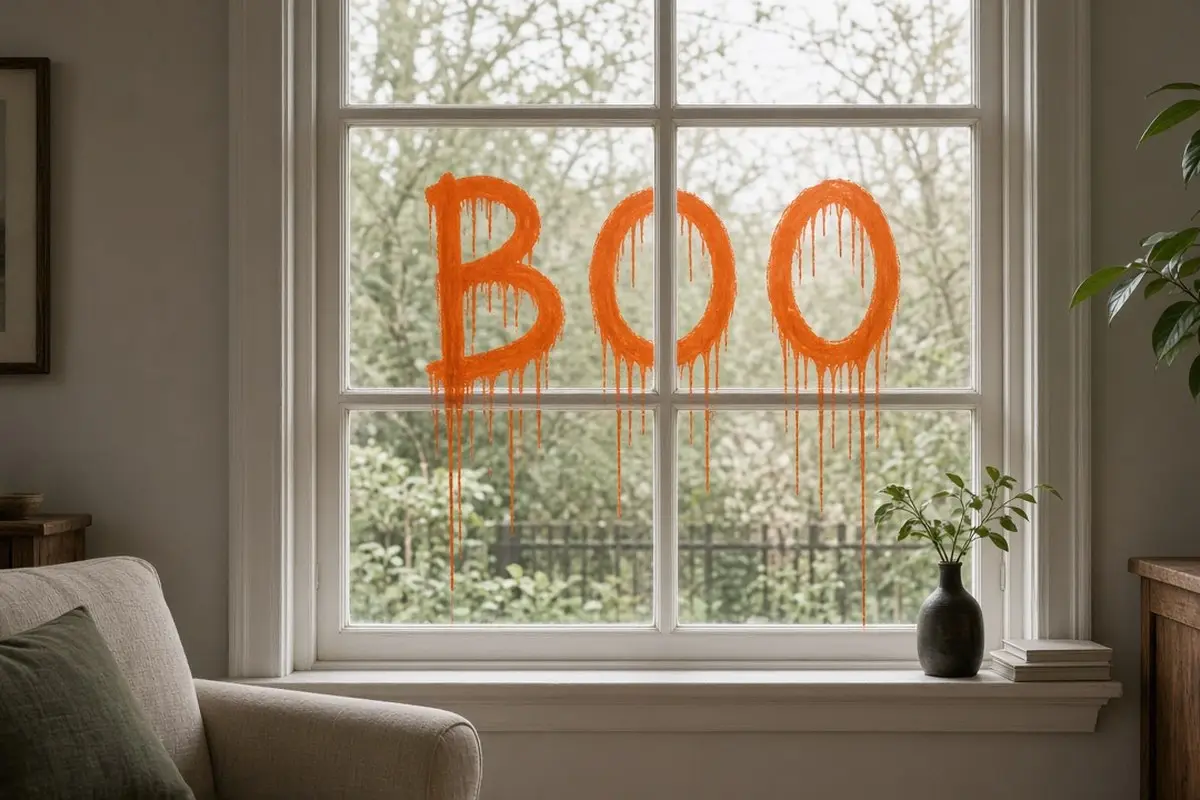
7. A dripping lettered message
Paint a short word such as “BOO” or “BEWARE” across the top of a window, with drips running down from each letter. Use a chalk marker for crisp letters and let the drips be loose and uneven. Remember to paint the letters in reverse if you are working on the inside of the glass.
An easy trick for reversed lettering is to write the word on paper, flip the paper over and tape it to the inside of the glass face down, then trace the backwards letters you can see through the paper.
Get the look
Plan your design first
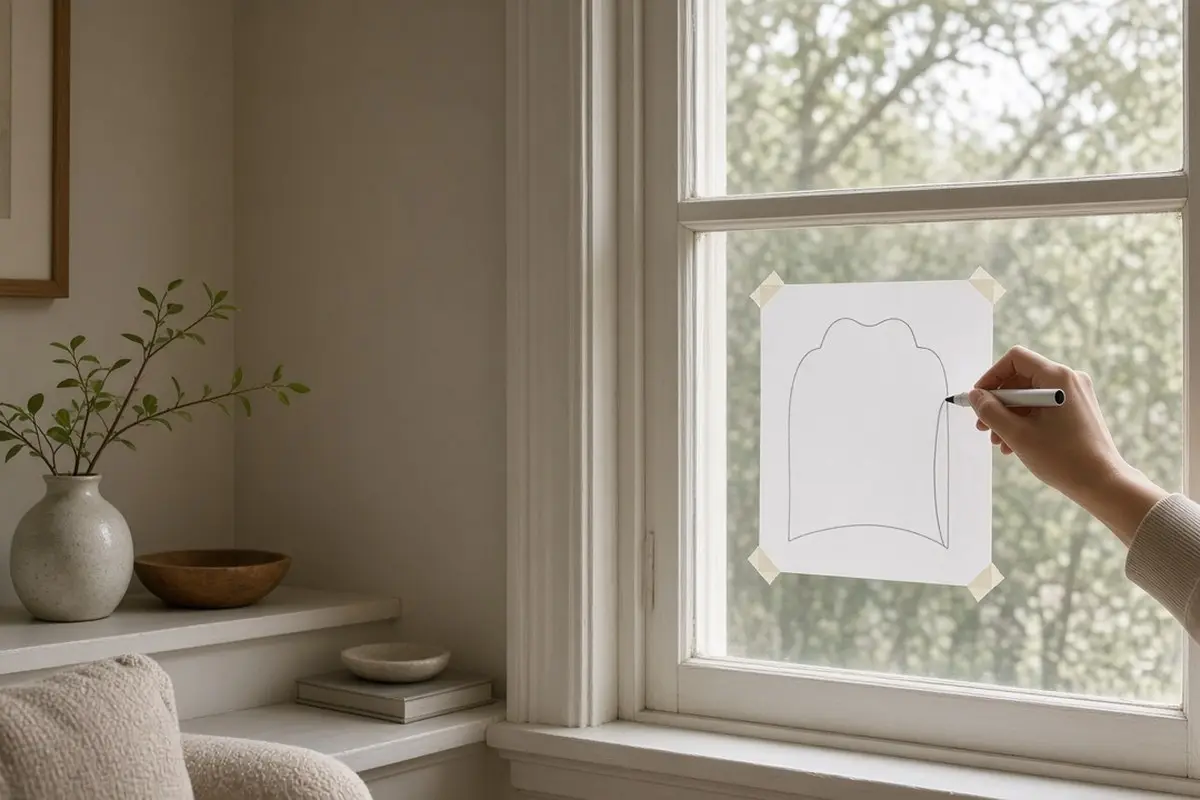
Sketch your design on paper at a small scale, then tape a printed or hand-drawn template to the outside of the glass and trace it from inside. For curves and large shapes, a dry-erase marker makes a good guideline that wipes away easily if you change your mind.
Think about how the design reads from the street, which is where most people will see it. Bold, simple shapes in high contrast, such as black on a lit window or white on a dark one, carry much farther than fine detail. Step outside after dark with the lights on inside and look at your work; you will quickly see which areas need a second coat or a thicker outline.
Pick a limited palette for each window: black and orange, white and black, or white with a single accent color. Three colors at most keeps the design clear. If you are painting several windows, repeat one color or motif across them, such as bats flying from one window to the next, so the front of the house looks like a single scene rather than a collection of separate pictures.
Good light helps too. A table lamp or a string of warm lights near the painted window turns the design into a glowing picture after dark, and a simple orange bulb in a nearby lamp makes the effect even stronger.
Get the look
Clean up in minutes
Spray the window with warm water and a little dish soap, let it sit for a minute, then wipe with a sponge or a soft cloth. A squeegee speeds things up on large windows. A plastic scraper or an old credit card lifts any stubborn spots without scratching. Finish with your usual glass cleaner. Lay an old towel along the sill to catch drips.
Do not leave washable paint up for months. Sun and heat can bake it onto the glass over time, making it harder to remove. Most designs come off easily within two or three weeks. If paint has hardened, a little white vinegar in the water, or a razor scraper held flat against the glass, takes care of it. Never use a razor on coated, tinted, or plastic windows.
Avoid painting on window screens, wooden frames, or vinyl trim, which can absorb paint and stain. Tape off frames with painter’s tape before you begin if the design runs close to the edges.
Common questions
What paint is best for Halloween windows? Washable tempera with a little dish soap mixed in, liquid chalk markers, or paint sold specifically as washable window paint.
Does window paint come off easily? Washable paint and chalk markers wipe off with warm soapy water, especially when removed within a few weeks.
Should I paint on the inside or outside of the window? Inside, when possible. It is protected from weather and easier to reach. Paint lettering in reverse so it reads correctly from outside.
For more Halloween ideas that feel like part of your home rather than a store display, see our lived-in Halloween decor and fall porch from the sidewalk guides.